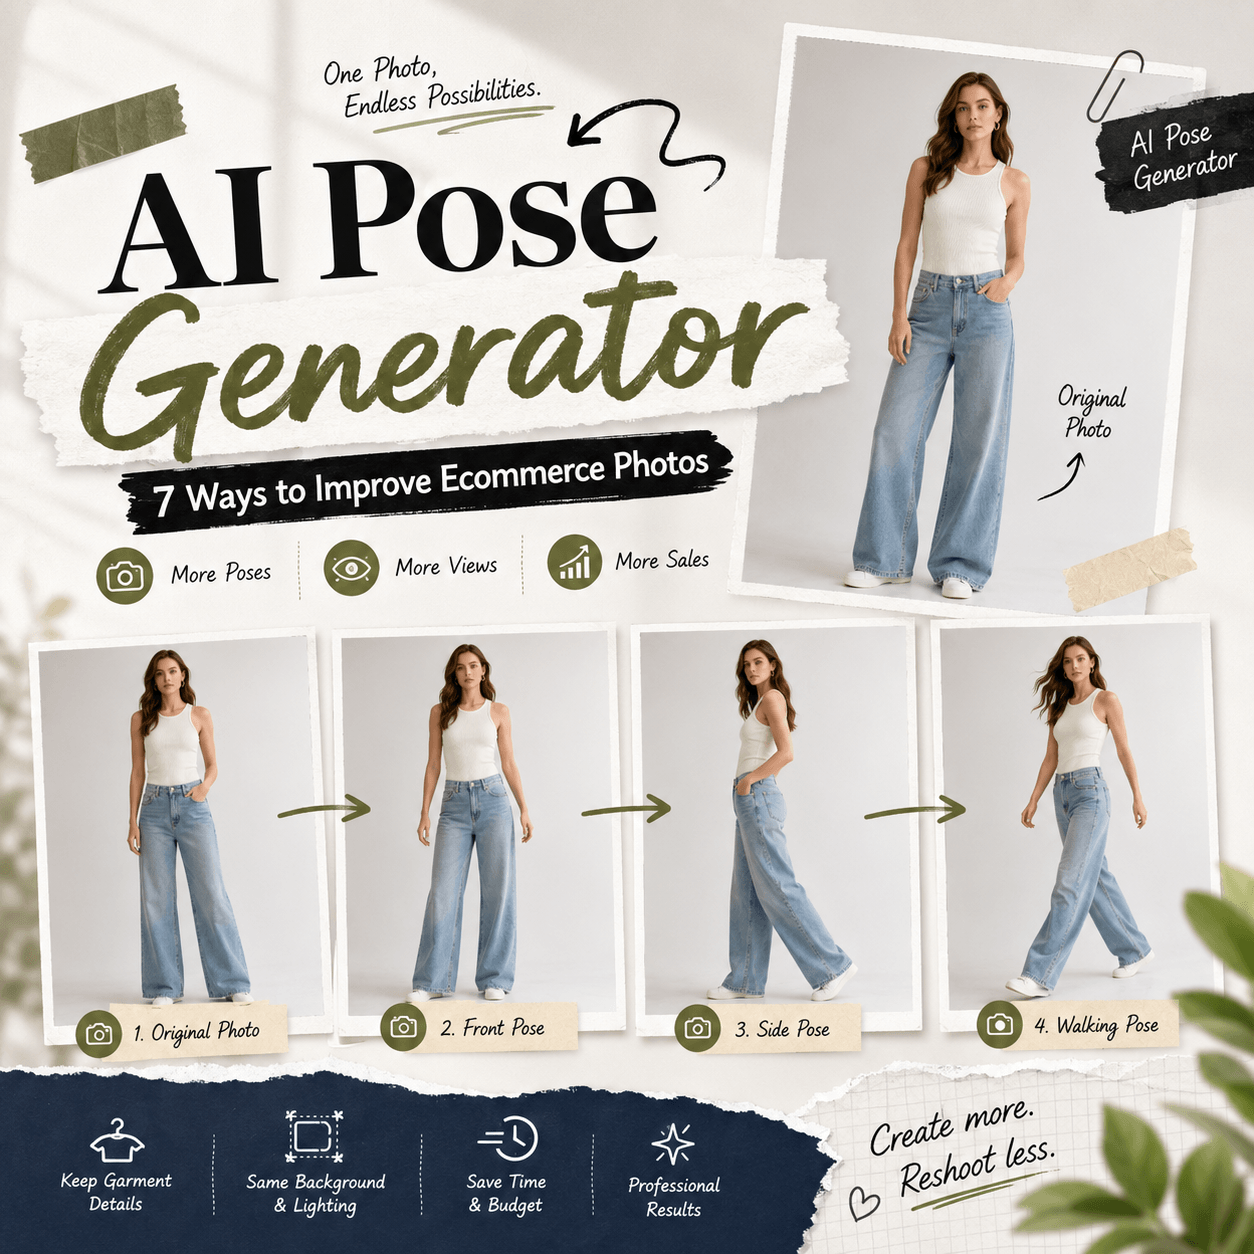
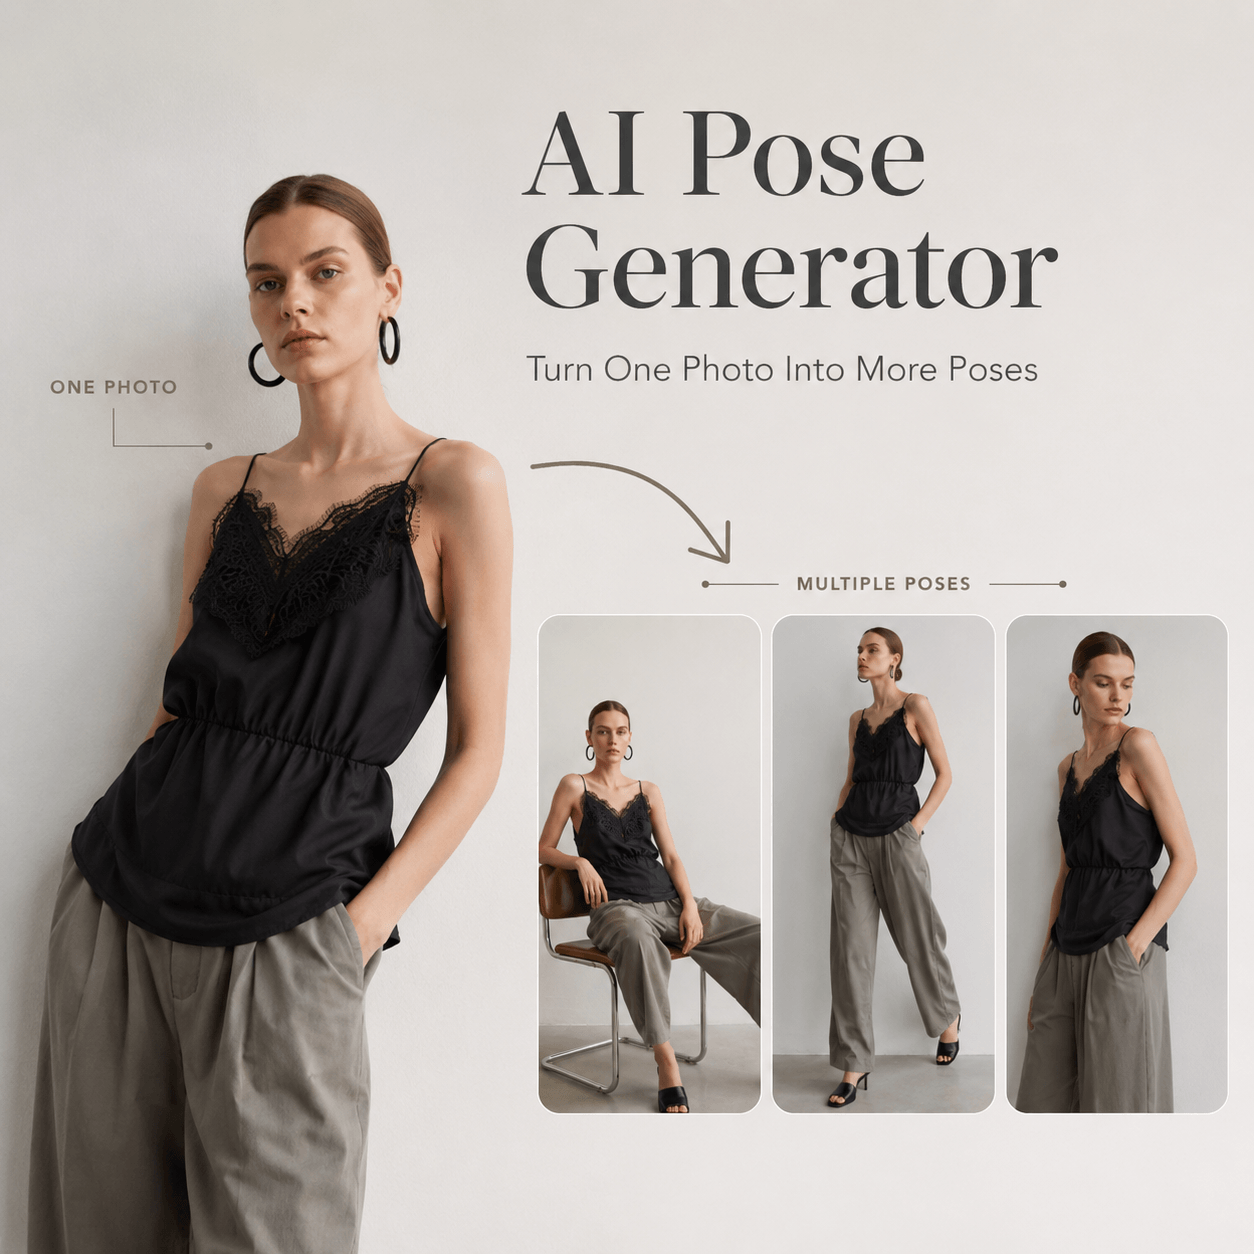
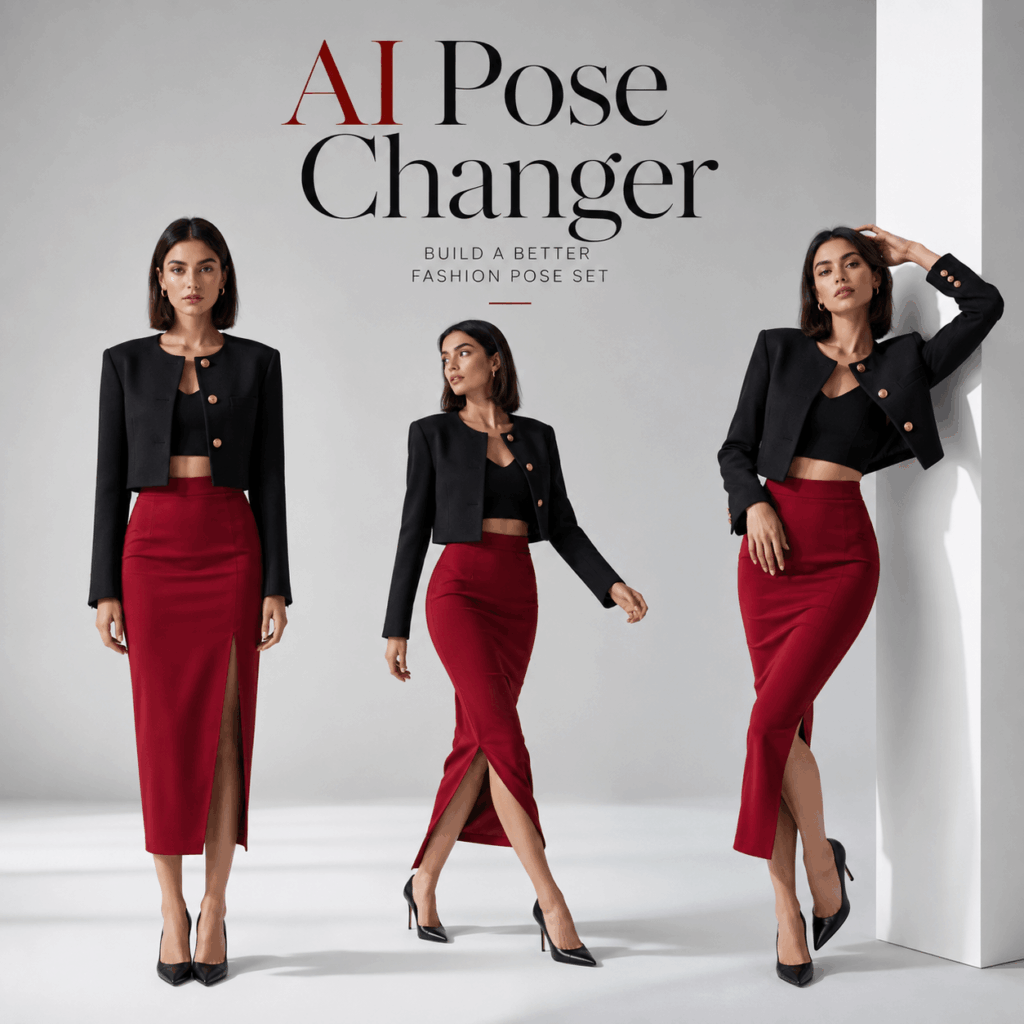
AI Pose Changer helps turn one clear model photo into a more useful set of fashion poses. Instead of showing the same stance across every product card, you can test neutral, walking, leaning, and campaign-ready positions from one source image.
A new pose can make a familiar outfit feel fresh. However, random pose changes do not always improve the photo. A dramatic stance may hide the pockets. A crossed arm may cover the print. Meanwhile, an extreme turn may change how the garment shape appears.
Therefore, the goal is not to create as many poses as possible. The goal is to build a small pose set in which every image has a clear purpose.
A strong set may include one simple product pose, one three-quarter view, one natural movement pose, and one expressive campaign image. Together, these options can support product pages, social posts, collection previews, and paid ads.
Why One Fashion Pose Is Not Enough
One pose can show the outfit. However, it rarely explains the full product.
A straight front view may clearly show the neckline, buttons, and overall length. Still, it may not show how the garment looks from the side. In contrast, a walking pose can reveal movement, but it may hide the waist or one sleeve.
As a result, brands often need several image types.
For example, a product page may need a balanced pose that makes the garment easy to study. A social post may need more energy. Meanwhile, a campaign image may need a stronger attitude or a more unusual body line.
Using the same pose everywhere can also make a catalog feel repetitive. Even when the clothes change, the visual rhythm stays the same.
However, the opposite problem is just as common. If every pose is completely different, the catalog may lose consistency.
Therefore, a useful pose set should combine variety with clear rules.
What AI Pose Changer Can and Cannot Change
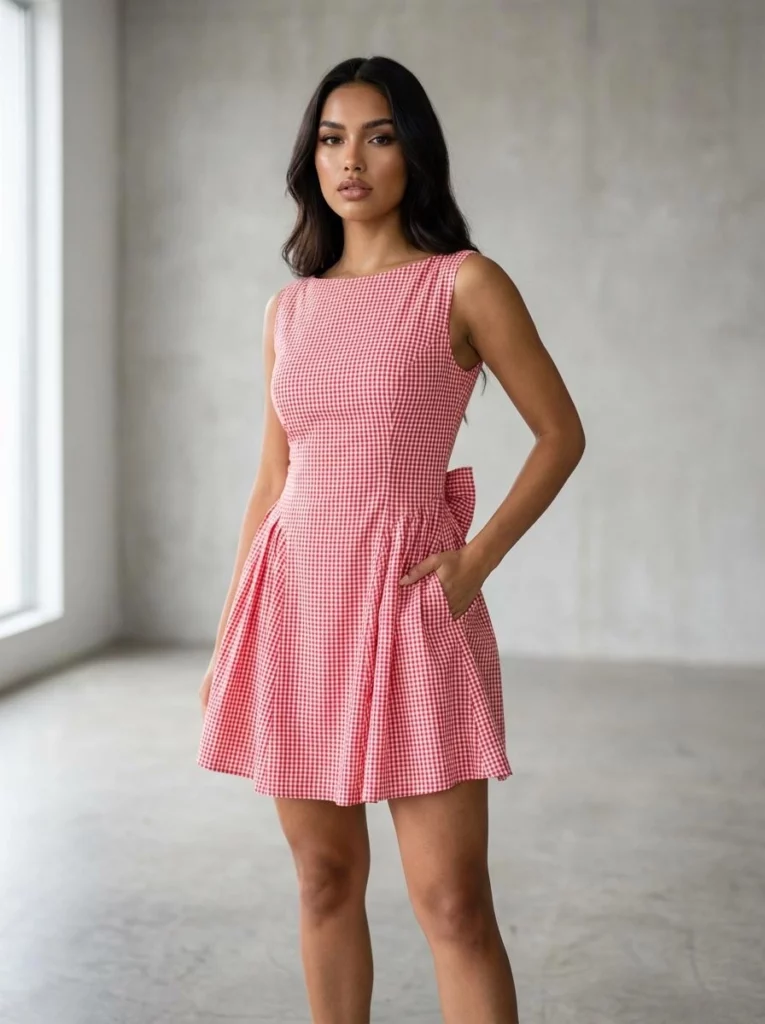
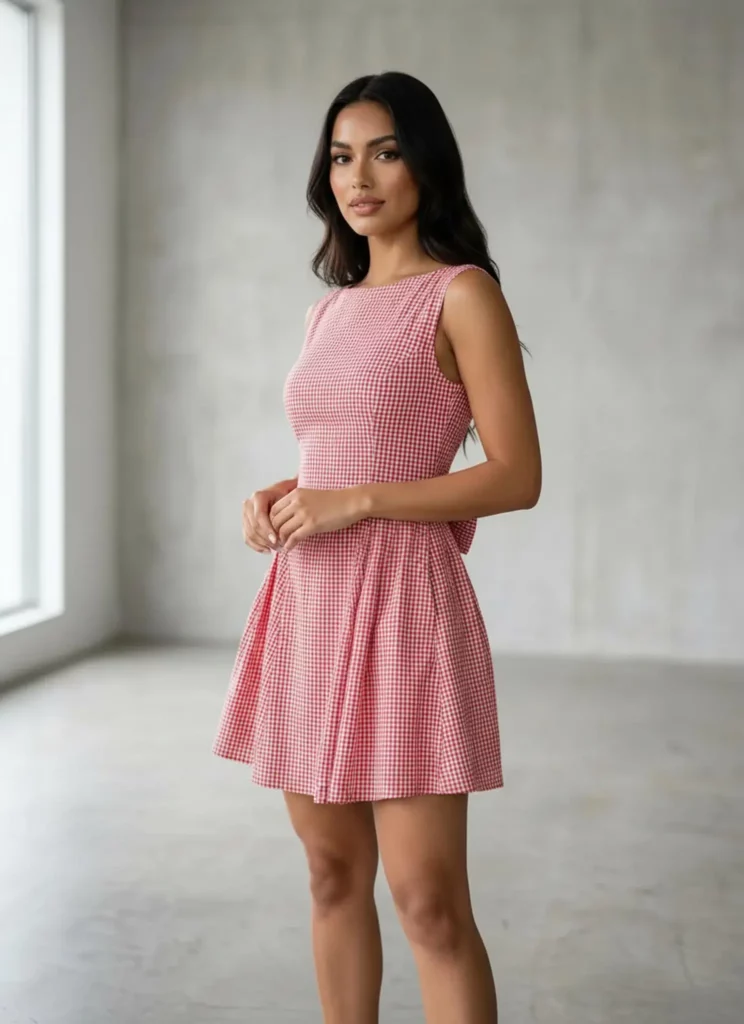
AI Pose Changer changes the body position in an existing image. It can create subtle standing adjustments, three-quarter poses, walking movements, leaning positions, and more dynamic fashion stances.
At the same time, the result should still feel connected to the source image. The model, clothing, lighting, and scene should remain visually consistent.
However, pose editing has limits.
If a hand covers the waist in the original photo, the hidden clothing area may not contain enough information. Likewise, a bag may cover part of a jacket. When the arm or bag moves, the tool must rebuild the missing area.
Therefore, the source image still affects the final accuracy.
AI Pose Changer may help with:
- Changing the direction of the body
- Adjusting arm and leg positions
- Creating a more relaxed stance
- Adding a walking or turning motion
- Testing a stronger fashion pose
- Producing more variety from one image
However, it cannot confirm real fit, comfort, or fabric movement. It also cannot replace every angle from a complete photoshoot.
Instead, it works best as a visual expansion tool.
Choose the Right Source Photo
A strong pose set begins with a useful source image.
Although an attractive photo may seem like the obvious choice, the most stylish image is not always the best input. A simpler photo often gives the tool more visible product information.
Start With a Clear Full-Body Image
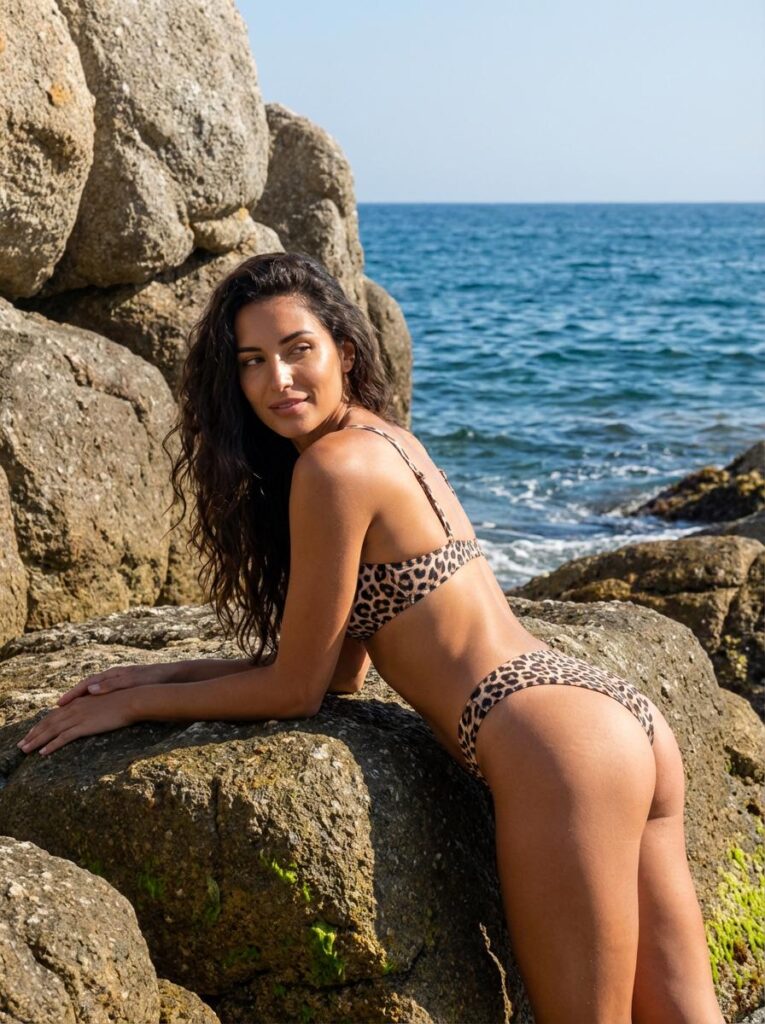
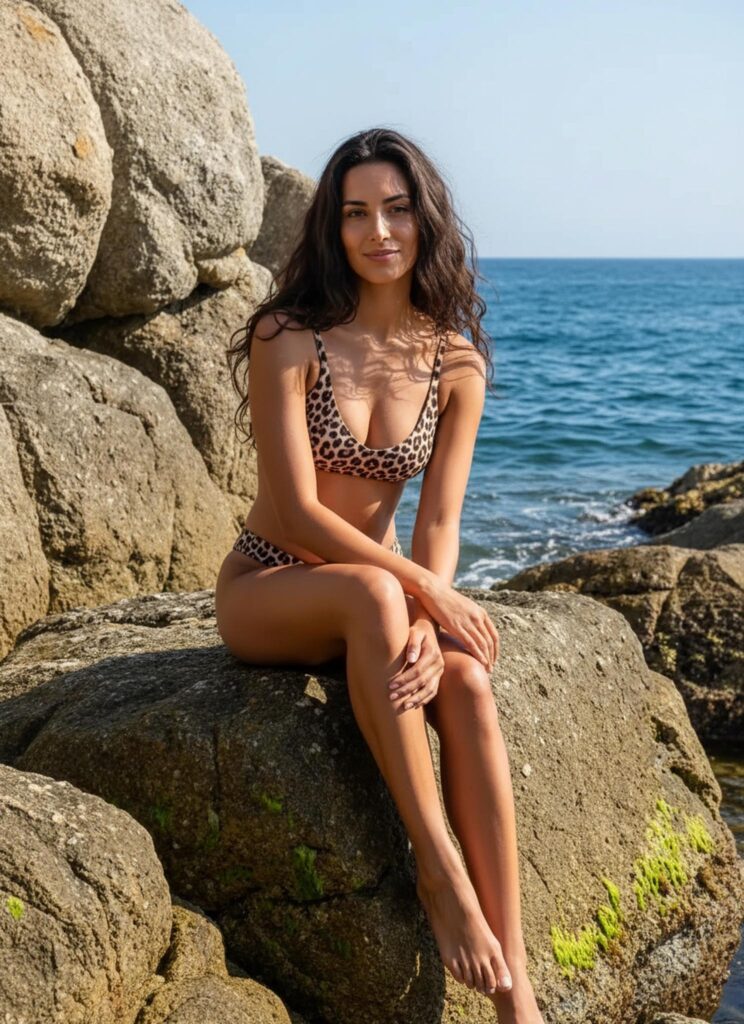
Choose a source photo that shows the full model whenever possible.
The head, hands, feet, and garment edges should remain inside the frame. Otherwise, a new pose may require the tool to create body parts or clothing areas that were never visible.
A useful source image usually includes:
- A clear face
- Visible shoulders and hips
- Both arms and legs
- Complete shoes or feet
- A simple body position
- Balanced lighting
- Enough space around the model
In addition, avoid heavy motion blur. A sharp image makes clothing edges and body structure easier to read.
A front or slight three-quarter angle is often a practical starting point. It provides more information than a strong side profile.
Keep Clothing Details Visible
The clothing should also be easy to inspect.
Before uploading, check the areas that matter most to the product:
- Neckline
- Sleeves
- Waist
- Pockets
- Buttons
- Zippers
- Printed graphics
- Hem
- Side seams
- Shoes and accessories
For example, crossed arms may hide the front of a blazer. A large handbag may cover the hip and pocket area. Meanwhile, long hair may hide the collar and shoulder line.
Therefore, begin with a pose that reveals most of the garment.
The new poses can become more expressive later.
Use a Simple Background
A simple background gives the model room to move.
For instance, a clean studio wall, open street area, or uncluttered interior can support several pose directions. In contrast, a model standing close to furniture may be harder to reposition naturally.
The background should also match the new body position.
If the model changes from standing to leaning, there should be a believable surface nearby. Likewise, a seated pose needs a chair, bench, or platform that fits the body position.
Therefore, choose pose ideas that make sense inside the original scene.
Build an AI Pose Changer Test Set
Do not begin by generating ten unrelated poses.
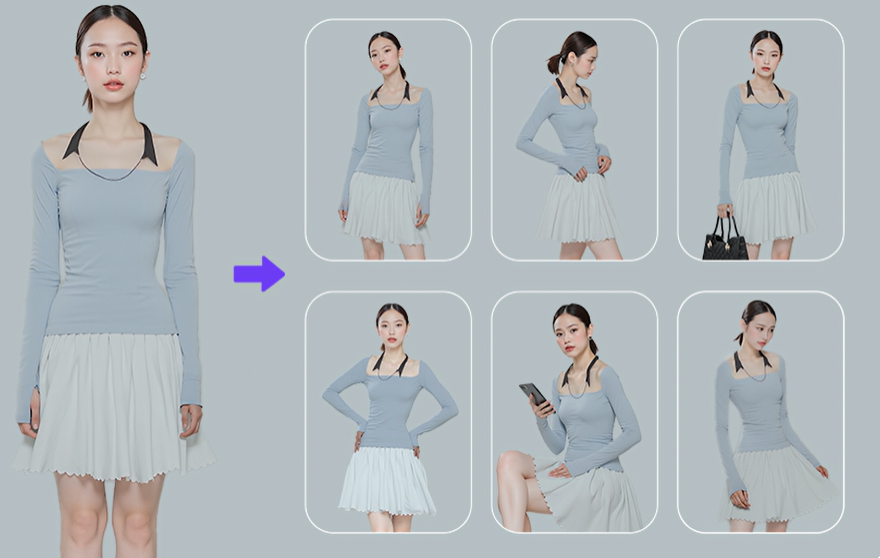
Instead, create a small test set with a clear order. This makes it easier to compare anatomy, clothing accuracy, and channel value.
A practical first set can contain four poses.
Create a Neutral Pose First
Begin with a simple adjustment.
For example, change a straight pose into a relaxed stance with slightly shifted weight. One arm may rest naturally beside the body, while the other sits near the waist.
This first result helps you test whether the tool can preserve:
- Model identity
- Body proportions
- Garment length
- Clothing details
- Lighting direction
- Background structure
If the neutral pose already changes the product too much, a more dramatic pose is unlikely to improve the result.
Therefore, solve basic consistency problems before adding motion.
Add One Action Pose
Next, test one controlled movement.
A walking pose is often useful because it adds energy without requiring an extreme body position. It can also show how a coat, skirt, or wide-leg trouser may move.
However, keep the action readable.
A large step may distort the legs or pull the garment into an unrealistic shape. Instead, use a natural mid-step pose with balanced arms and a clear body line.
In addition, check whether the feet connect naturally with the ground. Floating shoes or uneven leg length can make the whole image feel artificial.
Test a Seated or Leaning Pose
A seated or leaning pose can add variety to campaign and social content.
However, it also creates more contact points. The body must connect naturally with the chair, wall, table, or floor.
Therefore, inspect:
- Hip placement
- Bent knees
- Elbow position
- Clothing folds
- Surface contact
- Natural shadows
A seated pose may also change the apparent garment length. For example, a skirt rises when the model sits. A jacket may fold at the waist.
These changes can be visually useful. Still, they should not be treated as exact proof of fit.
Finish With One Campaign Pose
Finally, create one more expressive image.
This pose may include a sharper shoulder line, a wider stance, or a stronger head direction. It can be used for banners, collection covers, or social posts.
However, the campaign pose should still support the garment.
If the arms cover the main design detail, the pose is not helping. Likewise, if the body angle makes the product hard to understand, the image may look stylish but perform poorly.
Therefore, judge the final pose by both mood and clarity.
Review AI Pose Changer Results
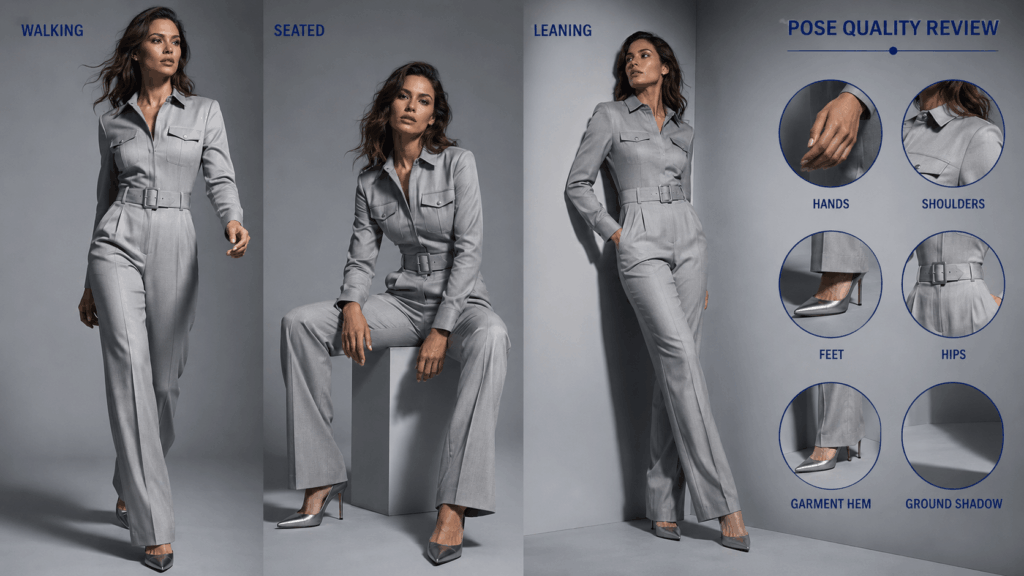
A generated pose can look impressive at first glance. However, a close review may reveal small errors.
Do not approve a result only because the model looks confident.
Instead, compare it with the source image and inspect the body, clothing, background, and shadows.
Check Hands and Feet
Hands and feet are common weak points in pose editing.
First, count the fingers when they are visible. Then, check whether the wrist bends naturally. Also, make sure the hand connects clearly to the arm.
For feet, review:
- Shoe shape
- Ankle position
- Heel contact
- Toe direction
- Ground shadow
- Left and right size
A small foot error can make the whole pose feel unstable.
Therefore, zoom in before publishing the image.
Watch the Shoulder and Hip Line
Shoulders and hips control the balance of a pose.
If the model shifts weight onto one leg, the hip line may tilt. The shoulders may then move in the opposite direction to keep the body balanced.
However, an unnatural tilt can make the torso look twisted.
Check whether the neck, shoulders, waist, hips, knees, and feet form a believable body structure. In addition, confirm that the model still appears to have the same height and body proportions.
The pose can change. The person should not become a different body type.
Compare Garment Shape
Next, stop looking at the model and focus on the clothing.
Compare the source and generated images side by side.
Ask:
- Did the neckline change?
- Are the sleeves the same length?
- Did a pocket move?
- Are all buttons still present?
- Did the print stretch?
- Is the hem still accurate?
- Did the waist become tighter or looser?
- Are accessories still the same?
For example, a bent arm can create new folds in a sleeve. That is natural. However, it should not remove a cuff or change the fabric.
Likewise, a walking pose may open a coat slightly. Still, the closure, lapels, and length should remain consistent.
Product identity matters more than pose drama.
Check the Background and Shadows
A new body position also changes the space around the model.
Therefore, inspect areas where the original arms, legs, or body used to appear. The background should not contain repeated textures, blurred patches, or broken lines.
Next, review the shadows.
A moved foot should have a matching ground shadow. A leaning body may create a different shadow on the wall. Meanwhile, a seated pose should feel connected to the seat.
Without these details, the pose may look pasted into the scene.
Use AI Pose Changer Across Channels
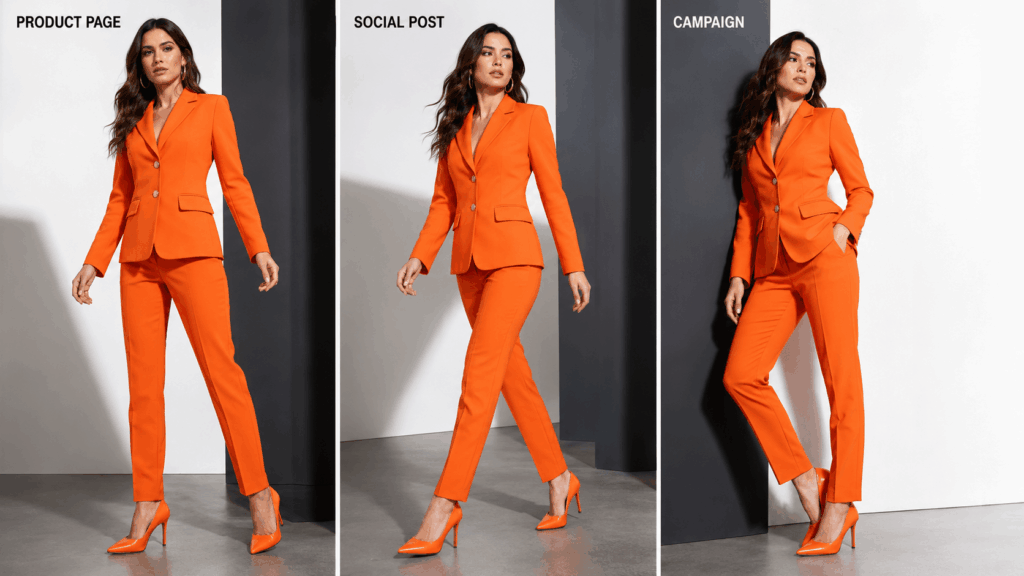
Each marketing channel needs a different kind of pose.
Therefore, one generated image should not automatically be used everywhere.
AI Pose Changer for Product Pages
Product-page poses should make the garment easy to understand.
A useful set may include:
- Straight front pose
- Slight three-quarter pose
- Back or turning view
- Natural walking pose
The arms should not cover key details. In addition, the body position should not make the garment look much shorter, tighter, or wider than it really is.
Clarity comes first.
A dramatic pose can still appear later in the gallery. However, it should not replace the clearest product view.
AI Pose Changer for Social Content
Social images can use more movement and personality.
For example, a walking, leaning, or turning pose may feel more natural in a feed. A stronger facial direction can also help the image feel less like a standard catalog photo.
However, the image still needs a clear focal point.
On a small phone screen, complicated limbs and overlapping clothes can become hard to read. Therefore, test the image at thumbnail size before publishing it.
If the product disappears into the pose, simplify the body position.
Campaign Images Need Direction
Campaign poses should support the brand message.
A sports collection may need active movement. A tailored collection may work better with a sharp, controlled stance. Meanwhile, a soft knitwear campaign may benefit from a relaxed seated pose.
Therefore, do not choose a pose only because it looks fashionable.
First, define the message:
- Strong
- Relaxed
- Playful
- Elegant
- Practical
- Youthful
- Premium
Then, choose a body position that communicates that idea.
A clear creative direction produces a stronger campaign than a random set of dramatic poses.
Create a Repeatable Pose Library
Once you find useful pose types, save them as a simple brand system.
For example, every new apparel product could use:
- Clean front view
- Soft three-quarter view
- Natural walking pose
- Campaign pose
This system makes different products easier to compare. It also helps the full catalog feel connected.
However, the exact pose may still need small adjustments.
A long evening dress and a cropped jacket should not always use the same walking stance. Likewise, a structured suit may need a different arm position from a loose sweater.
Therefore, keep the pose roles consistent, but adapt the details to the garment.
A pose library should guide the workflow, not limit it.
When to Reshoot Instead
AI Pose Changer can expand a good source image. However, it cannot repair every photography problem.
A reshoot may be better when:
- The garment is partly hidden
- The original photo is blurry
- The hands or feet are outside the frame
- Lighting hides the real product color
- The body overlaps complex objects
- The background has no room for movement
- Important details are missing
- The image shows only one side of the clothing
- The product fit is the main selling point
For example, pose editing cannot confirm whether trousers pull at the hips. It also cannot show the true comfort of a sleeve or the real movement of fabric.
Therefore, use generated poses for visual variety and content expansion. Use real photos when shoppers need accurate fit information.
The tool should extend a strong image set, not replace every part of production.
Final Thoughts on AI Pose Changer
AI Pose Changer can make one fashion photo more flexible. However, the best result is not the most dramatic pose.
It is the pose that adds a useful new view while protecting the model, clothing, body proportions, and scene.
Start with a clear source image. Next, build a small four-pose test set. Then, review hands, feet, anatomy, garment details, backgrounds, and shadows.
Most importantly, give every pose a job.
One pose can explain the product. Another can add movement. A third can support social content. Finally, a stronger pose can lead the campaign.
When each image has a purpose, one source photo becomes more than a single asset. It becomes the start of a consistent fashion pose library.
Go to WeShop AI For Exploration: