Old photographs often hold moments that exist nowhere else. However, scratches, faded colors, dust, and torn paper can make those memories difficult to see. AI Photo Restoration can help repair visible damage, recover clarity, and create a cleaner digital version.
The goal is not to turn an old photograph into a modern studio portrait. Instead, a good restoration should keep the original faces, mood, framing, and sense of age. With GPT Image and one detailed prompt, you can improve an old photo while protecting its story.
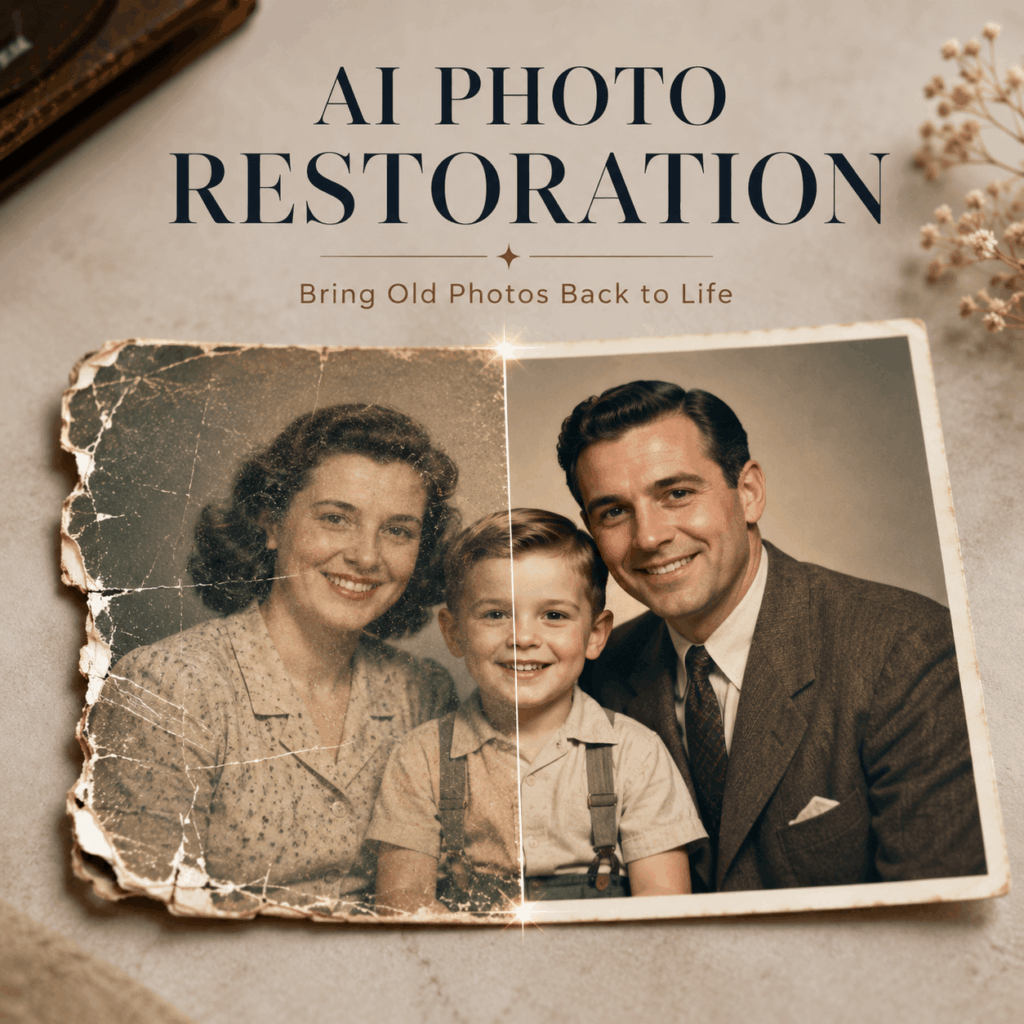
🕰️ What Can AI Photo Restoration Repair?
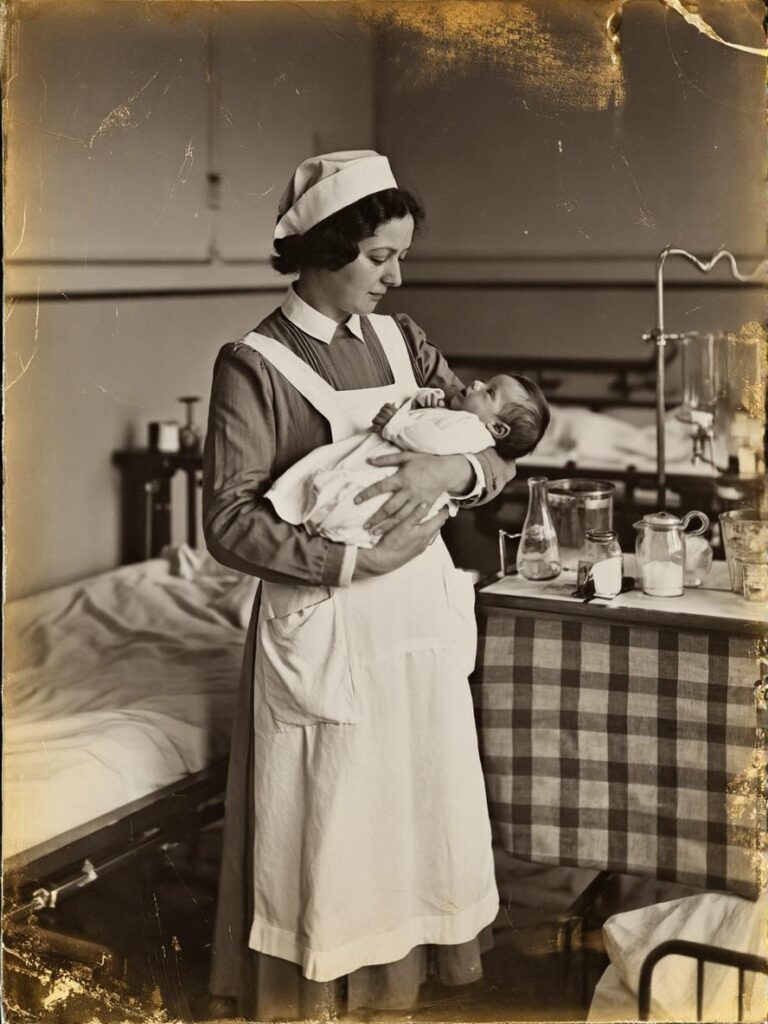
Old printed photographs can develop many types of damage over time. For example, paper may crack, colors may fade, and dust may cover important facial details.
AI Photo Restoration can help reduce:
- Scratches and cracks
- Torn or missing areas
- Dust spots
- Water stains
- Heavy film grain
- Faded contrast
- Unnatural color shifts
- Blurred facial features
However, AI cannot truly recover information that no longer exists. When an area is completely missing, it creates a likely replacement based on the surrounding image. Therefore, restored photos should be treated as visual reconstructions rather than perfect historical records.
AI Photo Restoration Should Protect Identity
Faces are usually the most important part of a family photograph. Therefore, any facial improvement should remain controlled.
Sharper eyes and clearer outlines may help. Still, too much enhancement can change a person’s age, expression, or facial structure.
The restored face should look more visible, not like a different person.
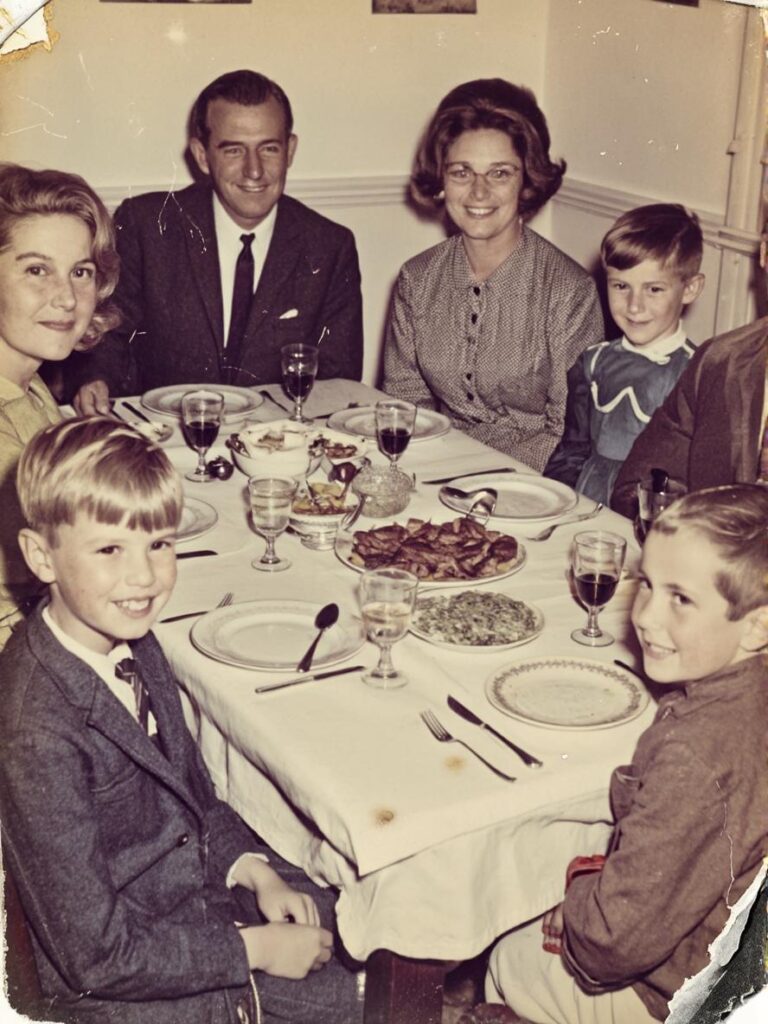
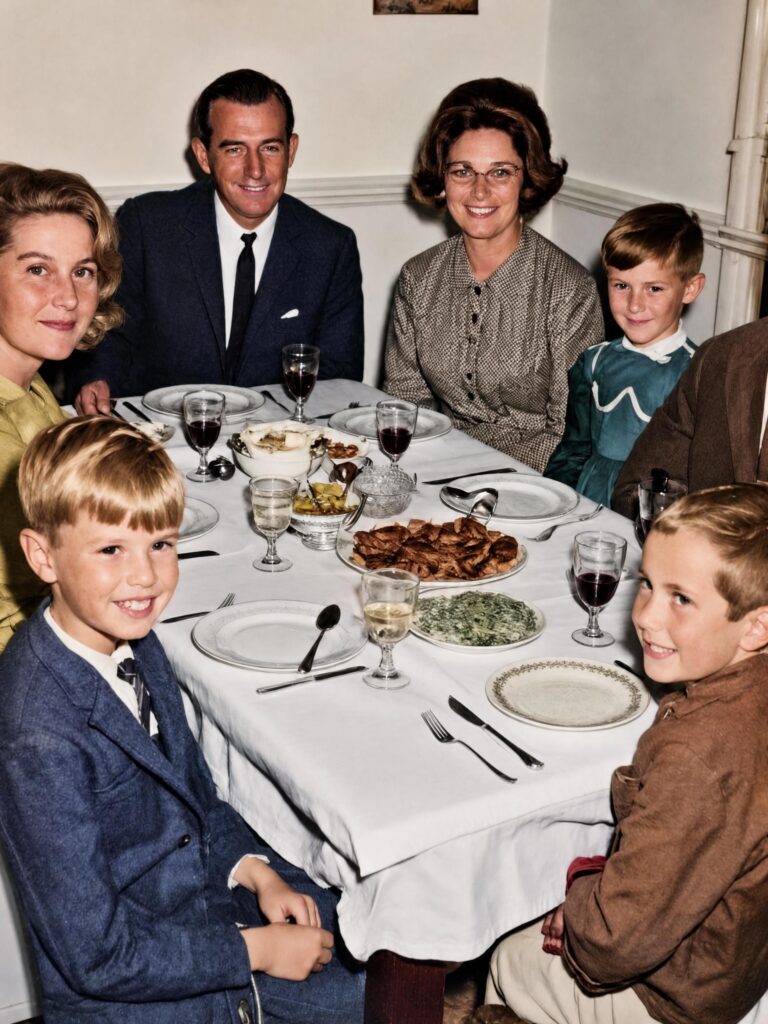
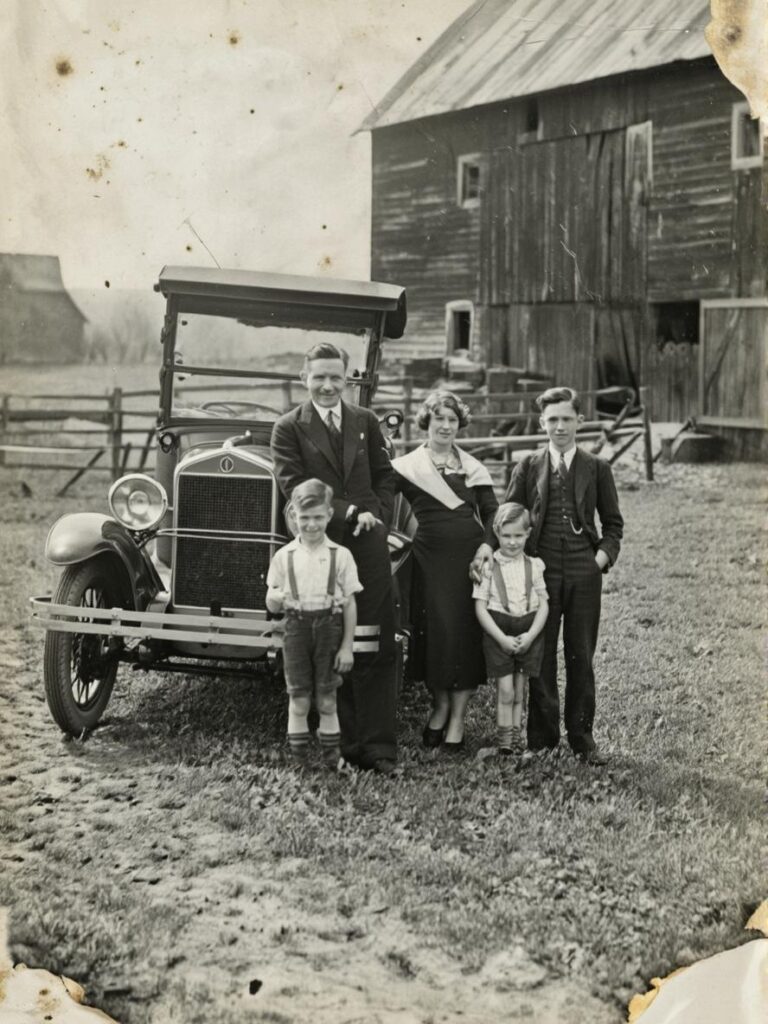
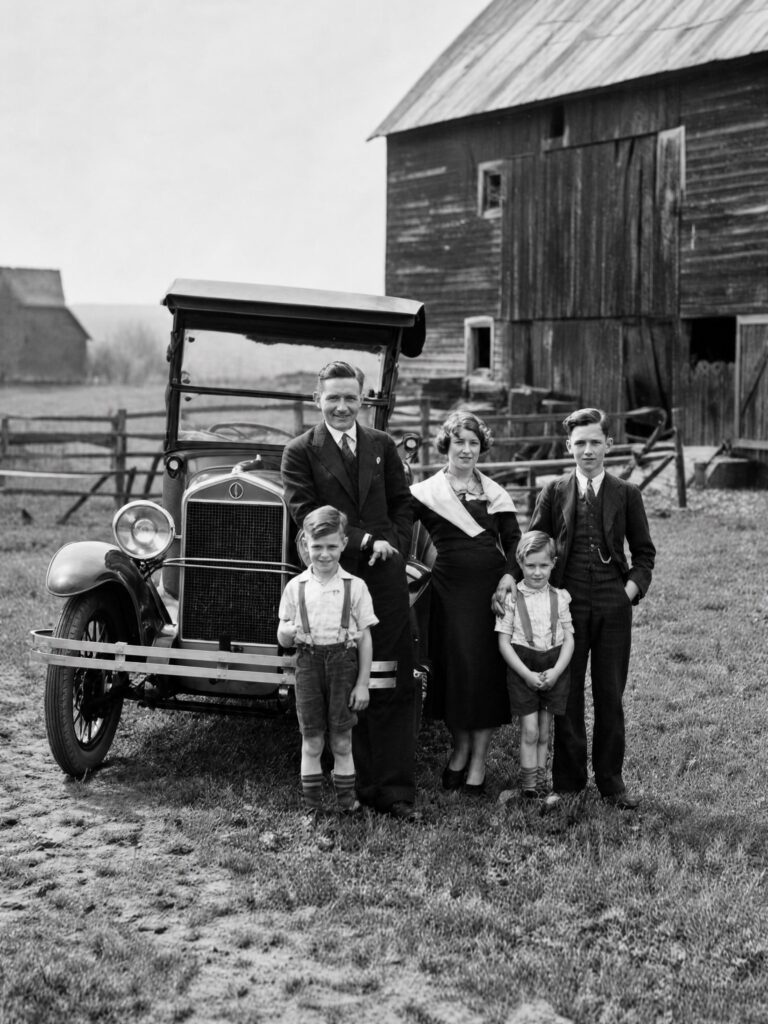
🧩 How to Restore an Old Photo With GPT Image
The process is simple, but the source image and prompt both matter.
Step 1: Prepare a Clear Digital Copy
Start with the highest-quality version of the original photograph.
If possible, scan the print at a high resolution. Alternatively, photograph it from directly above in soft, even light.
Avoid reflections, strong shadows, and tilted angles. In addition, include the full photo edges so the tool can understand the original framing.
A clear source gives AI Photo Restoration more real detail to preserve.
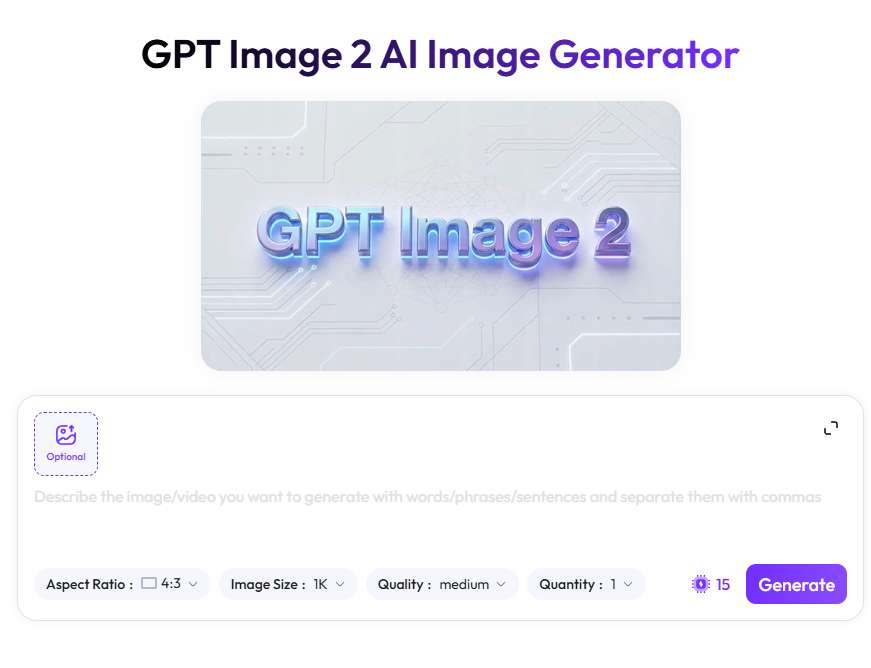
Step 2: Use a Detailed AI Photo Restoration Prompt
Upload the photograph to GPT Image and use this prompt:
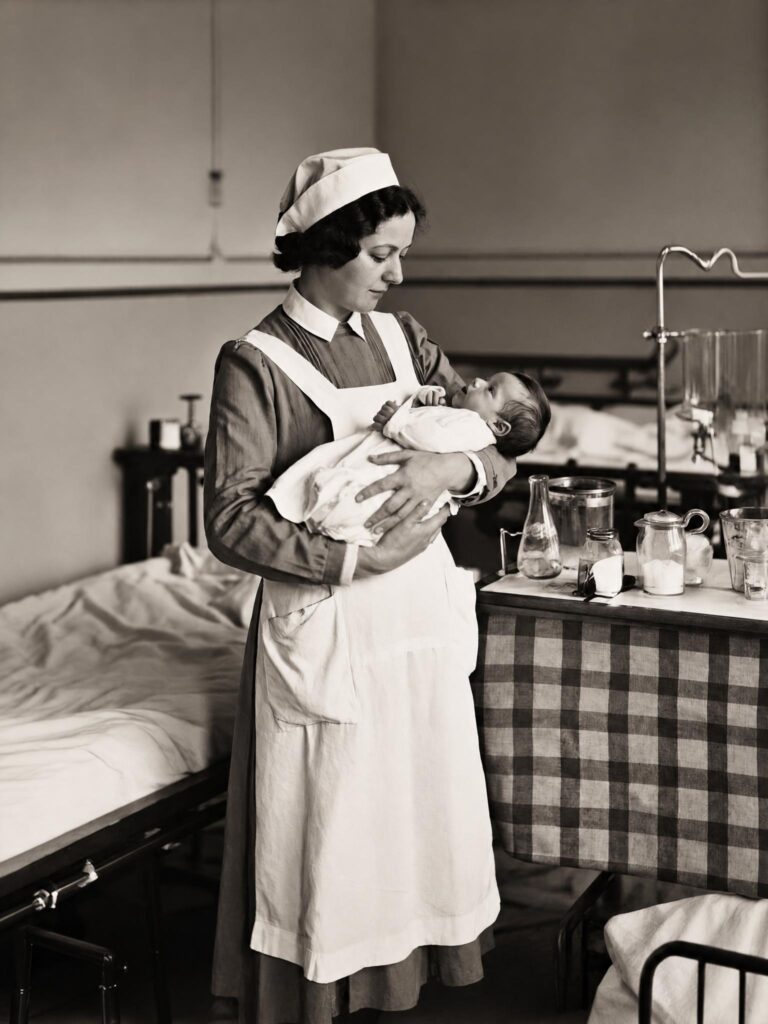
Restore this old damaged photograph to its original glory. Remove all scratches, tears, cracks, dust spots and water stains. Repair damaged and missing areas using surrounding context. Reduce excessive film grain and noise while preserving fine details. Fix faded contrast and restore natural color balance and skin tones. Sharpen blurred facial features and enhance overall clarity. Professional photo restoration result, clean and vibrant.
This prompt covers damage repair, noise reduction, color correction, and facial clarity. More importantly, it asks the tool to preserve fine details rather than simply smoothing the whole image.
Step 3: Compare More Than One Result
Do not accept the first version automatically.
Generate two or three variations. Then, compare:
- Facial identity
- Skin tone
- Hairstyle
- Hands
- Clothing details
- Background objects
- Repaired edges
One result may have stronger colors, while another may preserve the original face more accurately. Therefore, choose the version that feels most faithful rather than the most polished.
✅ How to Review an AI Photo Restoration
A cleaner photograph is not always a better restoration. Before saving the final version, check the full image carefully.
Check Faces and Skin Tones
Compare the restored face with the original.
The eyes, nose, mouth, jaw, and hairstyle should remain recognizable. In addition, skin should not look orange, gray, plastic, or heavily filtered.
If the face feels too modern or smooth, reduce the level of sharpening and enhancement.
Check Repaired Areas
Zoom in on damaged sections, especially around faces, hands, clothing patterns, and photo edges.
Look for:
- Repeated textures
- Strange lines
- Invented jewelry
- Changed clothing details
- Extra fingers
- Unnatural background objects
If one small area looks wrong, revise that part instead of replacing the entire result.
Keep the Original Photo
Always save the untouched scan.
A useful file set includes:
- Original scan
- Restored version
- Smaller sharing copy
As a result, you can try a different restoration later without losing the original record.
🚫 Common AI Photo Restoration Mistakes
One common mistake is asking for an image that is “perfect,” “flawless,” or “ultra-sharp.” These words may create a polished result. However, they can also remove natural skin texture and change the original character.
Another mistake is using a compressed screenshot instead of the original photograph. A screenshot contains less detail, so the tool has to invent more information.
Finally, do not assume every restored color is historically accurate. AI may create realistic-looking clothing or skin colors, but it cannot confirm what the original colors truly were.
For old black-and-white photos, consider keeping one restored monochrome version. Then, create a separate colorized copy if needed.
Final Thoughts on AI Photo Restoration
AI Photo Restoration can make damaged photographs easier to view, print, and share. It can remove scratches, improve faded contrast, and reveal facial details that were difficult to see.
However, the best result should still feel like the original photograph.
Begin with a clear scan. Use a detailed prompt. Then, compare several versions and check every repaired area carefully.
The purpose is not to erase the age of the photograph. Instead, it is to help an important memory become visible again.
Go to WeShop AI For Exploration: