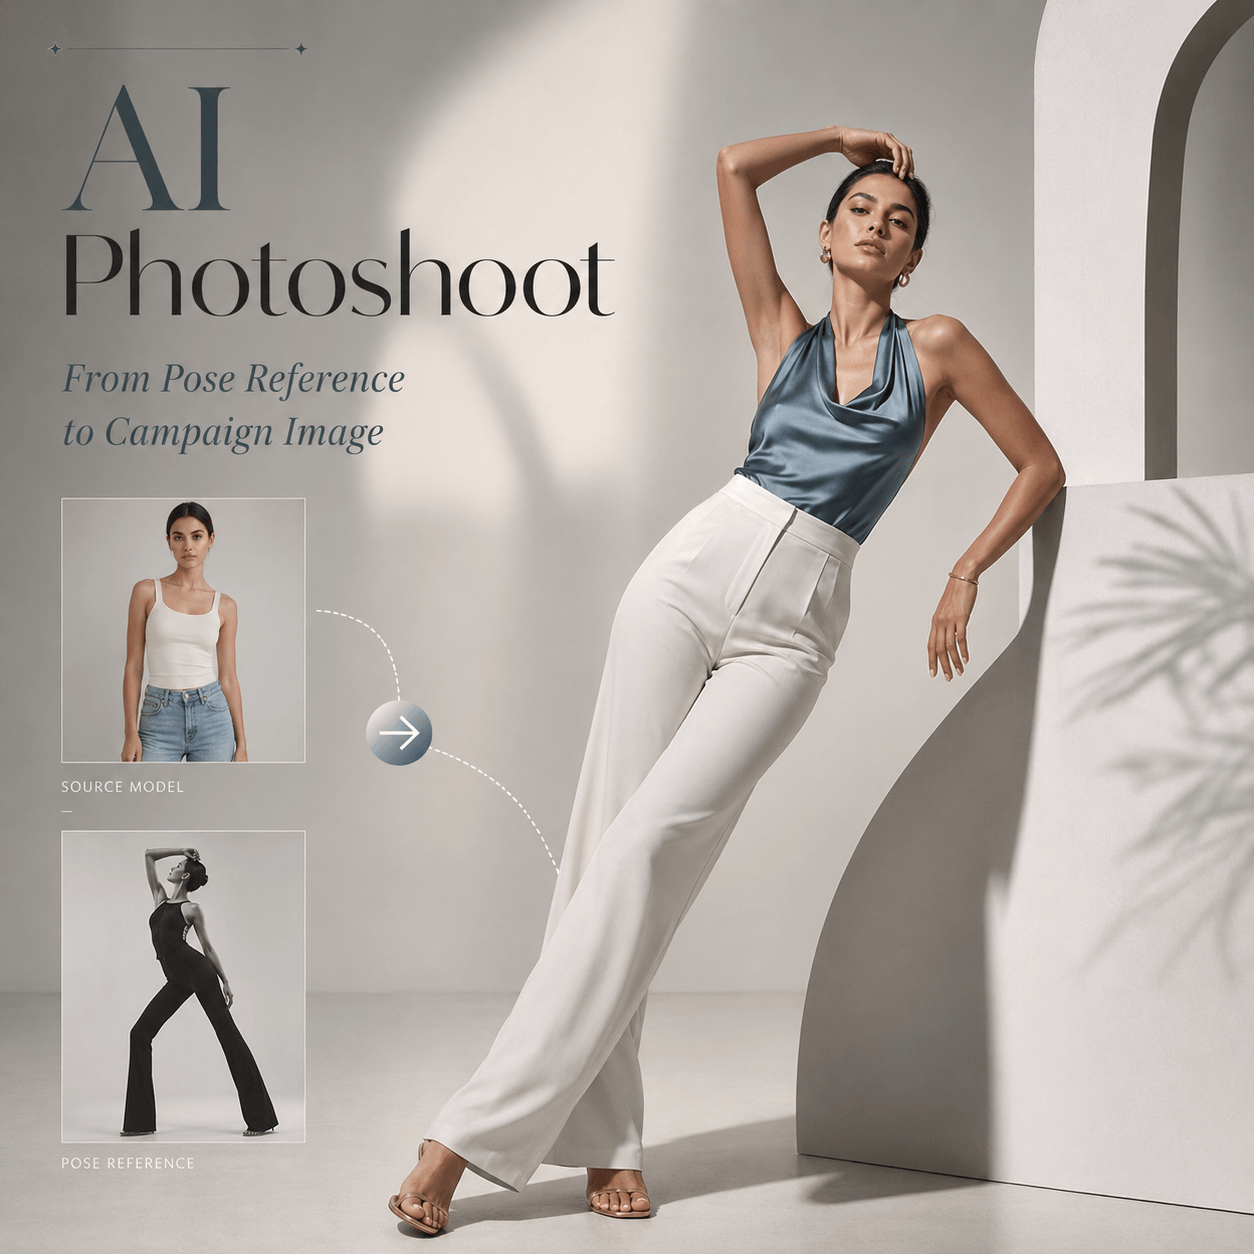
The brand brief arrives late in the afternoon. It asks for a seated hero image, one product-focused pose, and two vertical photos by tomorrow. However, you have no studio booking, no photographer, and only a few usable selfies.
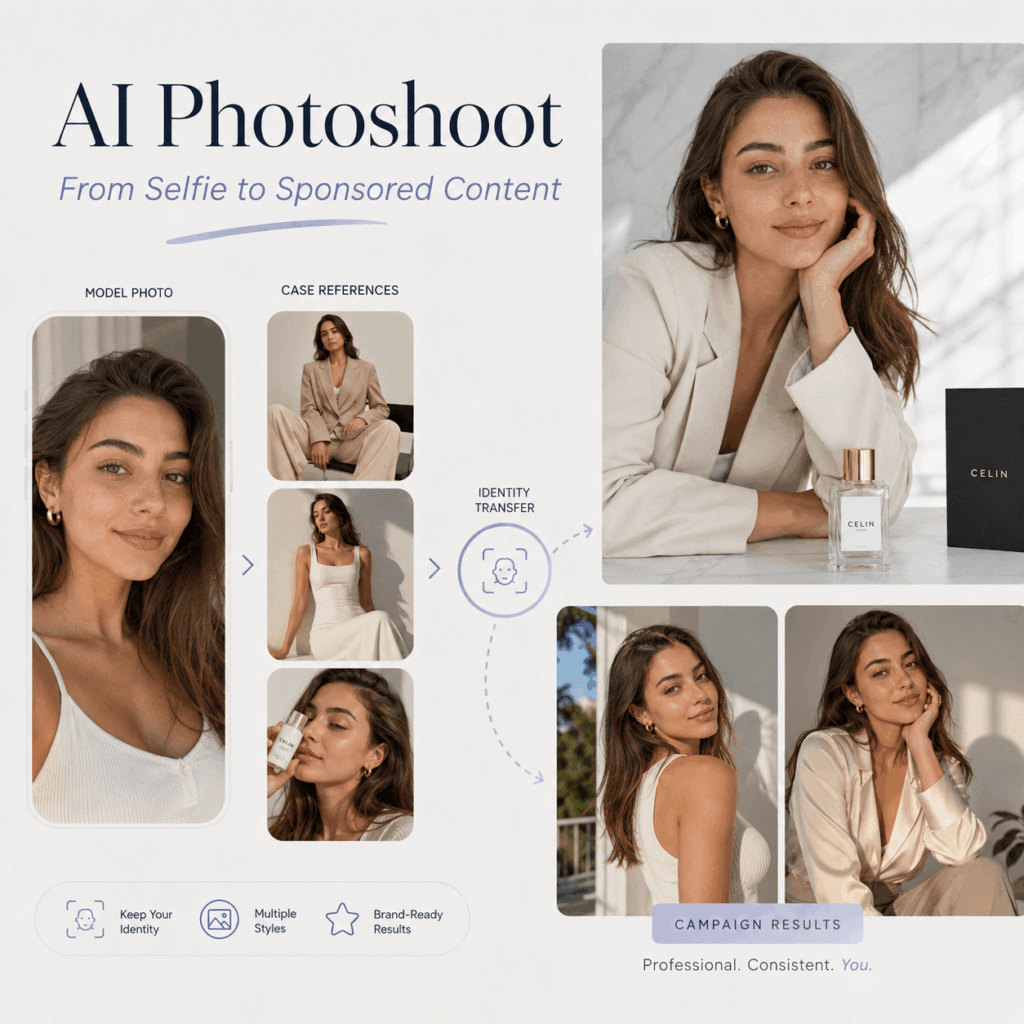
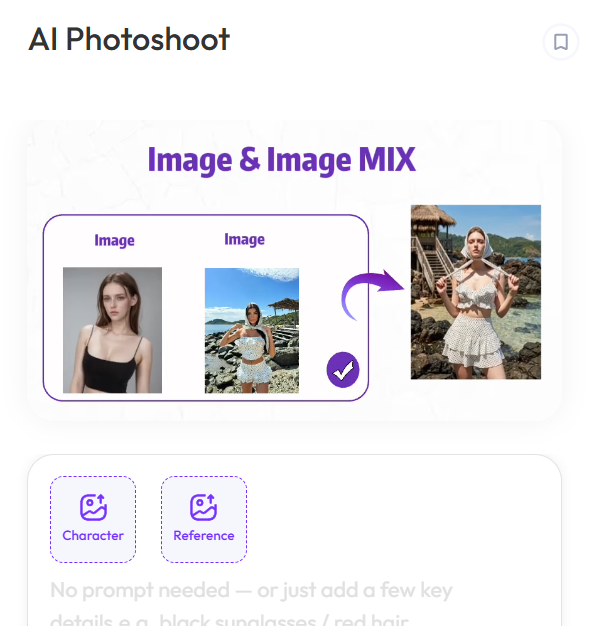
AI Photoshoot gives solo creators a practical way to handle that gap. You can upload a base photo and a pose reference. Then, the tool uses the reference to guide posture, body direction, and composition. It can also carry over parts of the lighting and visual style.
Still, the goal is not to imitate every detail in a moodboard. Instead, the goal is to translate the brand’s visual request into a clear set of deliverables.
That difference matters. A sponsored post should look like your content meeting the brand brief, not like someone else’s campaign with your face added later.
A Brand Moodboard Is Not a Shot List
A moodboard may contain ten beautiful images. However, it rarely explains which parts the creator should follow.
One reference may be included for the pose. Another may show the lighting. A third may only communicate the campaign mood.
Therefore, copying the moodboard as a whole is the wrong task.
Before opening AI Photoshoot, turn the visual references into a short shot list. For each image, identify one clear job:
- Show the full outfit
- Keep the product near the face
- Leave space for campaign text
- Create a vertical Story cover
- Capture a close portrait
- Match a seated editorial pose
This process removes vague instructions such as “make it premium” or “follow this vibe.” Instead, every image receives a purpose.
For example, a creator may receive a reference of a model sitting sideways on a chair. The important details may be the bent knee, shoulder angle, and empty space on the left. The model’s outfit and location may not matter at all.
Once those choices are clear, the moodboard becomes useful.
What AI Photoshoot Does With Two Images
The two uploads have different jobs.
Your base photo tells AI Photoshoot who should appear in the result. Meanwhile, the pose reference explains how that person should be positioned.
The tool page describes a pose-matching process that studies posture, body alignment, and structural position. It can then generate a similar pose from the uploaded base image.
The Base Photo Carries Your Identity
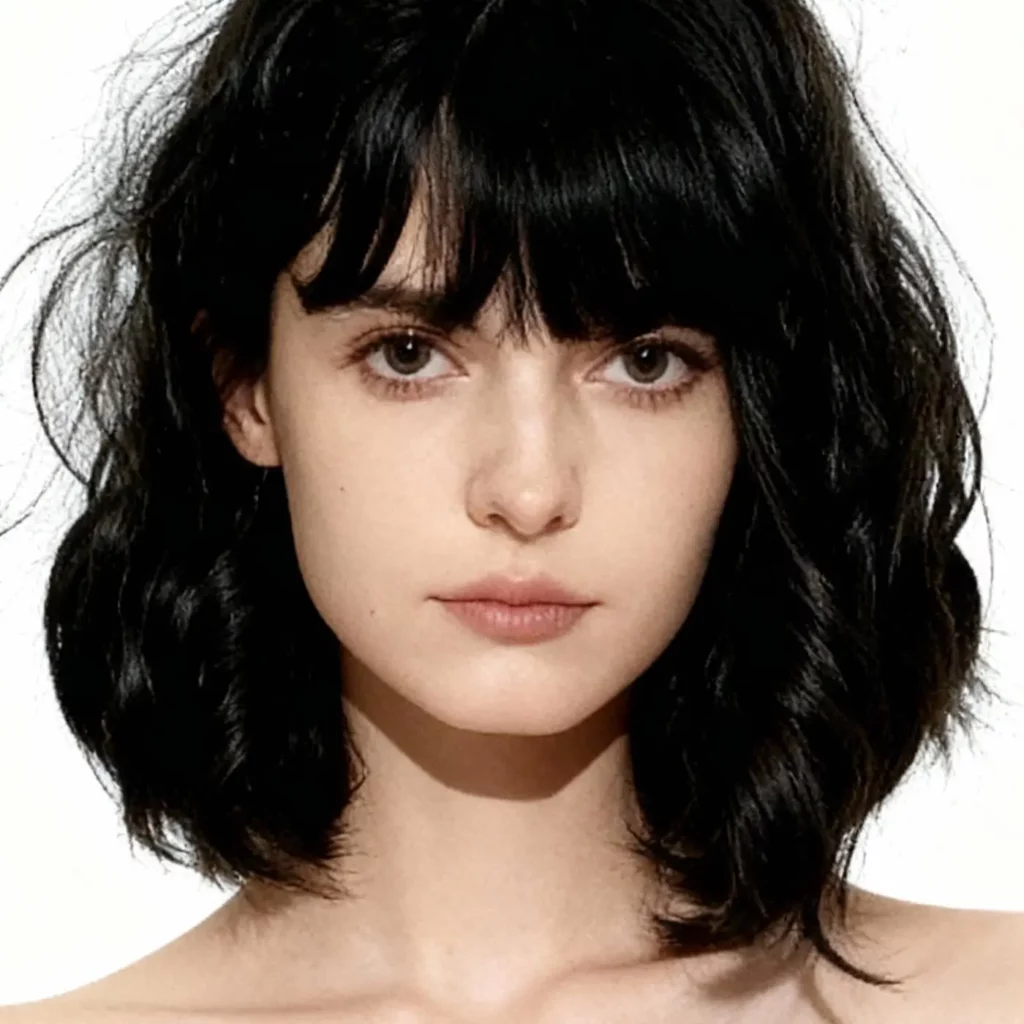
Choose a base photo with a clear face and balanced light.
A plain selfie can work. However, the face should not be hidden by hair, sunglasses, or heavy shadows. The upper body should also be visible when the target pose includes the shoulders or arms.
In addition, start with a photo that already looks like you. Strong beauty filters may create more distance between the source and the final result.
The base image does not need an editorial setting. It needs usable identity information.
The Reference Image Carries the Pose
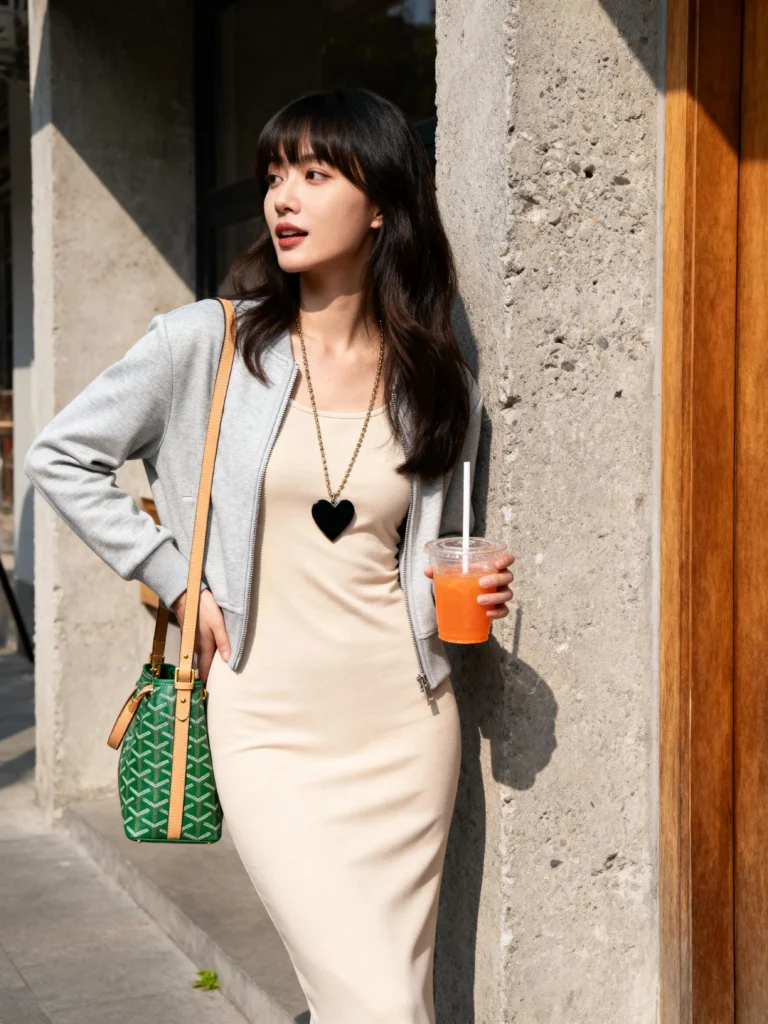
The reference should clearly show the body structure you want.
Look for:
- A visible shoulder line
- Clear arm and hand positions
- A readable body angle
- A crop similar to the final deliverable
- Enough space around the subject
By contrast, avoid references with tangled limbs, hidden hands, or several people overlapping.
A dramatic campaign photo may look impressive. Still, it is not helpful when the pose itself is difficult to read.
Style Should Support the Brief
AI Photoshoot can also reference composition, lighting, and aesthetic style. Therefore, the pose is not the only part that may influence the result.
Even so, use style matching with restraint.
If the brand asks for soft window light, you do not need to copy the exact room. Likewise, a dark editorial reference does not require the same furniture, wardrobe, and background.
Take the visual rule. Leave the unnecessary details behind.
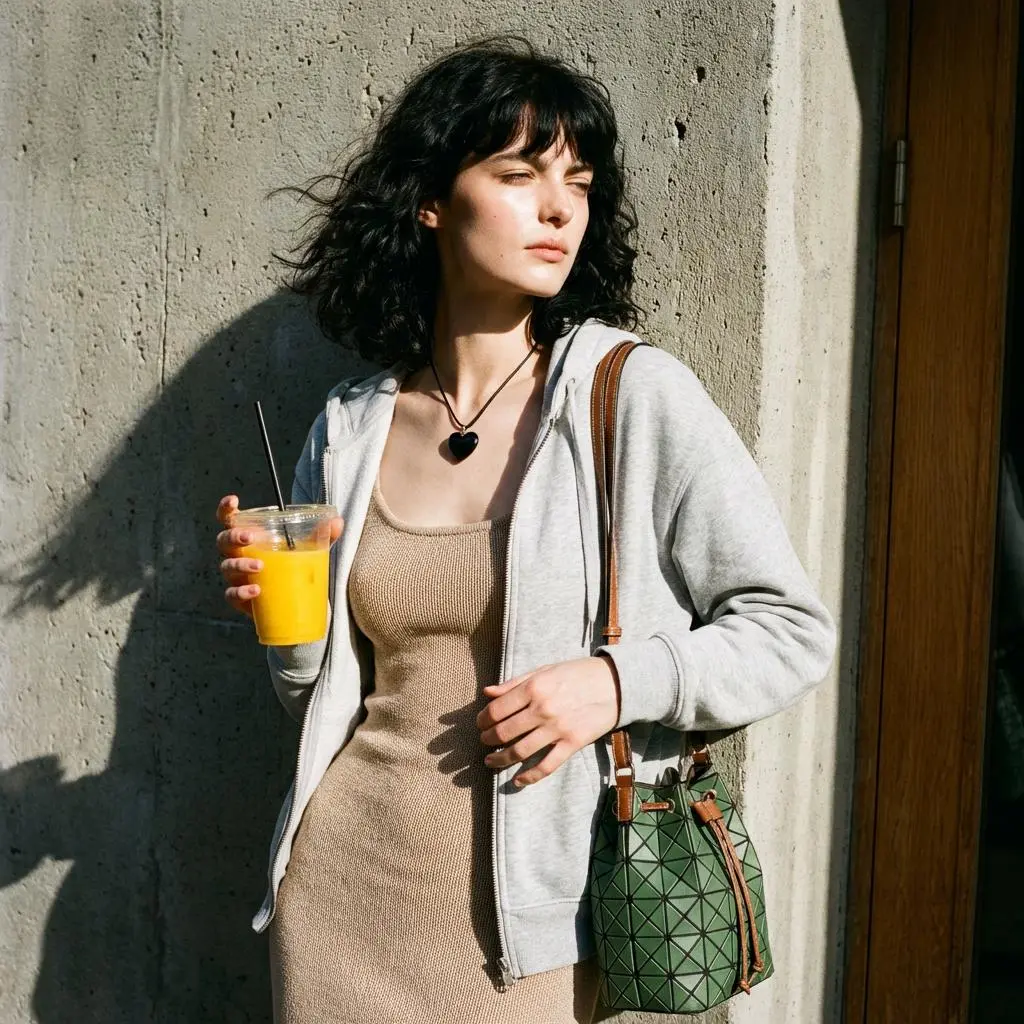
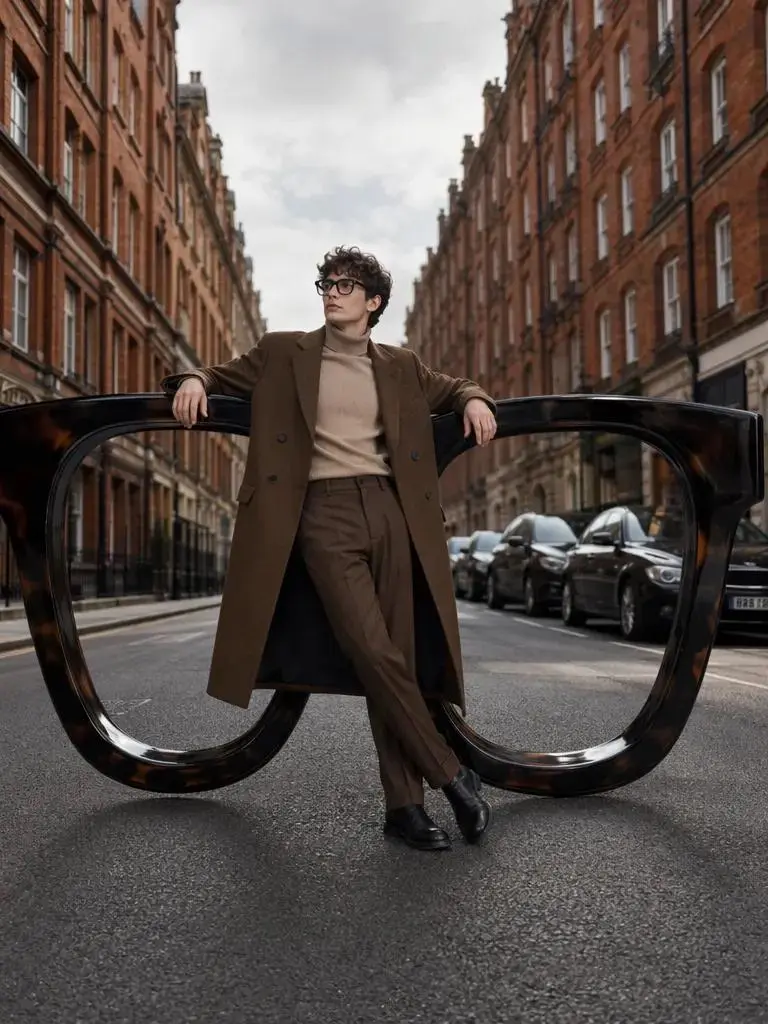
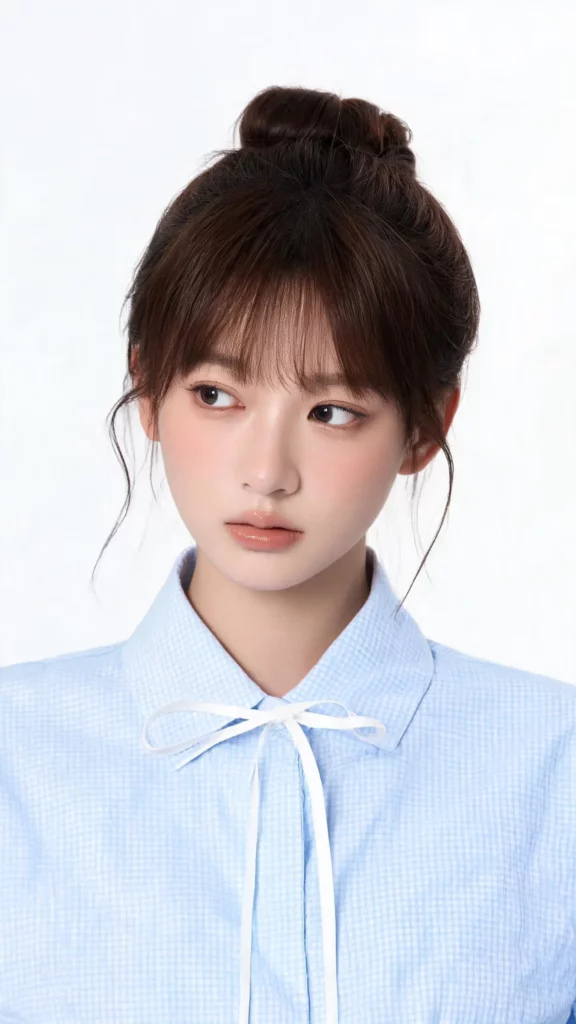
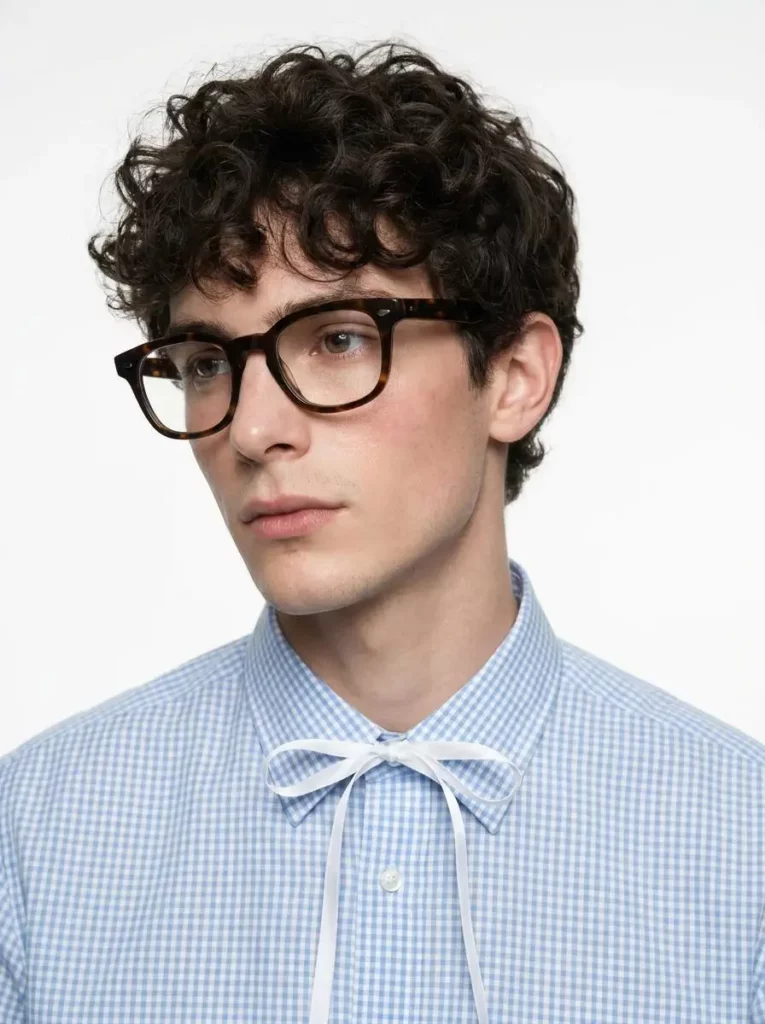
Build the Deliverables the Brand Actually Requested
A common mistake is generating many attractive photos before checking the brief.
That approach creates options. However, it may not create usable deliverables.
Instead, build the campaign one required image at a time.
Start With the Hero Image
The hero image should carry the main campaign message.
For a fashion collaboration, it may need to show the full outfit. For skincare, the product may need to stay close to the face. Meanwhile, a personal-branding campaign may rely more on posture and eye contact.
Choose a pose reference that already fits the final crop.
If the brand needs a vertical image, do not begin with a wide landscape composition. Otherwise, important details may disappear after cropping.
Create a Product Interaction Shot
The next image should show how the product enters the scene.
Possible directions include:
- Holding a bottle near the face
- Carrying a bag at the side
- Adjusting a watch
- Wearing headphones naturally
- Looking at a product in hand
However, product shots require extra review. The packaging, logo, shape, and color must remain accurate.
When exact product identity matters, consider generating the pose first. Then, complete the final product placement through an approved editing workflow.
Add One Close Portrait
A close portrait gives the campaign a quieter image.
It can work for a carousel cover, creator introduction, testimonial, or personal caption. Therefore, the expression should fit the message rather than repeat the full-body pose.
Use a reference with a clear head angle and simple framing. In addition, check whether the crop leaves enough room for the platform interface.
Prepare the Vertical Version
A feed image and a Story image are not the same deliverable.
For the vertical version, protect the face, hands, and product from interface overlays. Also, leave space near the top or side when the brand plans to add text.
As a result, the final content will feel designed for the platform instead of cropped as an afterthought.
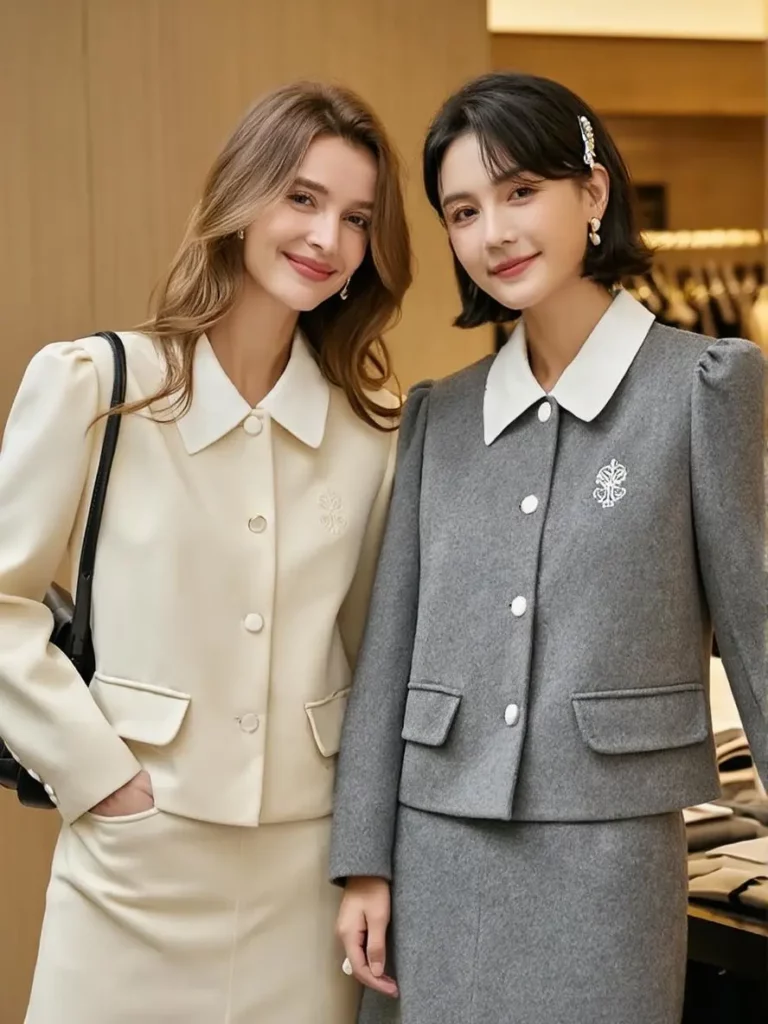
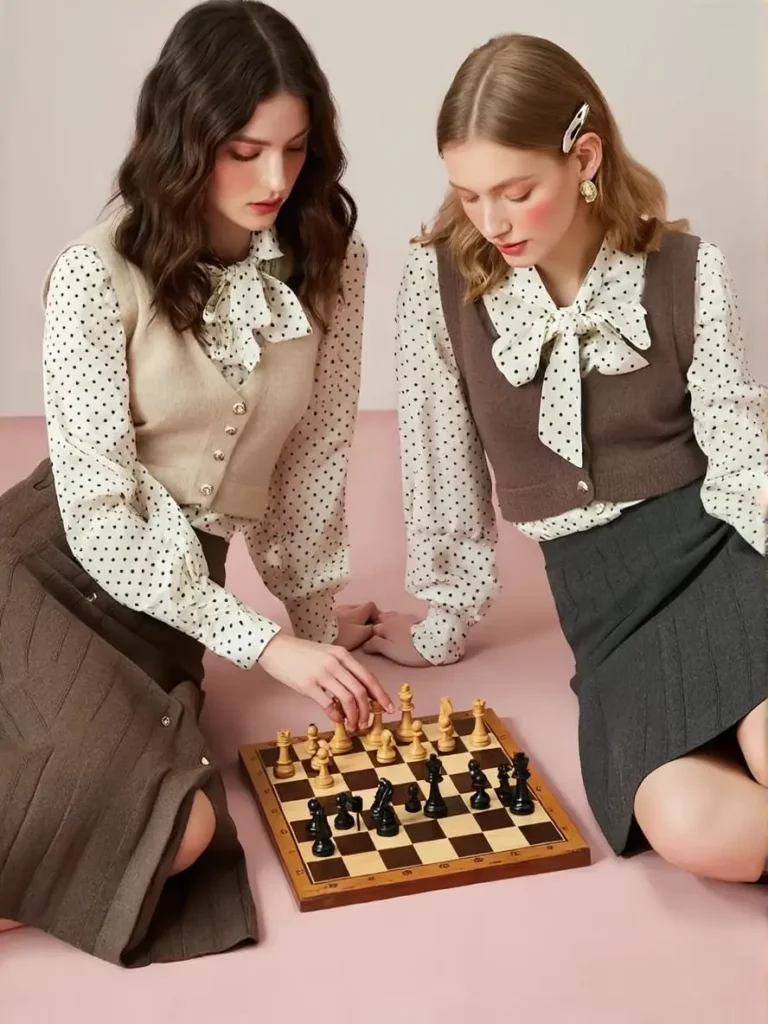
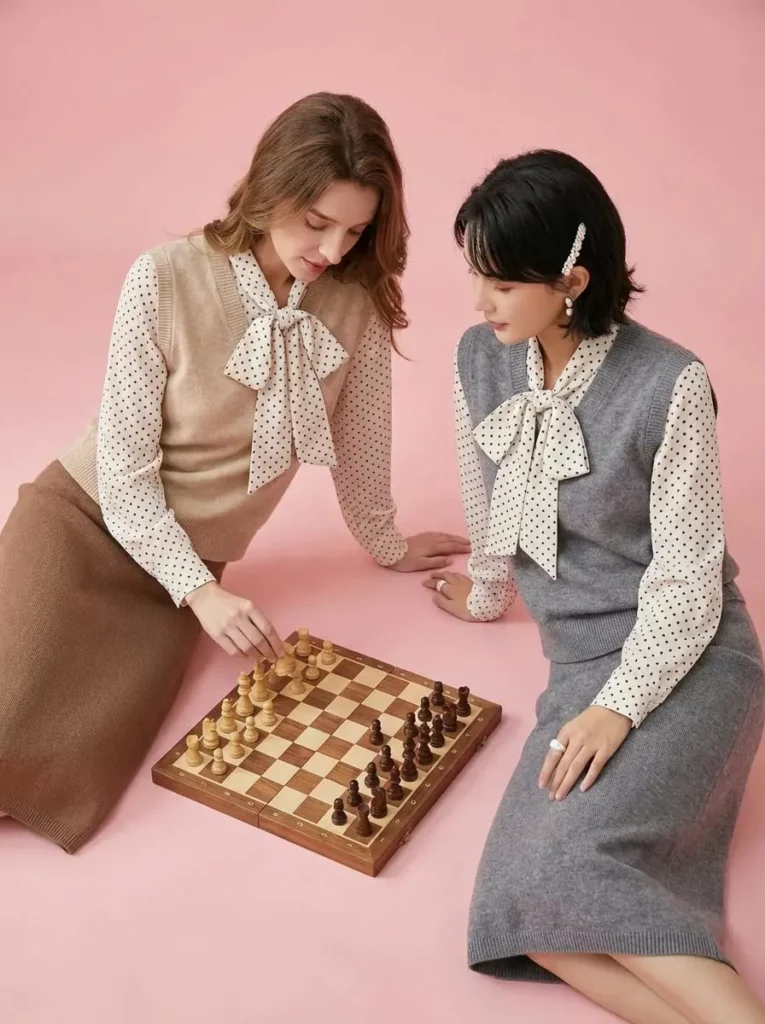
Match the Pose Without Copying the Campaign
A pose reference is a production guide. It is not permission to rebuild another creator’s image detail by detail.
Therefore, separate the pose from the person in the reference.
You may use:
- The angle of the torso
- The position of the arms
- The direction of the gaze
- The camera height
- The balance of negative space
- The overall energy of the pose
However, you do not need to reproduce:
- The exact styling
- The same room
- The original creator’s identity
- Every prop
- The full color treatment
- A recognizable campaign layout
For example, a reference may show a model leaning against a silver wall. The useful part could be the relaxed shoulder and side-facing stance. Your result could use a clean studio background and still satisfy the brief.
This approach keeps the image connected to your own content style.
It also prevents the final post from looking like a weak copy of the moodboard.
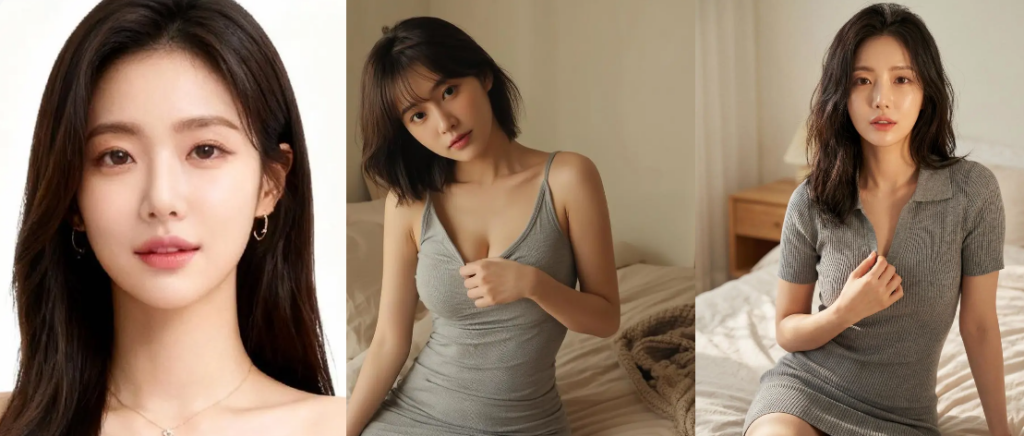
Give AI Photoshoot a Cleaner Source Set
Better inputs usually reduce the number of unusable results.
First, select two or three recent selfies with consistent hair, makeup, and facial features. Next, remove any source photo that has extreme filters or a heavily covered face.
Then, review the pose references as a set.
Do they belong to the same campaign? Do they use similar lighting? Can they work with one outfit? If the references conflict, the final images may also feel disconnected.
A simple source set could include:
- One clean front-facing selfie
- One three-quarter portrait
- One full or half-body base photo
- One seated pose reference
- One standing pose reference
- One close portrait reference
This is enough to build a small sponsored-content set.
More references do not always create more control. In fact, a focused source set often produces a more consistent campaign.
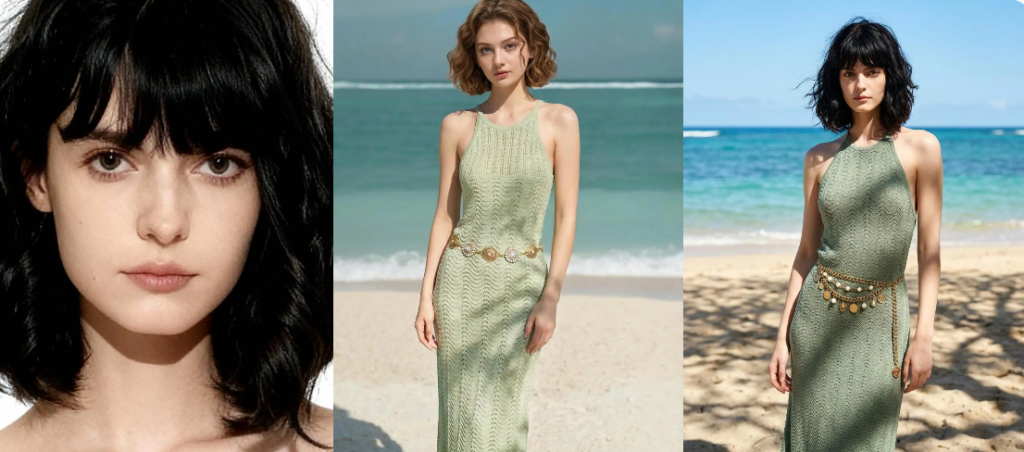
Review the Details a Brand Manager Will Notice
A polished atmosphere cannot hide a broken product or an unnatural hand.
Therefore, review every image at full size before sending it to the brand.
Check the Face and Hair
The person should remain recognizable across the whole set.
Compare the eyes, jawline, nose, hairline, and hairstyle. Small lighting changes are normal. However, the creator should not appear to become a different person between slides.
Also, inspect earrings, glasses, and other repeated features. They should not appear and disappear without reason.
Inspect Hands and Body Position
Hands often carry the product or complete the pose. Therefore, they deserve more than a quick glance.
Check:
- Finger count and direction
- Wrist angle
- Contact between hand and product
- Shoulder placement
- Elbow shape
- Balance of body weight
A visually dramatic pose is not useful when the arm structure feels impossible.
Protect the Sponsored Product
The product must remain trustworthy.
Look closely at the logo, label, cap, packaging, pattern, and proportions. If any of these details change, do not deliver the image as a product shot.
Instead, use that result as a pose draft or regenerate it with a cleaner source.
Test the Final Crop
Finally, open the image at its intended ratio.
A pose may look balanced in the full result but fail inside a 4:5 feed crop. Likewise, a hand or product may disappear behind a Story interface.
Test the crop before the approval stage. Consequently, you will avoid asking the brand to choose an image that cannot be published.
A One-Person Brand Shoot Workflow
Solo creators need a process that fits around the rest of the collaboration.
The following workflow keeps the project small and controlled.
Step 1: Mark Every Required Deliverable
Start with the brief.
Write down the platform, ratio, pose, product role, and deadline for each image. If a requirement is unclear, resolve it before generating.
Step 2: Pair Each Deliverable With One Reference
Next, choose the best pose reference for each shot.
Do not use one reference simply because it looks good. Instead, match it to a clear purpose in the campaign.
Step 3: Generate in Small Batches
Use AI Photoshoot to test one pose direction at a time.
Choose the strongest structure before creating more variations. This prevents the review folder from filling with nearly identical images.
Step 4: Review Before Styling the Set
Check the face, body, hands, clothing, and product first.
After that, compare the lighting, color, and crop across the selected images. Technical accuracy should come before visual polish.
Step 5: Deliver a Tight Selection
Send only the strongest approved options.
A brand manager does not need to review thirty experiments. Usually, two good options for each requested deliverable are more useful than a large folder with no clear hierarchy.
。
Where AI Photoshoot Should Stop
AI Photoshoot can help with pose matching, composition, lighting direction, and virtual campaign images. It can also support fashion, portrait, influencer, ecommerce, and personal-branding content.
However, it should not make every campaign decision.
The creator still needs to understand the product, audience, platform, and disclosure requirements. In addition, the brand must approve how its product and identity appear.
Do not hide major product changes behind the phrase “AI-generated.” Likewise, do not deliver a result that breaks the original campaign promise.
The tool can shorten production.
It cannot replace judgment.
Turn a Selfie Into a Usable Campaign Set
A sponsored shoot does not begin with a random collection of attractive images. It begins with a brief.
AI Photoshoot helps solo creators turn that brief into pose-led visuals. A base selfie provides the person. Meanwhile, the reference image provides structure, direction, and composition.
Start by identifying what each deliverable needs to do. Then, choose one suitable reference for each image. After that, generate, review, and crop the results with the same care you would give a traditional shoot.
The brand does not need fifty experiments.
It needs a small set of images that follows the brief and still looks like you.
Go to WeShop AI For Exploration: