Image to Video AI can turn a still photo into a moving scene. However, movement alone does not make a strong video. A random zoom may add energy, but it rarely gives viewers a reason to keep watching.
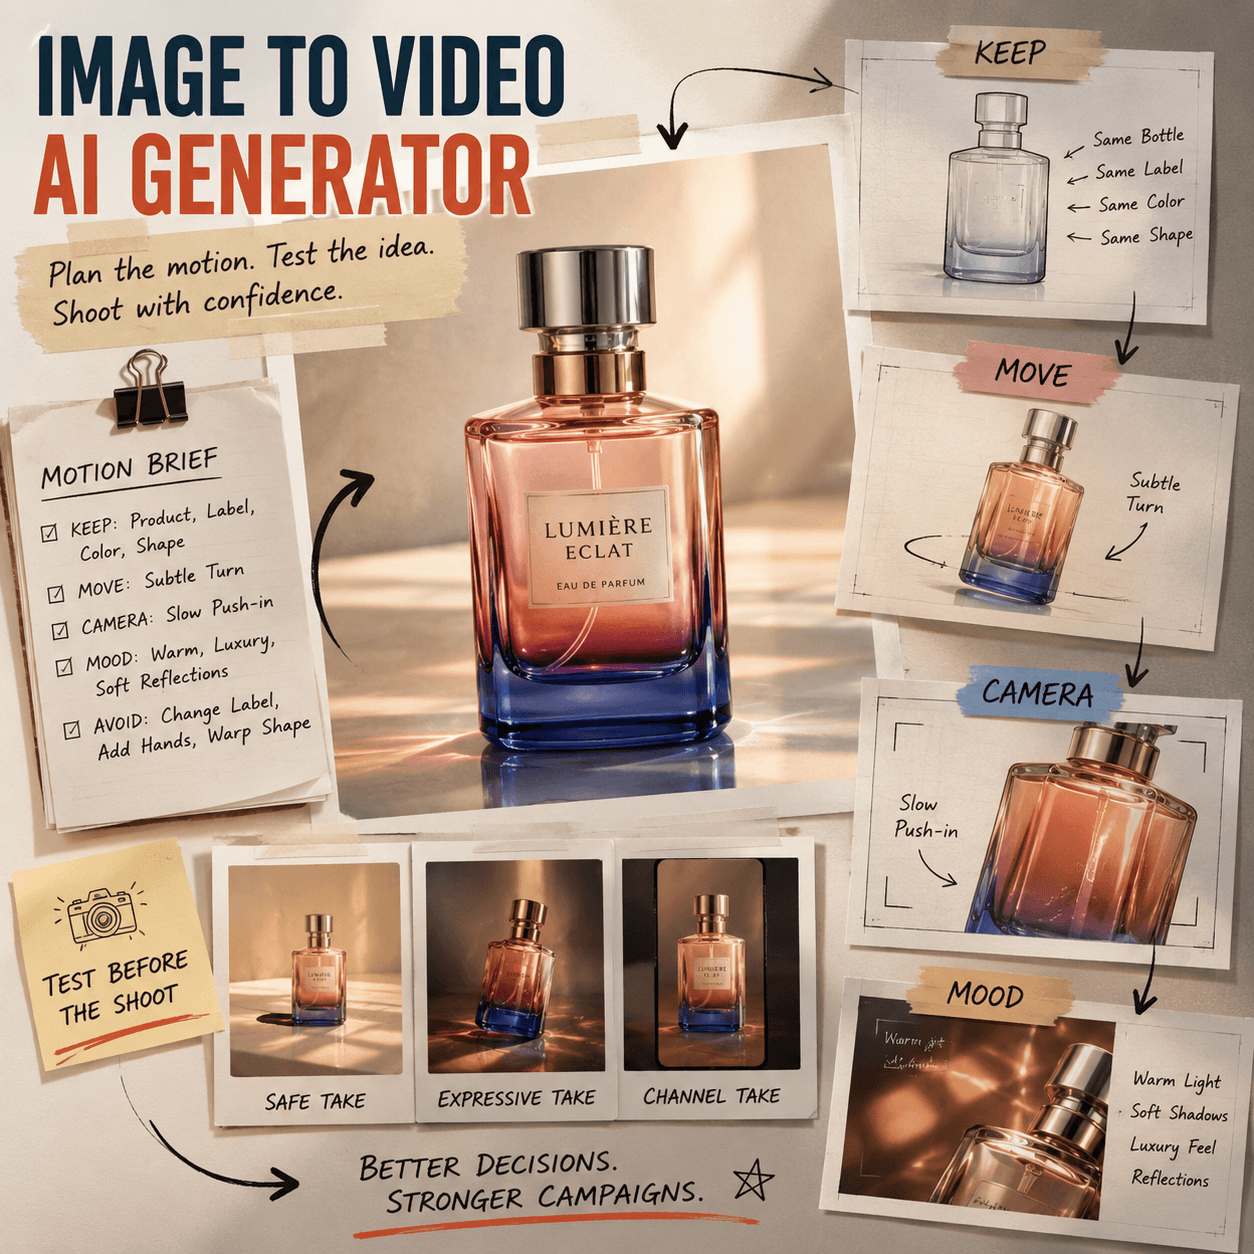
Instead, better results start with a simple motion brief. You need to decide what should stay unchanged, what should move, and where the viewer should look.
This approach works for product photos, portraits, campaign images, logos, illustrations, and AI artwork. More importantly, it helps you avoid unstable motion and distracting effects.
In this guide, you will learn how to direct movement before you generate. Therefore, you can create videos that feel planned rather than accidental.
🧭 Why Image to Video AI Needs Clear Direction
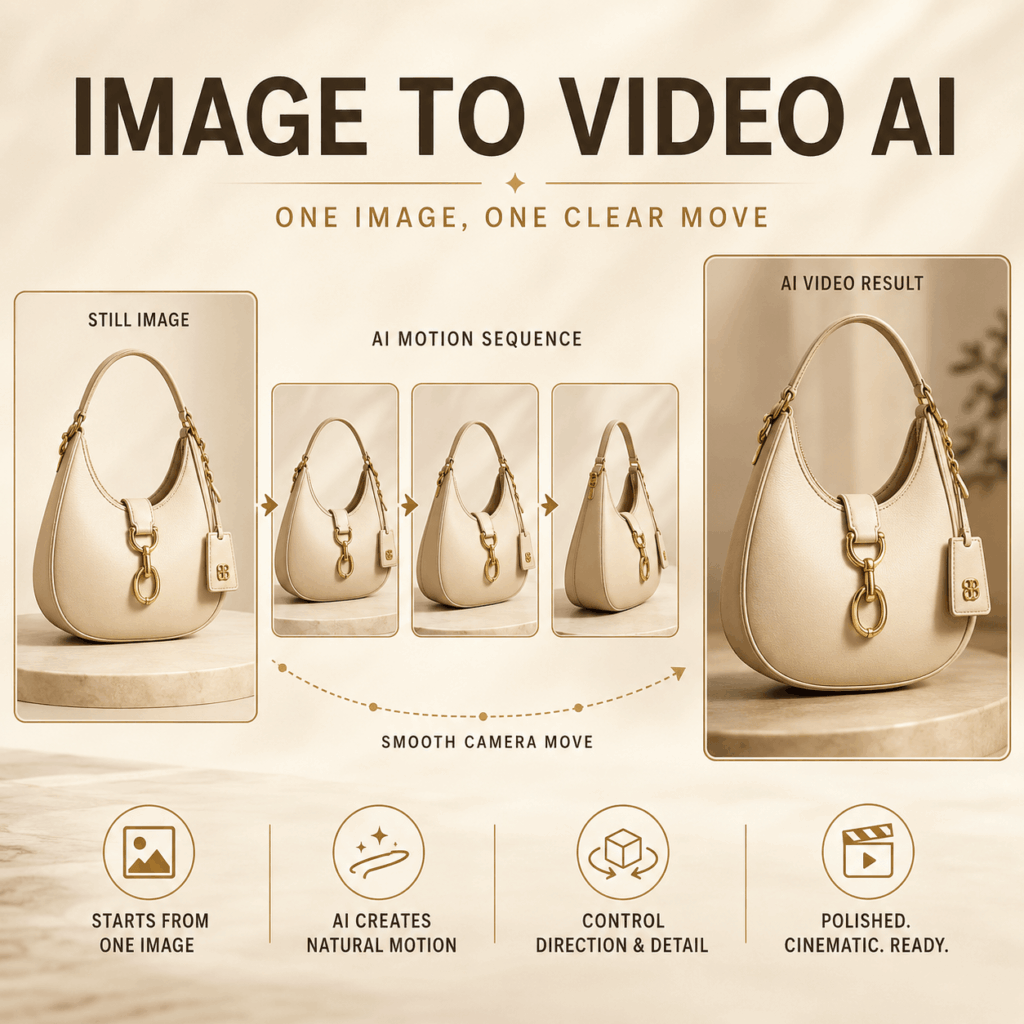
A still image already has a visual order. It has a main subject, supporting details, and a background. However, that order can disappear when everything moves at the same time.
For example, imagine a skincare bottle on a reflective table. The bottle is the main subject. The reflection adds depth, while the background creates the mood.
If the bottle rotates, the camera circles, the light flashes, and the background changes at once, the product may lose attention. Therefore, a better prompt does not simply ask for more movement. It gives each part of the image a clear job.
Image to Video AI Needs a Motion Hierarchy
Many users describe the final mood but forget to explain the motion order. As a result, the tool must guess which element matters most.
Instead, decide what the viewer should notice first. Then, use movement to guide attention toward that detail.
For a product image, the item should usually remain the visual anchor. Meanwhile, the camera, light, or background can create supporting motion.
For a portrait, the face should stay clear. Therefore, hair, fabric, lighting, or camera movement should remain subtle.
Avoid Turning One Image Into a Whole Movie
A short Image to Video AI clip works best when it captures one clear moment. However, prompts often include several actions, camera moves, lighting changes, and scene transitions.
Because of this, the final result may feel rushed or unstable. In contrast, a simple idea gives the subject more room to look natural.
One subject, one action, and one camera move are often enough.
🎯 Use the KEEP–MOVE–CAMERA–MOOD Framework
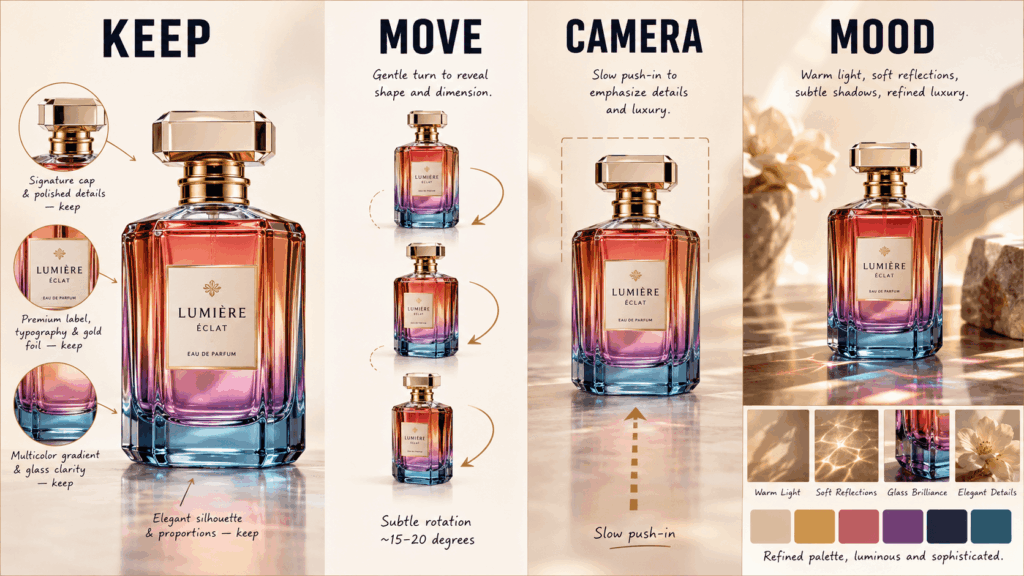
Before you generate a video, write four short lines. This small step turns a vague idea into a clear motion brief.
The framework includes:
KEEP: What must remain unchanged?
MOVE: What is the main action?
CAMERA: How should the viewer move through the scene?
MOOD: Which small details support the atmosphere?
Once these four parts are clear, your prompt becomes easier to control.
KEEP: Protect the Main Visual Details
First, list the details that must stay consistent.
For a product photo, these may include the bottle shape, label, logo, cap, color, and material. For a portrait, they may include the face, hairstyle, outfit, and body proportions.
Meanwhile, an illustration may need to keep its original lines, textures, and color palette.
A clear KEEP instruction could be:
“Keep the perfume bottle, label, cap, colors, and proportions unchanged.”
This sentence gives the video a stable center. Therefore, every other creative choice should support it.
MOVE: Choose One Main Action
Next, select one main movement.
You could use:
- A slow product turn
- A gentle head movement
- Fabric moving in the wind
- Steam rising from a drink
- Water flowing around a product
- Light passing across a surface
However, avoid giving the subject several unrelated actions.
For instance, a fashion portrait may only need a small head turn and soft hair movement. Likewise, a product image may only need a controlled rotation.
One clear action is easier to understand. Moreover, it often feels more premium than a frame filled with effects.
CAMERA: Pick One Viewing Path
Then, decide how the camera should move.
Useful options include:
- A slow push-in
- A gentle pull-back
- A small side pan
- A fixed camera
- A short arc around the subject
In contrast, combining several camera directions can make the video feel restless.
The camera should reveal something. For example, a push-in can highlight texture. Meanwhile, a side pan can create more depth between the subject and background.
MOOD: Add Supporting Motion
Finally, add one or two background details that support the scene.
You could use:
- Soft curtain movement
- Drifting mist
- Moving light reflections
- Falling dust
- Gentle shadows
- A calm breeze
- Still, these details should remain quieter than the main subject. In other words, mood should support the story rather than compete with it.
🖼️ Match Image to Video AI Motion to the Source Image
Different images need different types of movement. Therefore, the source image should guide your motion plan.
A clean product image needs control. A fashion portrait needs natural body movement. Meanwhile, a landscape can use more depth and environmental motion.
Image to Video AI for Product Photos
Product videos need careful control because shape and detail affect customer trust.
First, choose a clean image. Then, keep the product as the visual anchor.
A useful prompt is:
“Keep the serum bottle, label, cap, color, and proportions unchanged. The bottle stays centered while the camera makes a slow right-to-left arc. Soft reflections move across the glass. The background remains clean and stable.”
This prompt gives the camera one clear job. At the same time, it protects the details customers need to recognize.
For better results, avoid strong object movement when the packaging has small text. Instead, use light, reflections, or camera motion to create energy.
Image to Video AI for Fashion Portraits
Portrait motion should often begin with small actions. A slight turn, one blink, gentle breathing, or soft fabric movement can be enough.
For example:
“Keep the model’s face, hairstyle, outfit, and body proportions unchanged. She turns her head slightly toward the camera. Her hair moves gently in a light breeze. Use a slow push-in and natural daylight.”
However, avoid changing the pose too much when the source image only shows part of the body. The tool has less visual information for hidden areas.
Therefore, choose movement that matches what the image already shows.
🛠️ A Four-Step Image to Video AI Workflow
A better result does not require a complex production process. Instead, it requires a few clear decisions.
Step 1: Choose an Image With Room to Move
First, look for a clear subject and visible edges.
Also, check whether the frame has enough space for a camera push, pan, or background movement.
Crowded images can still work. However, they give the tool more elements to interpret. As a result, motion may become less stable.
A strong source image usually includes:
- One clear subject
- Good lighting
- Visible edges
- Simple background details
- Enough space around the subject
Step 2: Write a Short Motion Brief
Next, write one line for KEEP, MOVE, CAMERA, and MOOD.
For example:
- KEEP: Product shape, label, and color
- MOVE: Soft rotation
- CAMERA: Slow push-in
- MOOD: Moving reflections and warm light
Then, combine the four lines into one natural prompt.
For example:
“Keep the product shape, label, and color unchanged. Add a soft rotation while the camera slowly pushes in. Use warm light and gentle reflections in the background.”
This method keeps the instruction focused. Moreover, it makes the prompt easier to edit later.
Step 3: Change One Variable at a Time
After generating the first version, review the result.
If the motion is too strong, reduce the main action. If the frame feels flat, adjust the camera. Meanwhile, if the background feels empty, add one small mood detail.
However, do not rewrite the entire prompt after every test.
Instead, change one variable at a time. Therefore, you can see which adjustment actually improves the video.
For example:
- Version 1: Slow push-in
- Version 2: Fixed camera
- Version 3: Slow side pan
This simple test makes comparison easier.
Step 4: Review the Full Video
Finally, do not judge the video only by its first second.
Watch the full result. Then, pause near the end.
Ask these questions:
- Did the main subject keep its identity?
- Did the motion guide attention?
- Did any product detail, face, hand, logo, or text change?
- Does the final frame still look usable?
This final check matters because a clip can begin well and lose stability later.
🚫 Common Image to Video AI Mistakes
Even a strong image can produce a weak video when the prompt lacks control.
Fortunately, many common mistakes are easy to fix.
Making Every Object Move
The first mistake is asking every object to move.
When the subject, background, camera, light, and props all move together, the viewer has no clear focus.
Instead, keep one visual anchor stable. Then, add movement around it.
Using Mood Words Without Motion Words
Words such as “luxury,” “cinematic,” or “dreamy” describe a feeling. However, they do not explain what should actually move.
Therefore, pair mood words with clear actions.
Instead of writing:
“Create a luxurious cinematic video.”
Write:
“Keep the perfume bottle still while the camera slowly pushes in. Add soft gold reflections and gentle shadow movement.”
The second prompt gives the tool more direction.
Mixing Too Many Camera Moves
A push-in, rotation, pull-back, and side pan should not all happen in one short clip.
Instead, choose one viewing path.
For example, use a slow push-in to highlight detail. Alternatively, use a side pan to reveal the scene.
Ignoring the Final Frame
A video may look strong at the beginning but become distorted near the end.
Therefore, always check the final frame.
This is especially important for product labels, hands, faces, logos, and clothing details.
Choosing Motion the Source Image Cannot Support
A close-up face may not be the best starting point for a full-body walk. Likewise, a cropped product photo may not support a complete rotation.
Instead, use movement that fits the visible information.
The source image should guide the motion. It should not fight against it.
❓ Image to Video AI FAQ
How Long Should an Image to Video AI Prompt Be?
Keep it clear rather than long.
Usually, one sentence for protected details, one sentence for the main action, and one sentence for the camera and mood are enough.
However, remove any words that do not affect the result.
Can Image to Video AI Keep Text and Logos Clear?
Text and logos need careful review because generated motion can change small shapes.
Therefore, keep the graphic area stable. Also, use subtle movement and check the full clip before publishing.
What Should I Do When the Result Looks Too Busy?
First, remove one action.
Then, simplify the camera move. After that, reduce background effects until the main subject becomes clear again.
Usually, the best fix is to ask for less rather than more.
✨ Final Thoughts: Direct the Motion Before You Generate
Image to Video AI works best when motion is treated as a creative choice rather than a random effect.
First, protect the main visual details. Next, choose one clear action. Then, guide the camera along one simple path. Finally, add small environmental details to support the mood.
With a short motion brief, one still image can become a cleaner and more intentional video. More importantly, the final result can still feel connected to the original photo.
Go to WeShop AI For Exploration: