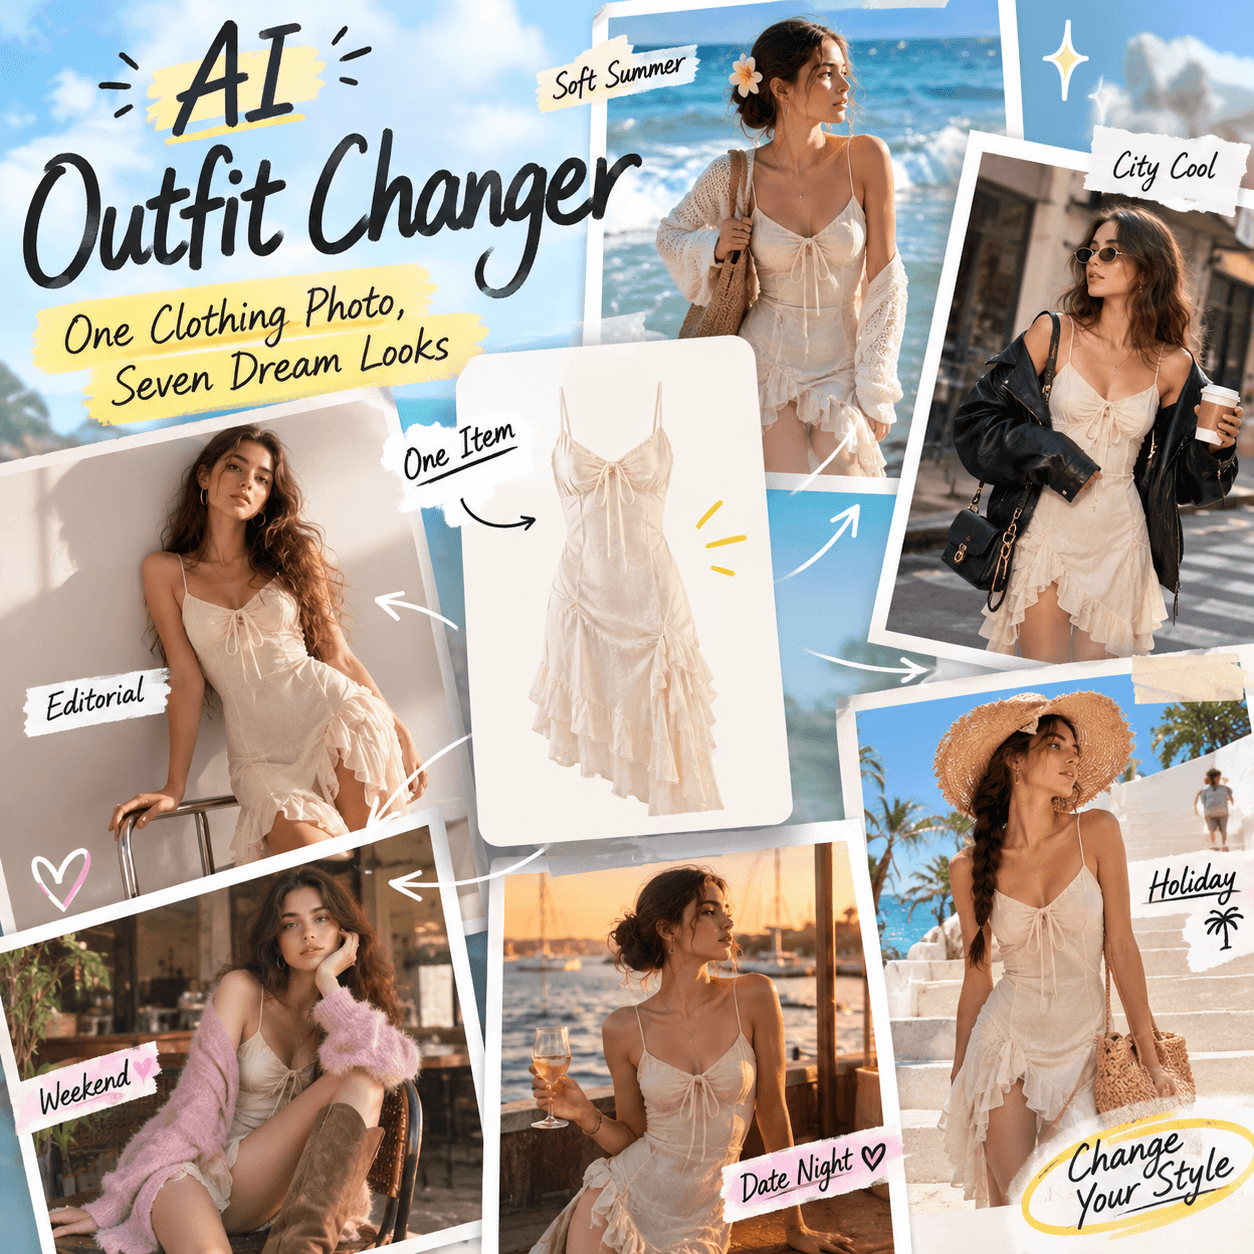
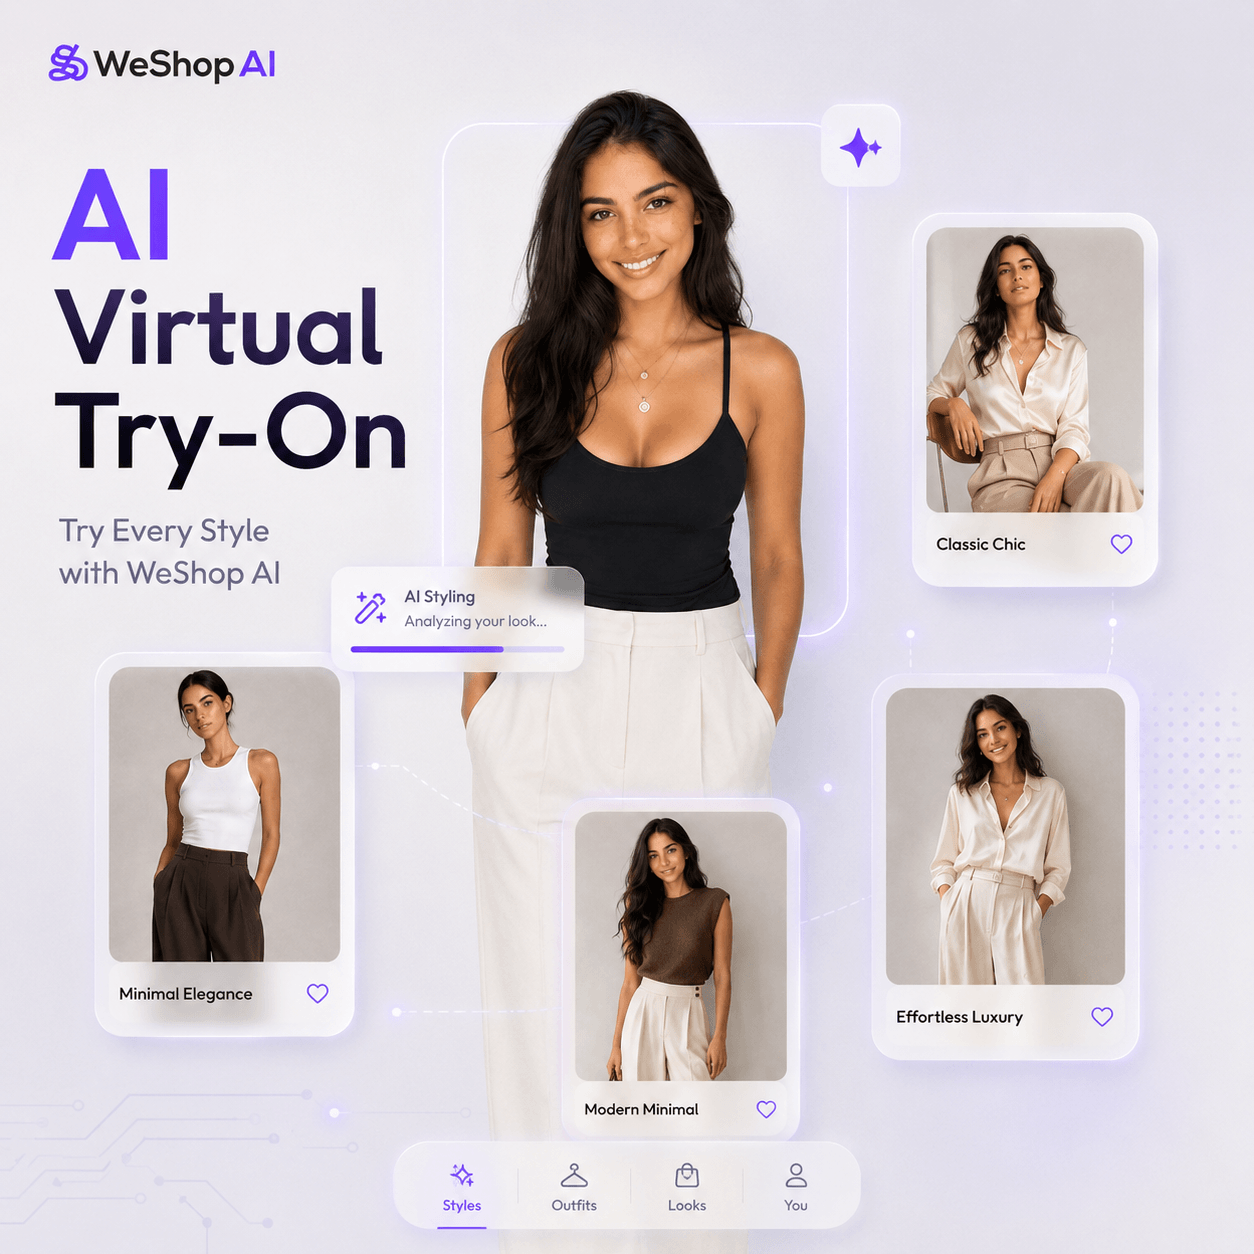
Creating fashion content often takes more time than expected. You need samples, models, lighting, a studio, and hours of editing. However, Virtual Try-On offers a faster way to turn one clothing image into polished fashion visuals.
With this workflow, you can place clothing on a digital model. You can also test several looks without planning a new shoot. As a result, brands, sellers, and creators can produce more content in less time.
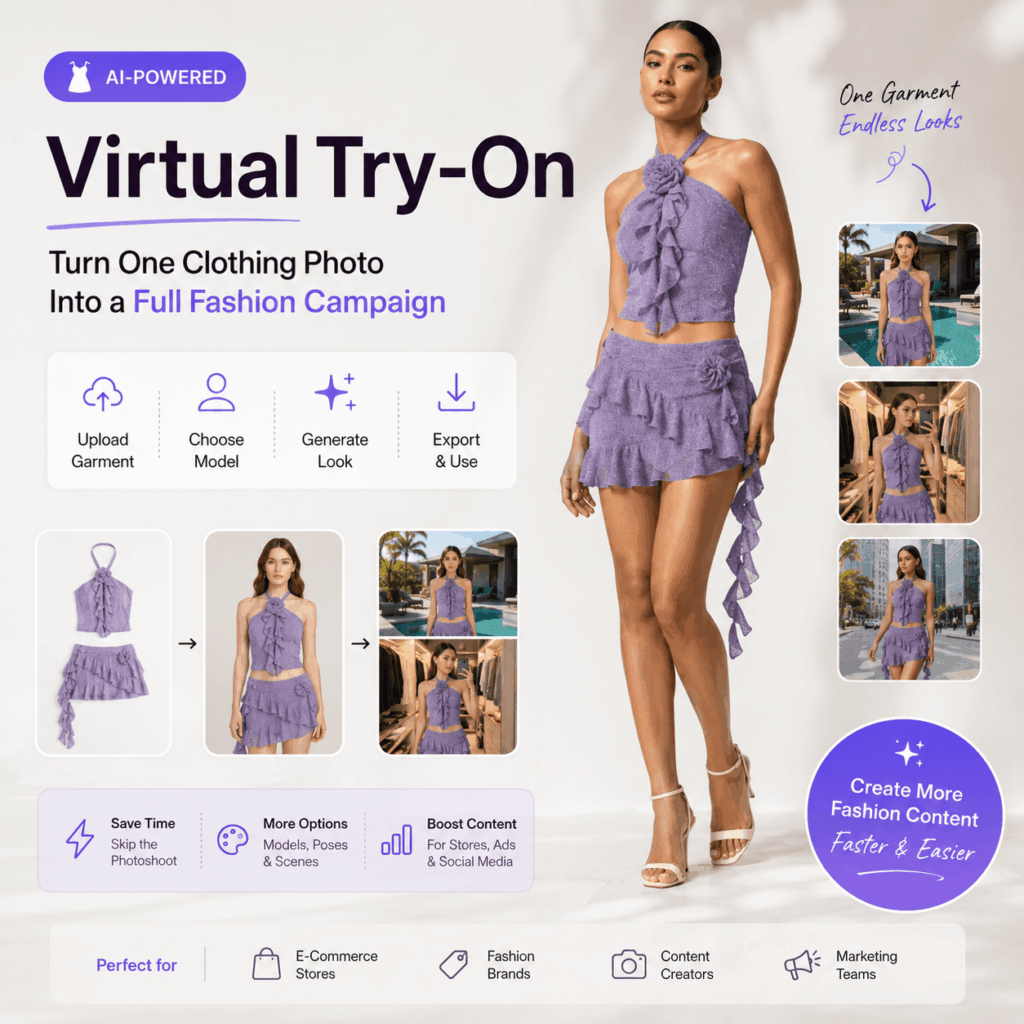
Even better, the process is simple. You upload a garment image, choose a model, generate the result, and check the details. Therefore, one product photo can become content for a store page, social post, ad, or seasonal campaign.
👗 What Is Virtual Try-On?
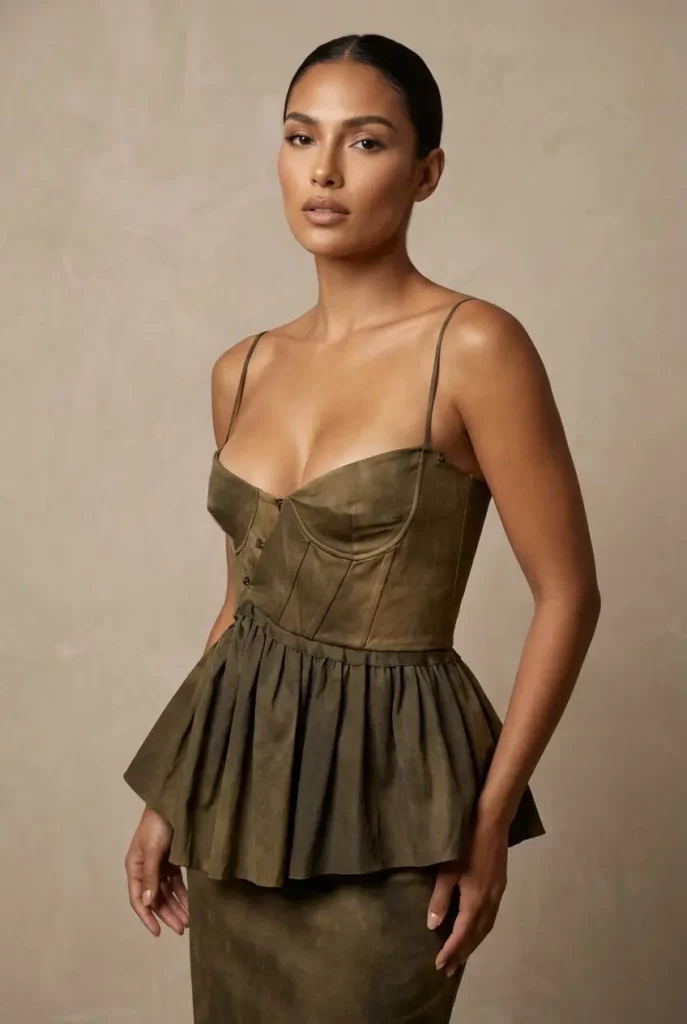
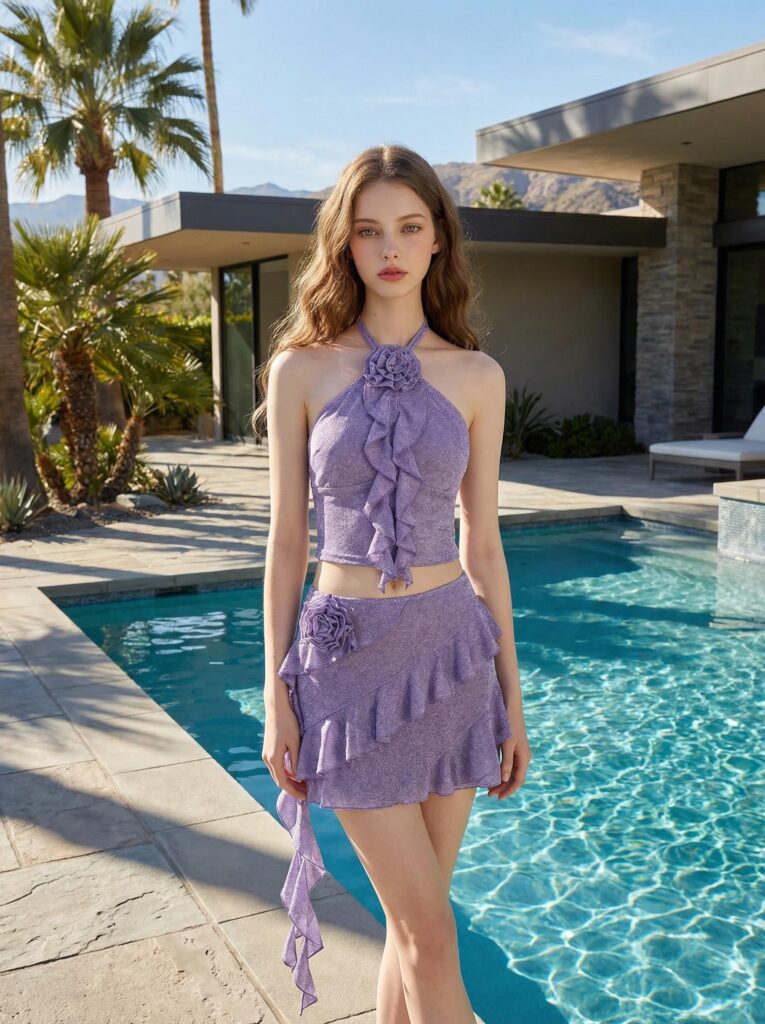
Virtual Try-On shows how clothing may look on a model. First, it reads the shape and design of the garment. It also checks the model’s body and pose. Then, it creates a new fashion image with a more natural fit.
This process does more than place a clothing cutout on a person. Instead, it rebuilds the full outfit. For example, it can add natural folds around the waist and sleeves. It can also adjust the clothing to match the model’s pose.
However, the result is still a visual preview. It can help shoppers understand the style of an outfit, but it should not replace exact size charts or garment measurements.
How Does Virtual Try-On Work?
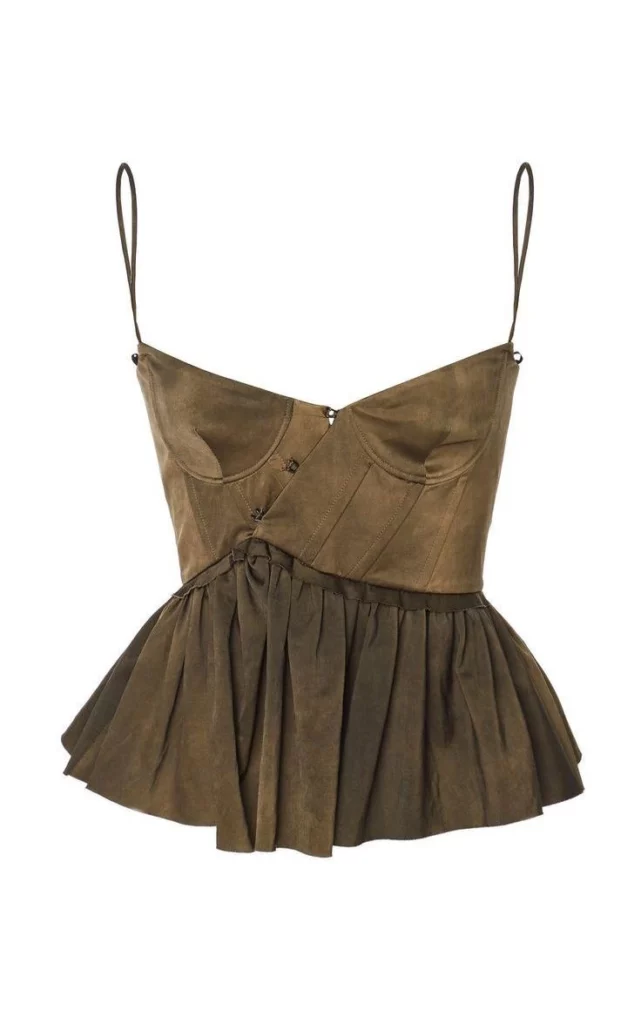
First, the system reads the uploaded clothing image. It looks for details such as the neckline, sleeves, fabric length, pattern, and overall shape.
Next, it studies the selected model and pose. Then, it adjusts the clothing so that it follows the body more naturally.
Finally, the system blends the garment, model, shadows, and background into one image. As a result, the finished visual looks more like a fashion photo than a simple digital edit.
✨ Why Virtual Try-On Is Useful for Fashion Content
Traditional fashion production can take a long time. A collection may need several models and many clothing samples. It may also require a studio, a location, and extra editing. In contrast, Virtual Try-On helps teams create more ideas from fewer materials.
Therefore, brands can move from an idea to a campaign image much faster. They can also test a product before planning a larger studio shoot.
Reduce Repeated Photoshoots
A new clothing color or style often requires another set of photos. However, digital fitting makes it possible to reuse a model or scene while changing the garment.
For example, a seller can display one dress in several colors without rebuilding the full campaign each time. Likewise, a brand can compare different outfits on the same model before choosing the final look.
As a result, teams can spend more time improving the campaign instead of repeating basic production work.
Create More Model Options
Different shoppers connect with different models and styles. Therefore, one model may not show the full appeal of a garment.
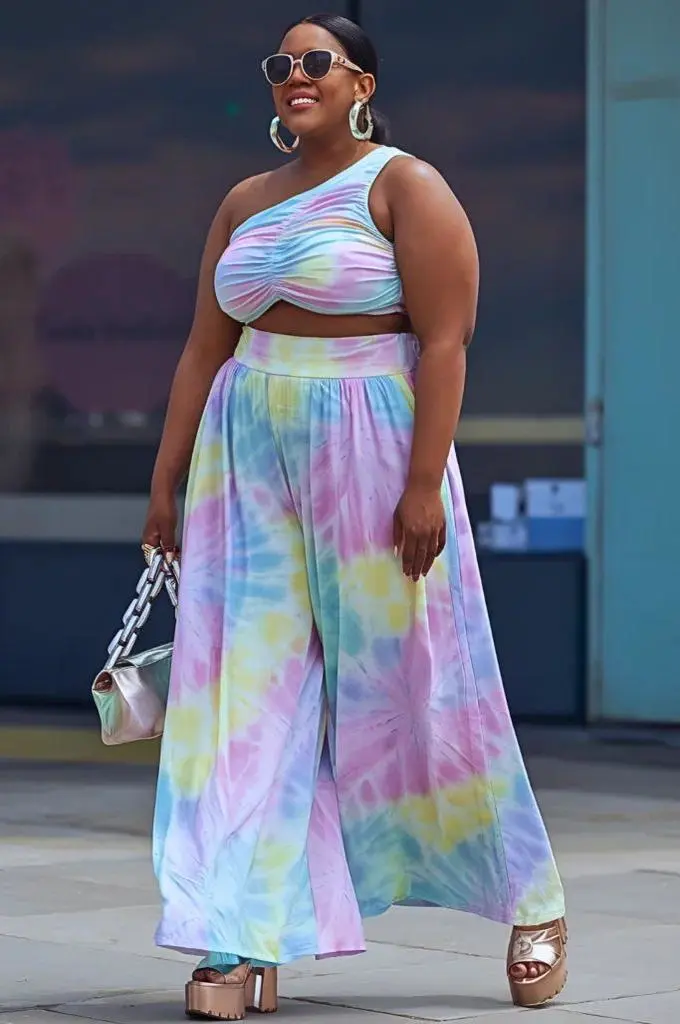
With Virtual Try-On, brands can test more body types, poses, and looks. In addition, they can adapt the same product for different markets or campaign styles.
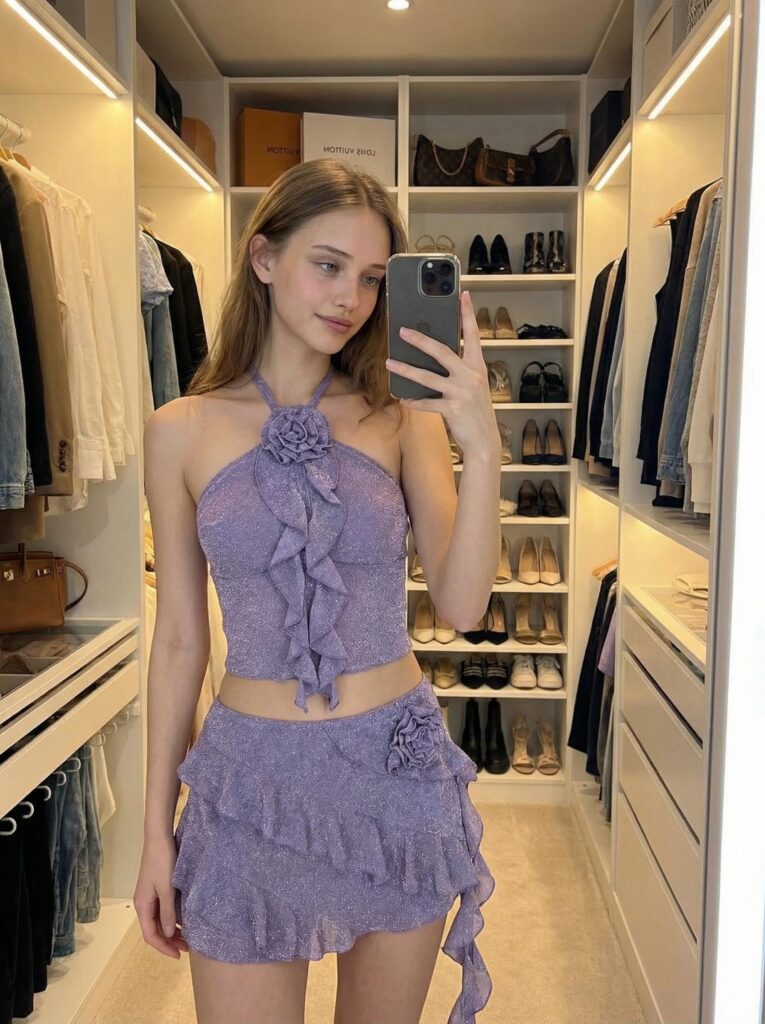
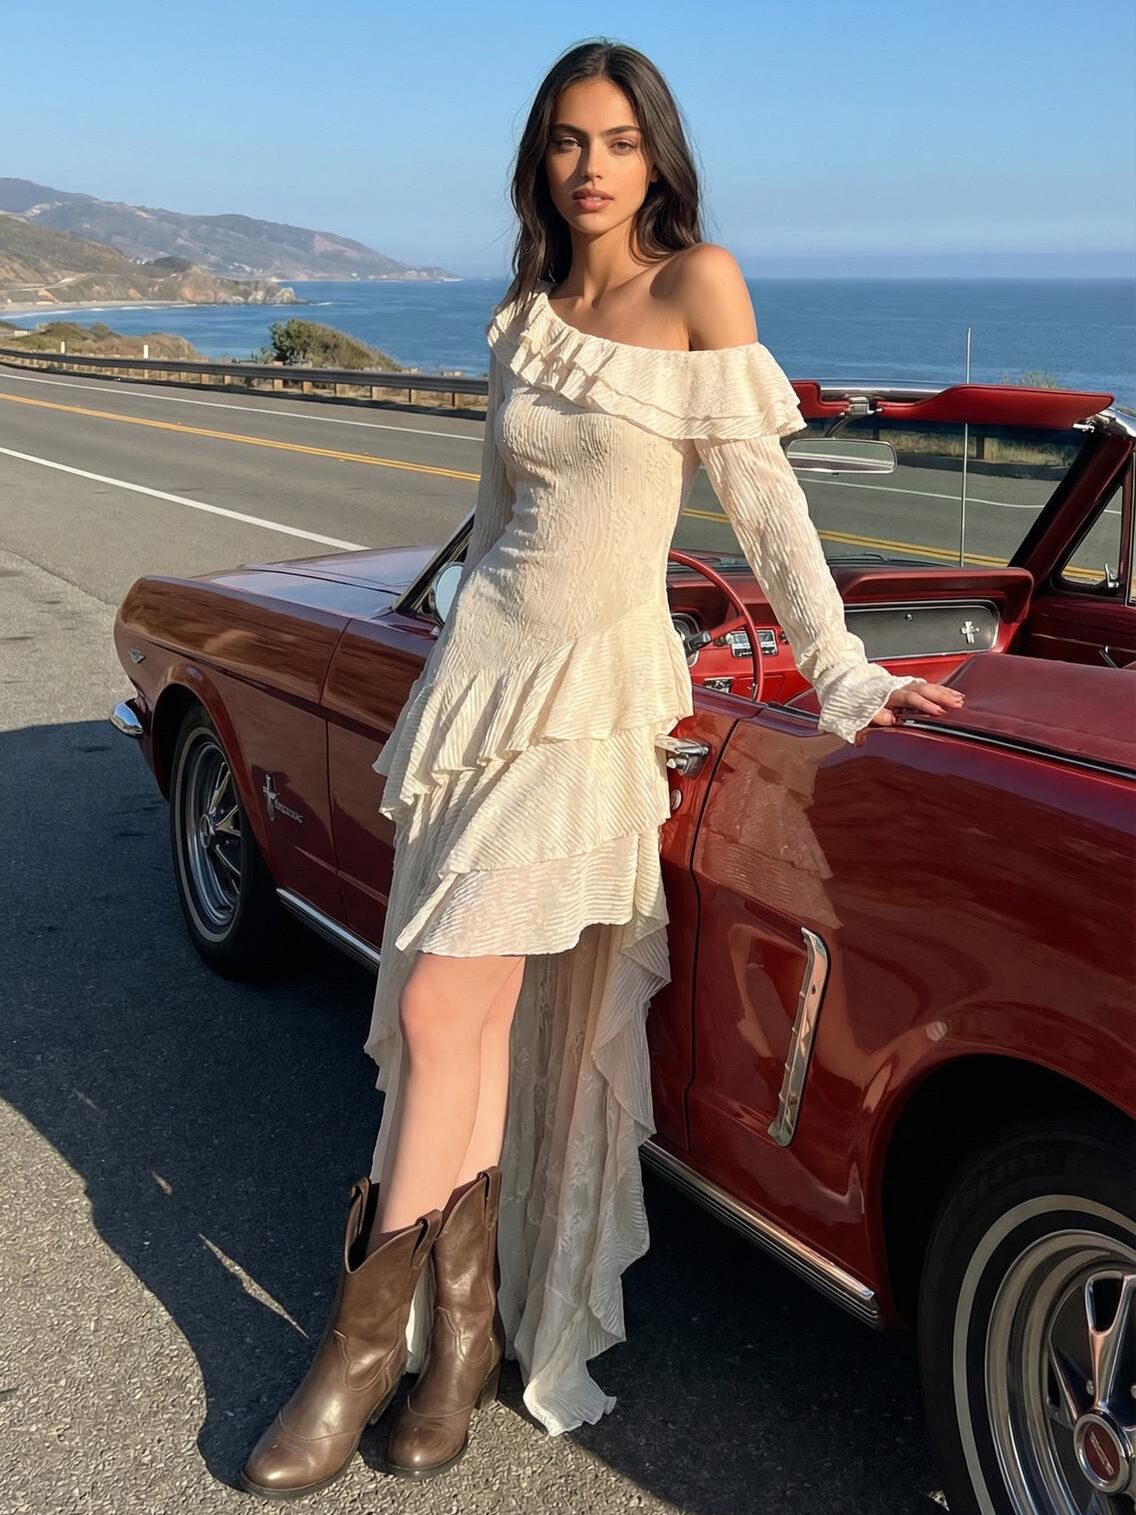
For example, one jacket can appear in a studio, on a city street, or in a fashion campaign. The clothing stays the same. However, the mood feels completely different.
Keep Product Images Consistent
Consistency matters across an online store. Product images should feel connected, even when they show different clothing items.
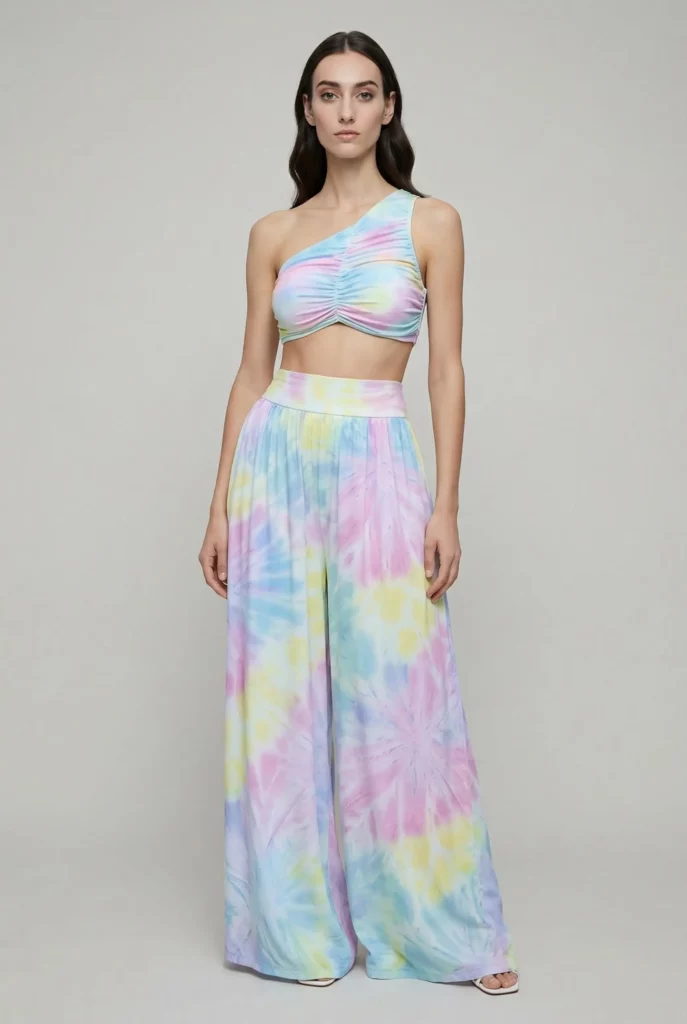
Fortunately, the same model, pose, background, and visual style can be reused across a collection. Therefore, the store can look more organized without requiring every garment to be photographed on the same day.
Meanwhile, this consistent look can also make social feeds and campaign pages feel more professional.
📸 How to Use Virtual Try-On in Four Steps
The best results usually come from a clear workflow. Although the tool handles most of the complex work, your source image still matters.
Step 1: Upload a Clear Garment Image
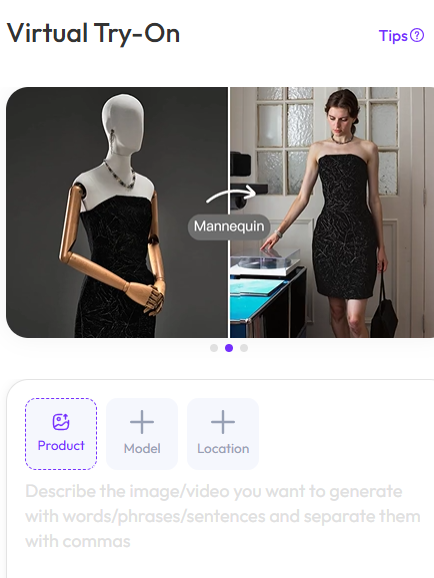
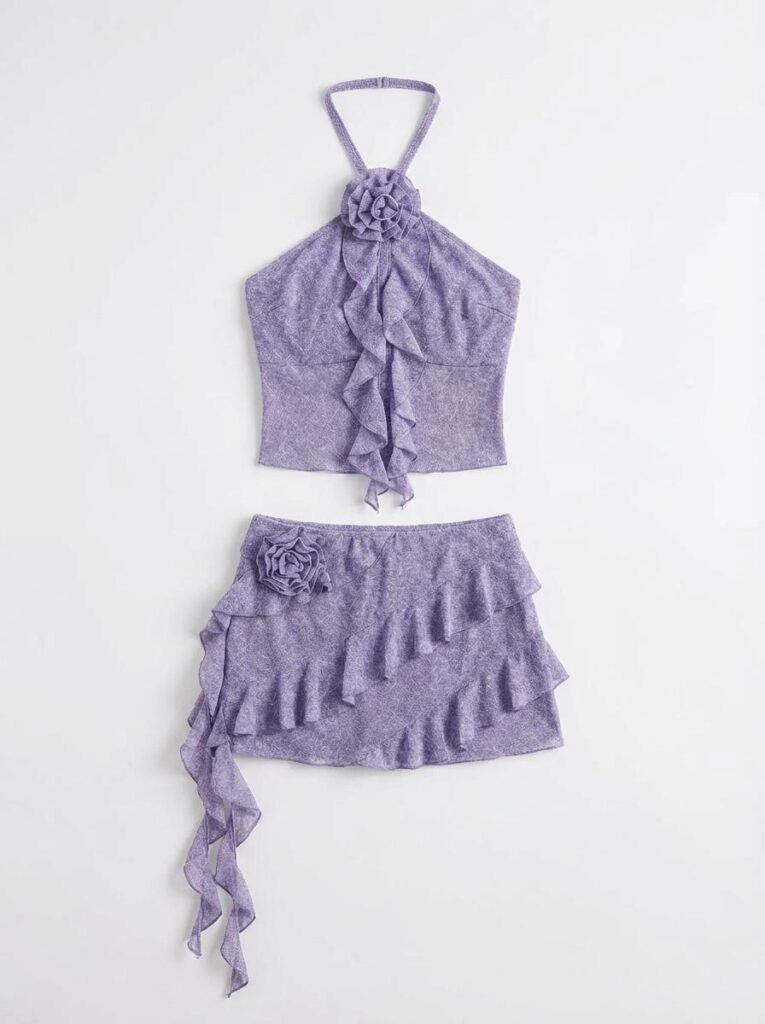
First, choose a clean photo of the clothing item. A flat-lay image, product photo, or front-facing garment image usually works well.
The full item should be visible. In addition, avoid hands, hangers, heavy shadows, or objects that cover important parts of the design.
For patterned garments, use an image with enough detail. Therefore, the system has a better chance of keeping prints, seams, buttons, and fabric texture clear.
Step 2: Choose the Right Model
Next, select a model that matches the purpose of your image. Consider the pose, body type, age, overall style, and facial expression.
For a product listing, a simple standing pose may work best. However, a social campaign can use a more relaxed or expressive pose.
Also, think about the garment itself. A formal dress may need an elegant stance, while sportswear often looks better with movement.
Step 3: Generate and Review the Result
Then, create the image and inspect the details carefully. Look at the neckline, sleeves, waist, hands, hems, and patterned areas.
In particular, check whether the garment follows the body in a believable way. Also, make sure logos, text, prints, and small decorations remain close to the original design.
If something looks unclear, try a cleaner source image or a simpler model pose. Sometimes, one small change can improve the final result.
💡 Tips for Better Virtual Try-On Results
A strong source image makes the entire process easier. Therefore, start with simple photos before testing more complex designs.
Keep the Full Garment Visible
Avoid cutting off sleeves, trouser legs, collars, or dress hems. Otherwise, the system may need to guess the missing shape.
In addition, make sure the garment is not heavily folded. Natural fabric folds are fine, but large overlaps can hide important construction details.
Check Small Fashion Details
Small details often decide whether a generated image feels convincing. Therefore, zoom in and check buttons, pockets, zippers, straps, prints, and logos.
However, do not judge only one small area. The full outfit should also feel balanced in shape, proportion, and styling.
Match the Model to the Clothing
A good model choice can improve the whole image. For example, oversized streetwear may look more natural with a relaxed pose. Meanwhile, a fitted evening dress may work better with a clean and elegant stance.
Therefore, do not choose a model only because the person looks attractive. Choose the model because the pose and style support the clothing.
🛍️ Who Can Use Virtual Try-On?
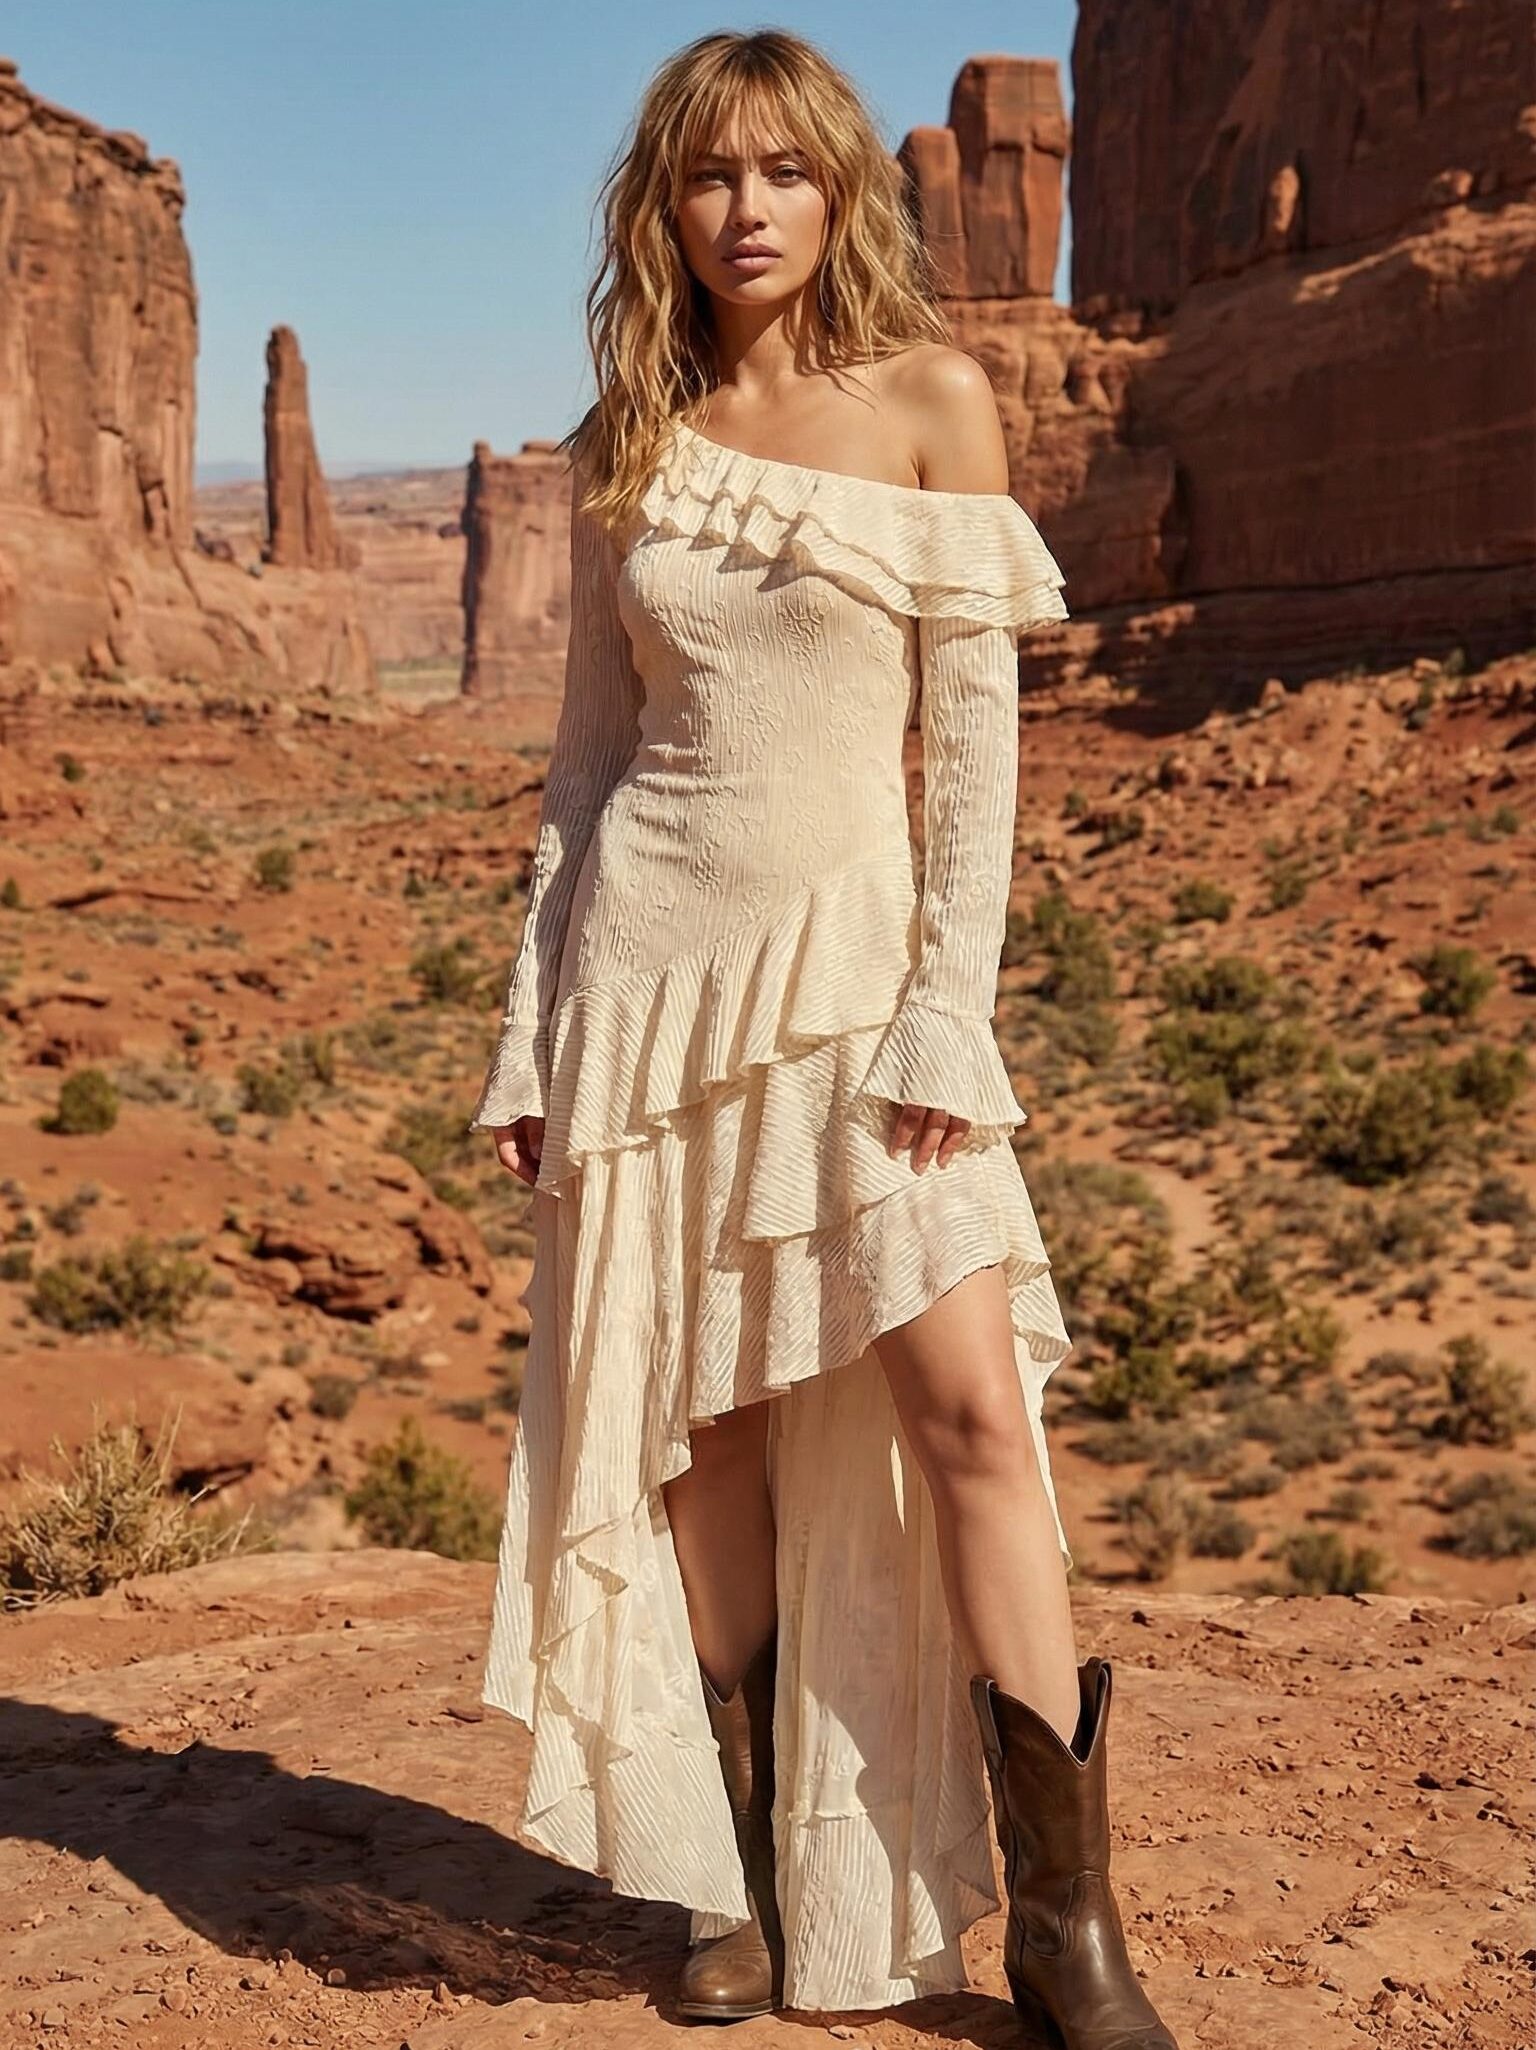
Virtual Try-On can support many kinds of fashion work. However, it is especially useful for teams that need more content than their current production budget allows.
Online Fashion Stores
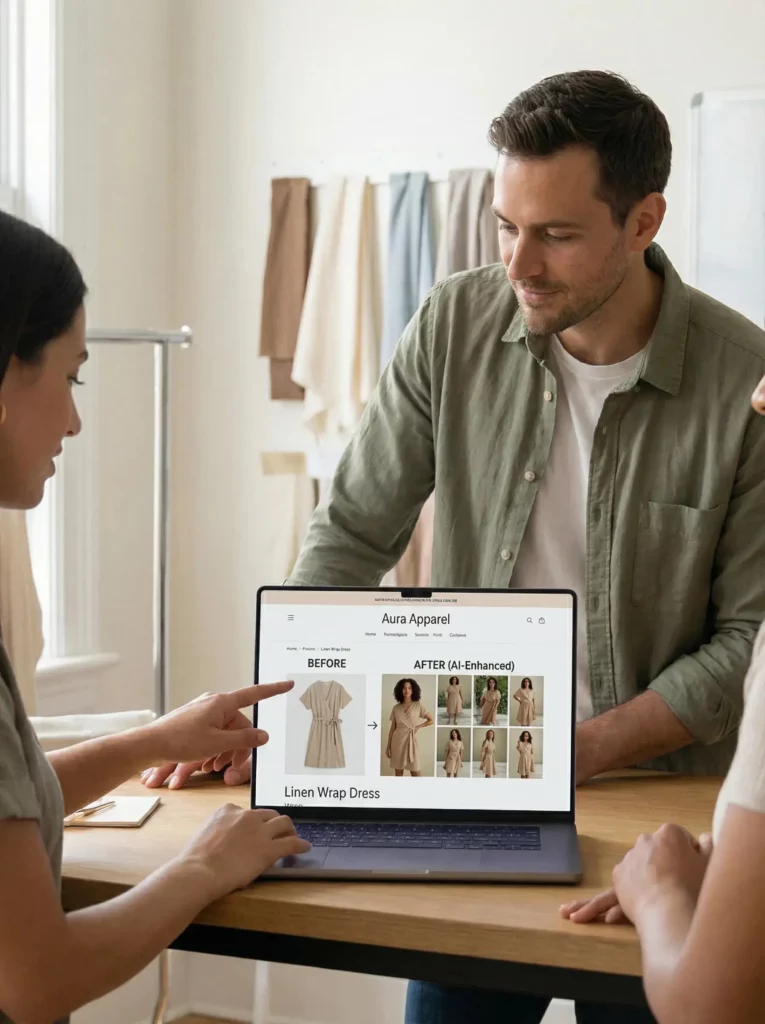
Online sellers can turn flat clothing photos into model-based product visuals. As a result, shoppers can see the garment in a clearer lifestyle context.
In addition, sellers can create matching images for several products without arranging a separate shoot for every item.
Small Clothing Brands
Small brands often have strong ideas but smaller budgets. Therefore, this workflow can help them test a campaign before planning a full shoot.
For example, a designer can compare several models and settings. Then, the team can choose the strongest direction.
Fashion Creators
Fashion creators need fresh content regularly. However, buying every outfit or arranging constant collaborations is not always practical.
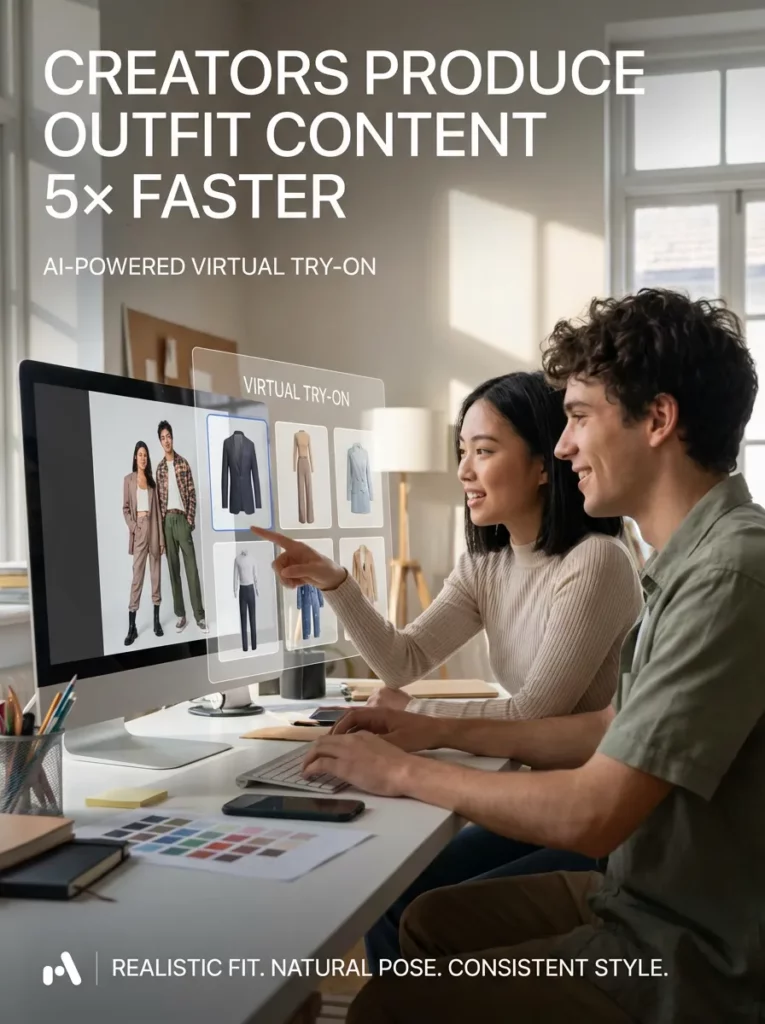
With digital clothing previews, creators can build outfit concepts, styling boards, and sponsored visuals from product images. Meanwhile, they can test which styles fit their audience before making a larger campaign.
❓ Virtual Try-On FAQ
Can Virtual Try-On Replace a Fashion Photoshoot?
Virtual Try-On can replace some simple product and marketing shoots. However, larger brand campaigns may still benefit from traditional photography.
Therefore, many teams may get the best results by combining both methods. They can use digital fitting for tests, fast content, and product variation, while saving studio shoots for key campaigns.
Does It Show the Exact Clothing Size?
No. The result shows the visual style and general appearance of a garment. It does not guarantee an exact physical fit.
Therefore, online stores should still provide clear measurements, fabric information, and size charts.
What Clothing Works Best?
Clear, front-facing clothing images usually work best. Simple tops, dresses, jackets, trousers, and matching sets are often easier to process.
However, detailed garments can also work when the source photo clearly shows the design, texture, and full shape.
🫧Final Thoughts: Make Fashion Content Faster With Virtual Try-On
Fashion content does not always need a full studio setup. With Virtual Try-On, one garment image can become a product photo, social post, or campaign idea.
Of course, the source image still matters. You also need the right model and a careful final check. However, the process is much faster than starting from zero.
Therefore, Virtual Try-On is more than a quick clothing effect. It gives brands, sellers, and creators a faster way to test and produce fashion content.
Go to WeShop AI For Exploration: