

A Portrait to Landscape Converter solves a problem that almost every creator faces. You already have a strong photo. The lighting looks good, the subject feels natural, and the moment is worth keeping. However, the image is vertical, while your website, thumbnail, presentation, or campaign needs a wide layout.
At first, cropping seems like the fastest option. Yet once you crop the image, part of the outfit may disappear. The background may feel too tight. Worse still, the subject can look trapped inside the frame.
Stretching the photo is not much better. Faces become wider, objects lose their shape, and the entire image starts to look unnatural.
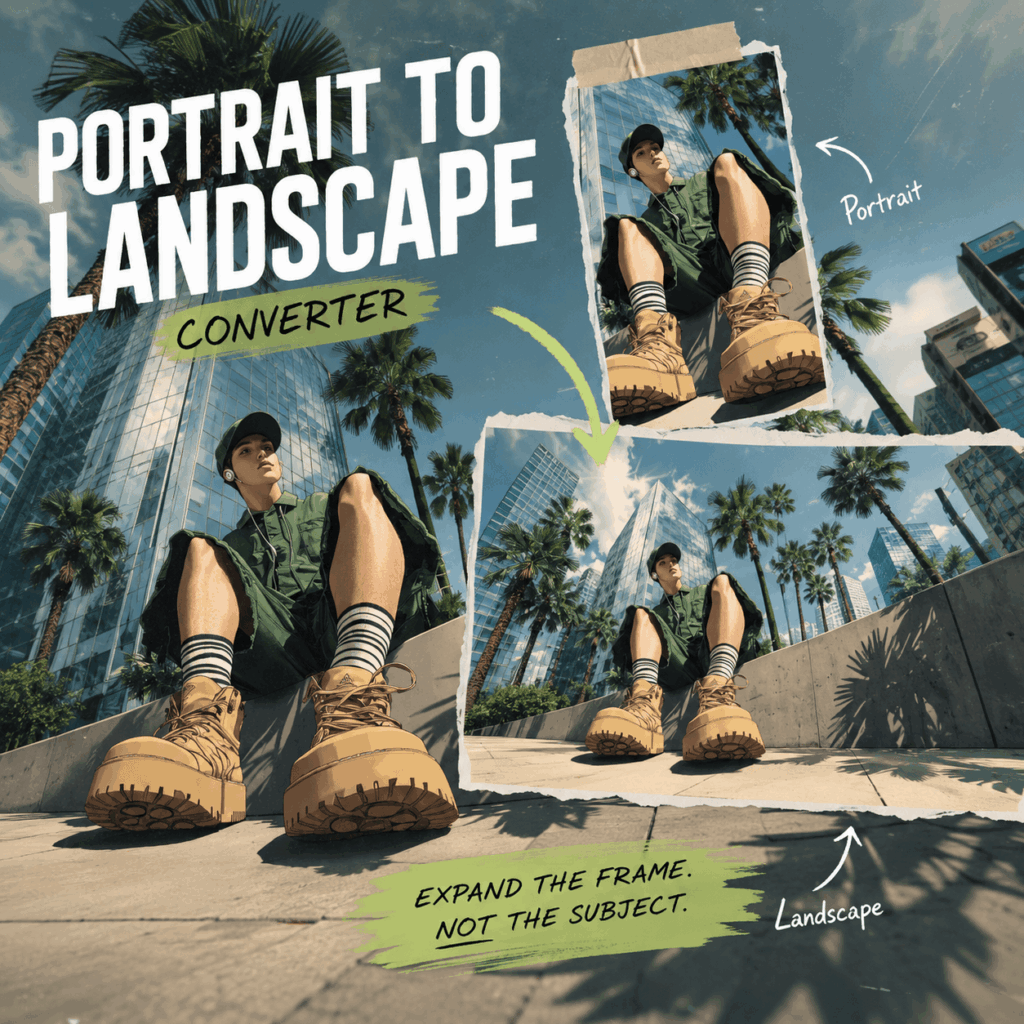
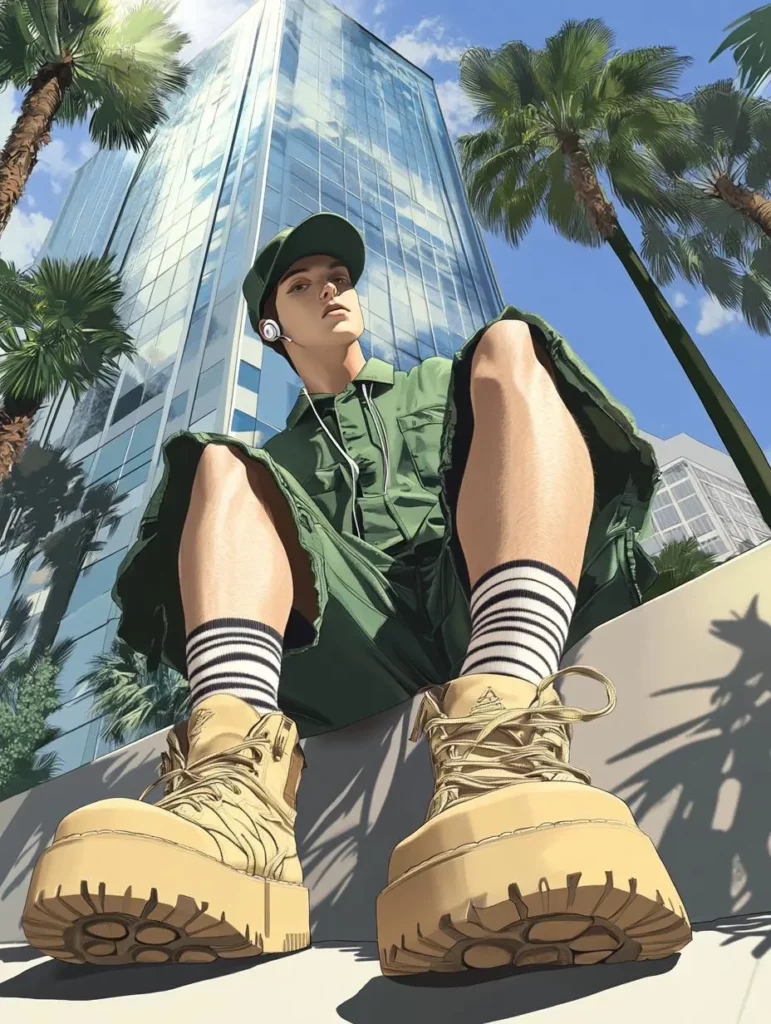
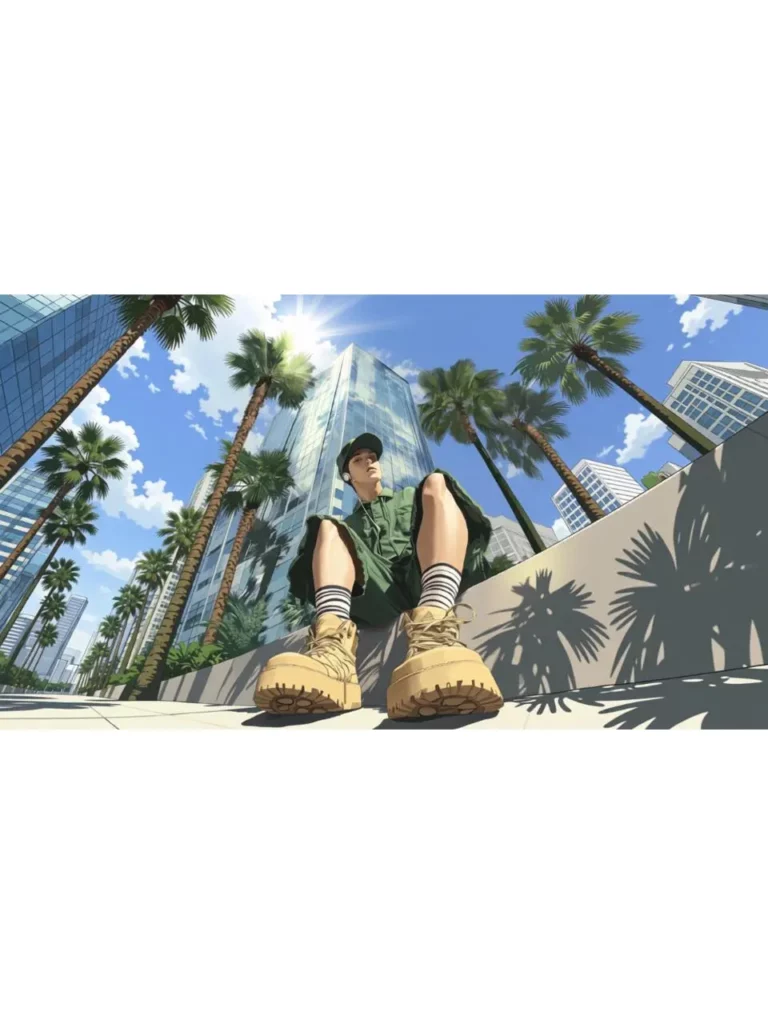
A Portrait to Landscape Converter takes a different approach. Instead of cutting the image, it expands the space around the original photo. The subject stays in place, while AI generates new scenery on the left and right.
This may sound like a small editing task. In practice, however, it can completely change how many times one photo can be used.
📐 Why a Portrait to Landscape Converter Solves More Than a Size Problem
Modern content rarely stays in one format.
A portrait taken for Instagram may later be needed for a blog header. Then, the same image may appear in a presentation, a YouTube thumbnail, or a website banner.
Although the subject remains the same, every layout needs a different amount of horizontal space.
That creates an annoying choice.
You can crop the image and lose useful details. Alternatively, you can add blurred sidebars, which often look like a quick fix. You could also rebuild the entire design around the narrow photo. However, that takes more time and may still leave the layout feeling unbalanced.
The real problem, therefore, is not image quality. It is the lack of usable space.
A good wide image needs room for more than the subject. For example, a blog header may need a title on the left. A campaign banner may need a logo, a short message, and a button. Meanwhile, a thumbnail needs enough contrast and empty space for large text.
A Portrait to Landscape Converter turns that missing space into part of the design.
Instead of asking, “How do I force this portrait into a wide box?” the better question becomes:
“How should the rest of this scene continue?”
That small change in thinking can lead to much stronger results.
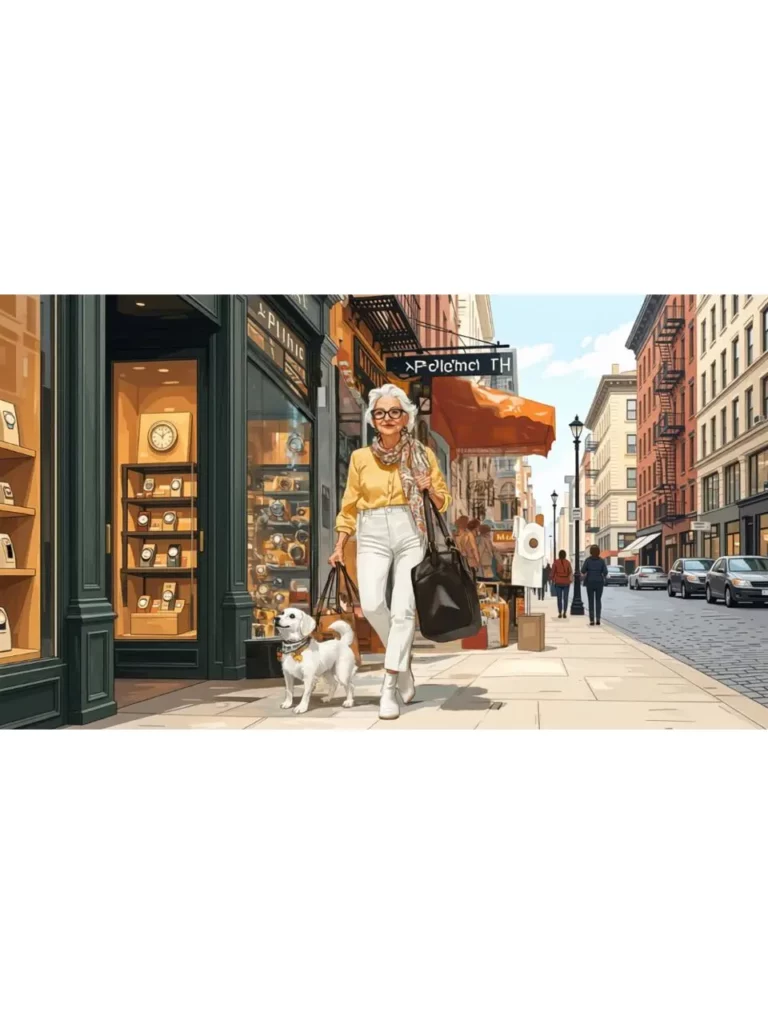
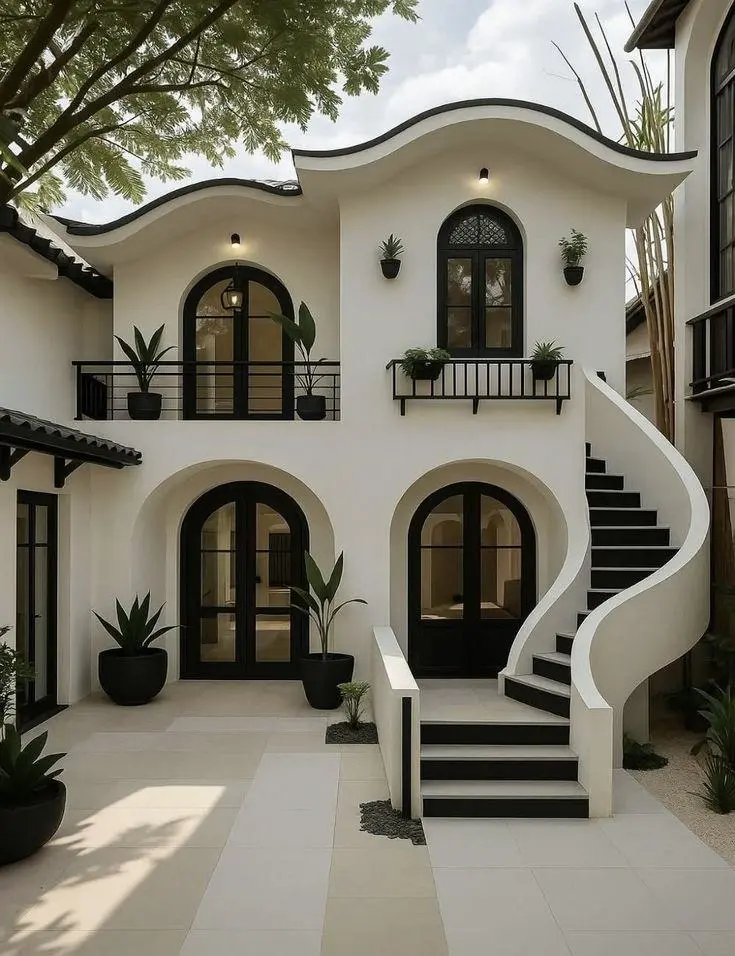
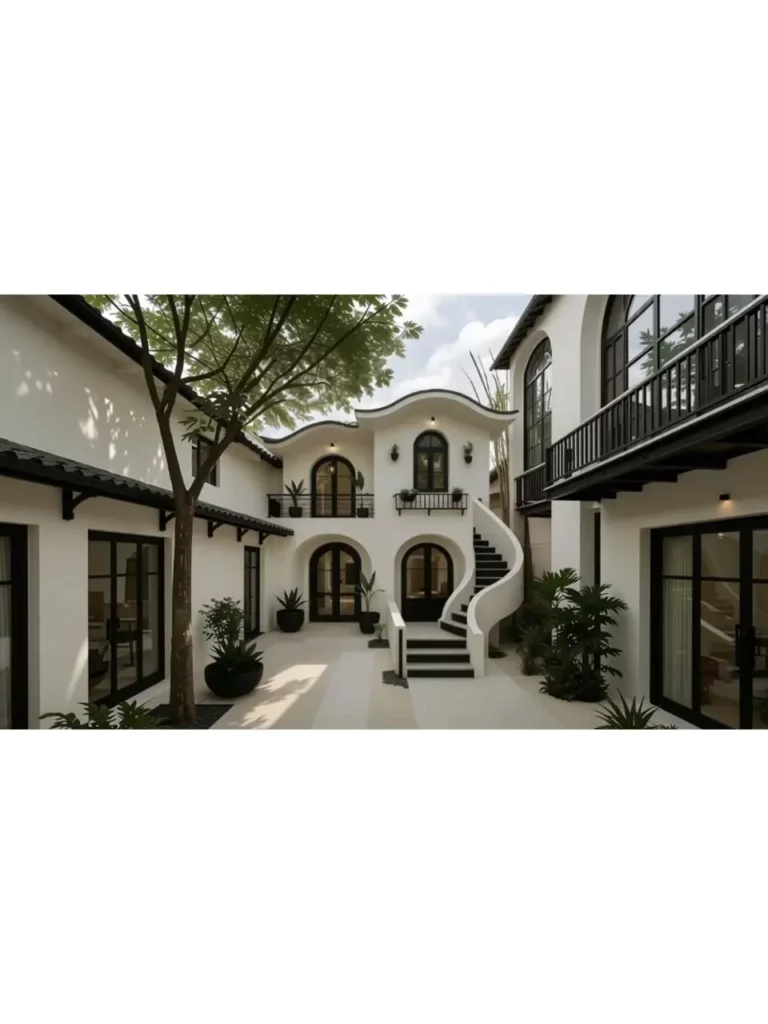
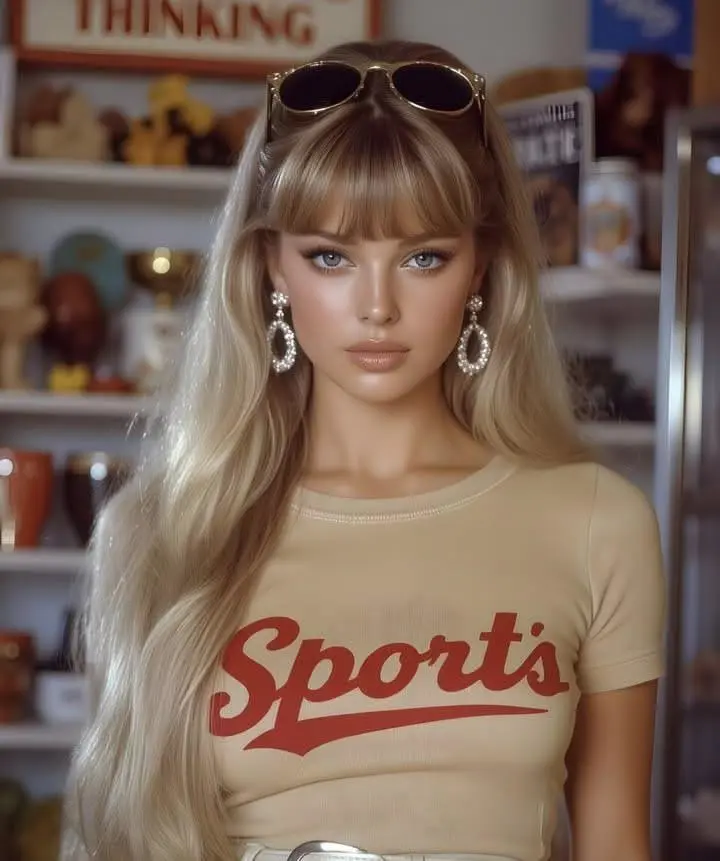
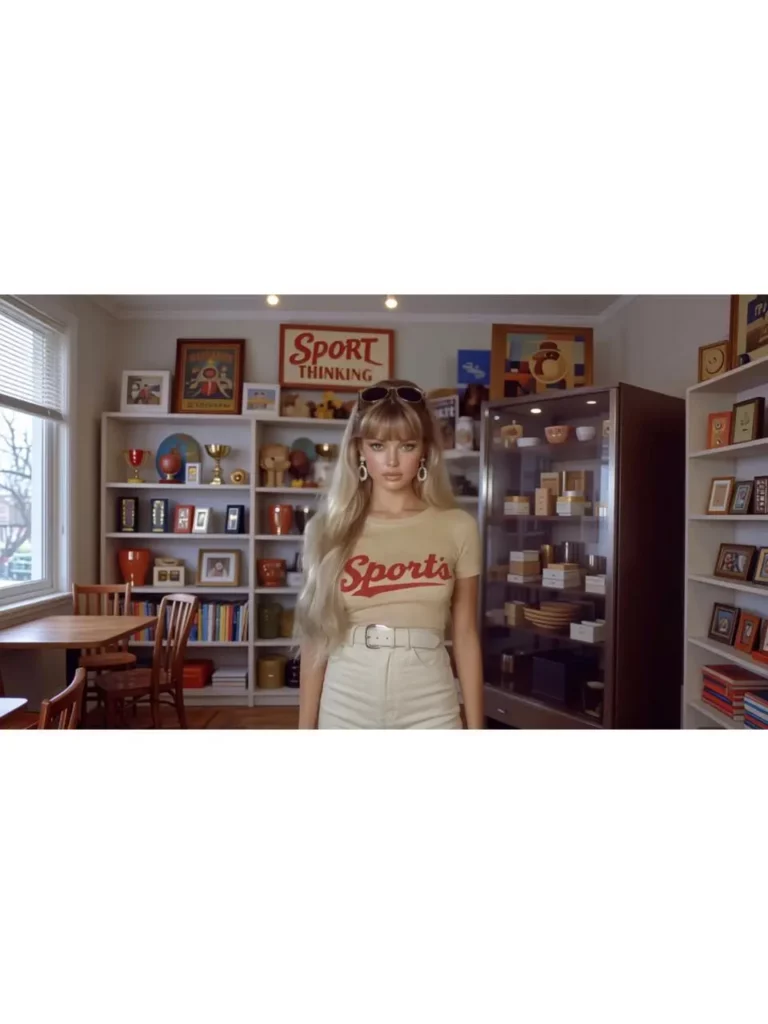
🖼️ Testing One Portrait to Landscape Converter Across Three Real Layouts
To understand the value of AI expansion, imagine starting with one simple portrait.
The subject is standing near a window. Soft daylight enters from the side, while the background remains clean and calm. The photo works well on its own. However, it is too narrow for most horizontal layouts.
Rather than editing it once, we can use a Portrait to Landscape Converter to turn it into three different assets.
1. Using a Portrait to Landscape Converter for a Blog Hero
A blog hero needs balance.
The person should remain visible, but the layout also needs room for a headline. Therefore, the background should be extended more heavily on one side.
For this version, the goal is not to invent a dramatic new world. Instead, the AI should continue the wall, window light, floor, and shadows as naturally as possible.
A useful prompt would be:
“Extend the indoor background naturally to the left and right. Keep the person, clothing, facial features, lighting, and camera angle unchanged. Add clean negative space on the left for a blog headline.”
The phrase “negative space” matters here. Without it, the AI may fill the new area with plants, furniture, decorations, or other details.
Those additions may look attractive. However, they can leave nowhere to place text.
2. Turning the Portrait Into a Wide Thumbnail
A thumbnail needs a different composition.
Here, empty space alone may feel too quiet. Instead, the expanded background should add context.
For example, if the portrait was taken in a creative studio, the AI could continue the desk, lighting equipment, shelves, or wall details.
Still, the new elements should support the subject rather than compete with it.
A suitable prompt could be:
“Expand this portrait into a cinematic 16:9 composition. Continue the creative studio setting with soft natural light and realistic depth. Keep the person unchanged. Leave a clear area on the right for bold thumbnail text.”
This version feels more active than the blog hero. Nevertheless, it still comes from the same original portrait.
3. Creating a Campaign Banner With a Portrait to Landscape Converter
The third version can be more polished and editorial.
For a fashion, beauty, travel, or personal-brand campaign, the expanded image needs clearer visual direction. Therefore, the AI should match the original color palette and create a more intentional layout.
For example:
“Turn this portrait into a wide editorial campaign image. Extend the background with soft neutral textures that match the original lighting. Preserve the model and outfit exactly. Keep the left side minimal for campaign copy.”
One portrait has now become three different assets.
More importantly, none of them required another photo shoot.
A Portrait to Landscape Converter is useful because it does not only change the frame. It helps one original image support several content goals.
🔍 What Makes a Portrait to Landscape Converter Look Natural?
AI expansion can produce an impressive result. However, making an image wider is not enough.
The new area must feel as though it was always part of the original photo.
Three details usually make the biggest difference.
Background Continuity in a Portrait to Landscape Converter
The AI should continue existing lines, textures, and light.
For instance, a wall should stay at the same angle. A beach horizon should remain level. Floorboards should follow the original perspective. Likewise, shadows should move in a direction that matches the main light source.
Adding more objects does not always improve the image.
In fact, a simple extension often looks more realistic than a busy one. Therefore, prompts such as “continue the original background naturally” can be more useful than long lists of decorative elements.
The Original Subject Should Stay Untouched
The main person is usually the most important part of a portrait.
Because of that, the prompt should clearly protect:
- Facial features
- Hairstyle
- Body shape
- Clothing
- Pose
- Skin tone
- Original lighting
Even when the Portrait to Landscape Converter mainly expands the background, it is still important to check the edges around hair, sleeves, hands, and clothing.
These areas often sit close to the newly generated space.
If anything looks different, generate another version rather than accepting the first result.
Negative Space Makes the Final Layout More Useful
A common mistake is asking AI to fill every new area.
However, professional layouts often need less visual information, not more.
A clean wall, open sky, blurred street, or soft studio background can be more useful than a highly detailed scene.
Negative space gives the eye somewhere to rest. Moreover, it creates room for a title, logo, product message, or button.
Therefore, the best Portrait to Landscape Converter result is not always the most dramatic one.
Sometimes, it is the version that quietly makes the layout easier to finish.
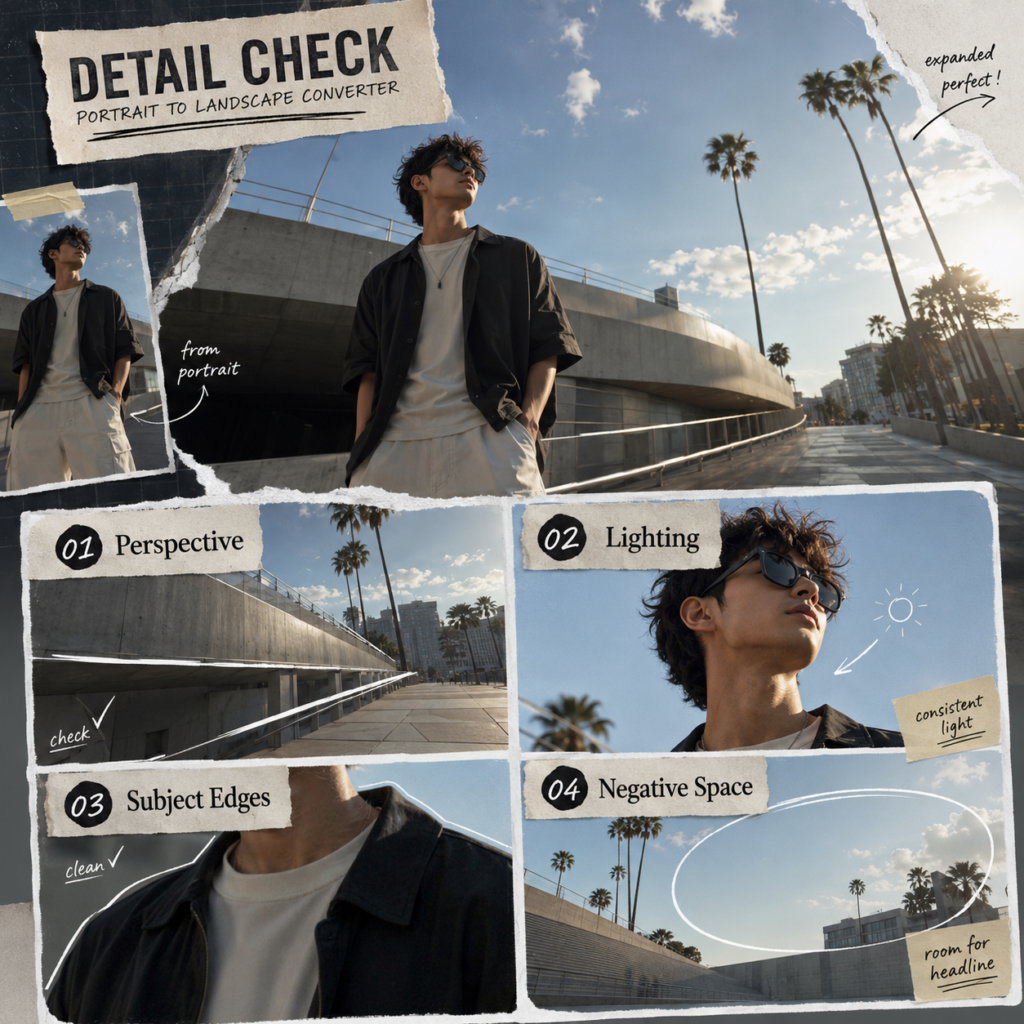
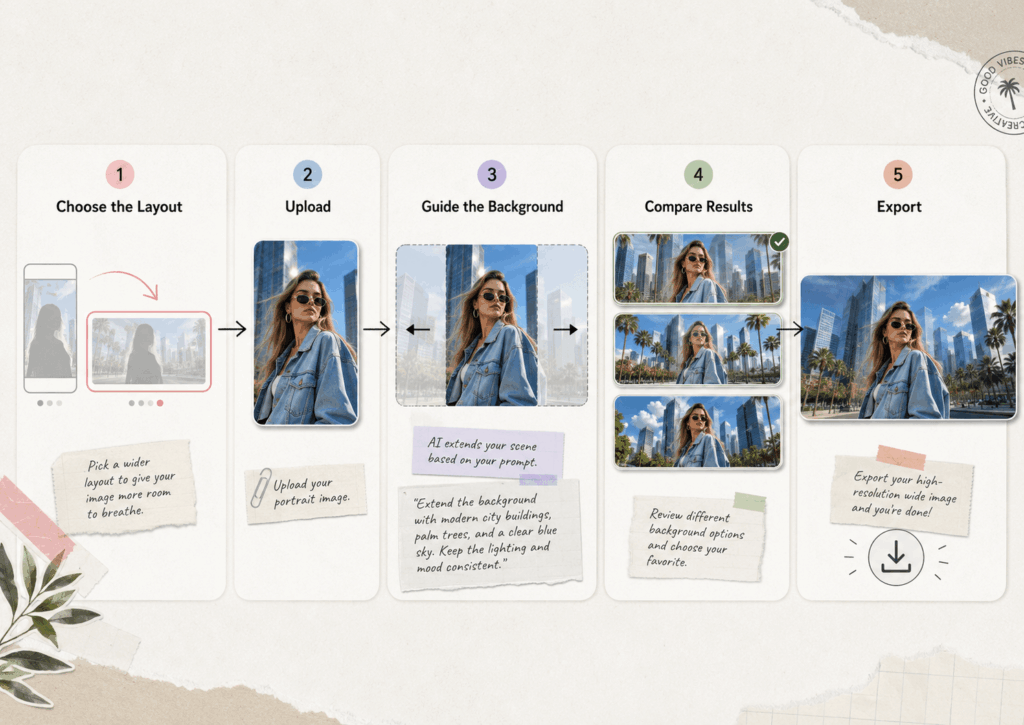
🛠️ A Better Portrait to Landscape Converter Workflow
The basic process is simple.
You upload the portrait, guide the expansion, generate the image, and export the result.
Still, a better workflow can reduce unnecessary retries.
Step 1: Choose the Final Landscape Layout
Do not begin by asking for “a wider photo.”
Instead, decide whether the final image is for:
- A website hero
- A blog header
- A YouTube thumbnail
- A presentation cover
- A social media banner
- A printed landscape photo
The destination affects where the subject should sit and how much empty space is needed.
For example, a website banner may need text on the left. In contrast, a presentation cover may need space above and around the subject.
Step 2: Tell the Portrait to Landscape Converter What Must Stay
Prompts often focus too heavily on what the AI should add.
However, it is equally important to explain what should remain unchanged.
A strong instruction might include:
“Keep the original person, face, pose, outfit, color tone, camera perspective, and lighting unchanged.”
This gives the AI a stable visual anchor.
Step 3: Guide the Background With Simple Language
Long prompts are not always better.
Instead, describe four things:
- What the background contains
- How the lighting should continue
- Where the empty space should appear
- What the final image will be used for
For example:
“Continue the city street naturally with matching evening light. Preserve the original person. Add more open space on the left for an event title. Create a realistic wide campaign composition.”
This is specific enough to guide the result without making the prompt difficult to follow.
Step 4: Generate More Than One Landscape Version
AI expansion can interpret the same portrait in several ways.
Therefore, it is better to compare a few versions.
One result may have better perspective, while another may create cleaner space for text. A third version may match the original lighting more closely.
Do not choose only based on which background looks prettiest.
Instead, ask which result works best inside the final layout.
Step 5: Check the Expanded Image Before Exporting
Zoom in around the newly generated areas.
Then, inspect repeating textures, strange reflections, broken objects, mismatched shadows, and overly smooth details.
Also, place temporary text on the image to confirm that the composition works in practice.
A Portrait to Landscape Converter can save time, but the final visual still needs a quick quality check before it is published.
✨ The Real Value of a Portrait to Landscape Converter Is Reuse
At first, a Portrait to Landscape Converter may look like a simple resizing tool.
Yet its real value appears when one image needs to do more than one job.
A creator can turn a portrait into a YouTube thumbnail without covering the face with text. A blogger can build a clean header without cutting away the background. Meanwhile, a small brand can reuse one campaign photo across several horizontal layouts.
As a result, the tool reduces the need to recreate, reshoot, or redesign the same idea from zero.
It is especially useful when:
- The original portrait is already strong.
- Cropping would remove valuable details.
- The final layout needs room for text.
- Several wide versions are required.
- Repeating the photo shoot is not practical.
- A fast visual draft is more valuable than a complex manual edit.
Still, AI expansion should not replace good image selection.
A clear portrait with consistent light and a readable background will usually be easier to extend. On the other hand, crowded scenes, complex reflections, cut-off body parts, and busy architecture may require more attempts.
Therefore, the best approach is not to expect one-click perfection.
Instead, treat the Portrait to Landscape Converter as a creative layout assistant.
It gives the original photo more room to work.
❓ Portrait to Landscape Converter FAQ
Can a Portrait to Landscape Converter Keep the Person Uncropped?
Yes. A Portrait to Landscape Converter expands the canvas around the original photo rather than cutting it into a wider shape.
However, you should still inspect the subject’s face, hair, clothing, and edges before using the final result.
What Kind of Portrait Works Best?
Portraits with clear subjects, consistent lighting, and backgrounds that can continue naturally often produce the cleanest results.
For example, studios, beaches, skies, walls, streets, and open landscapes are usually easier to extend than crowded scenes.
Should I Add a Prompt?
Yes, especially when you need a specific composition.
You can tell the Portrait to Landscape Converter where to leave empty space, what background to continue, and which details must remain unchanged.
Can I Use the Result for Marketing?
The expanded image can work for blog headers, website banners, thumbnails, presentations, social graphics, and other wide layouts.
Before commercial use, review the result carefully and make sure it matches your brand and image-rights requirements.
Is AI Expansion Better Than Cropping?
It depends on the photo.
Cropping works when the subject already has enough space around it. However, a Portrait to Landscape Converter is often more useful when cropping would remove clothing, scenery, products, or other important details.
Final Thoughts on Using a Portrait to Landscape Converter
The best photo is not always captured in the format you eventually need.
Fortunately, the wrong shape no longer has to mean the wrong image.
A Portrait to Landscape Converter can protect the original subject, rebuild the missing surroundings, and create the space required for a completely new layout.
More importantly, it can turn one strong portrait into several useful visual assets.
So, before you crop away the best part of the photo, try giving the frame more room.
Expand the scene. Keep the moment.
Go to WeShop AI For Exploration:


