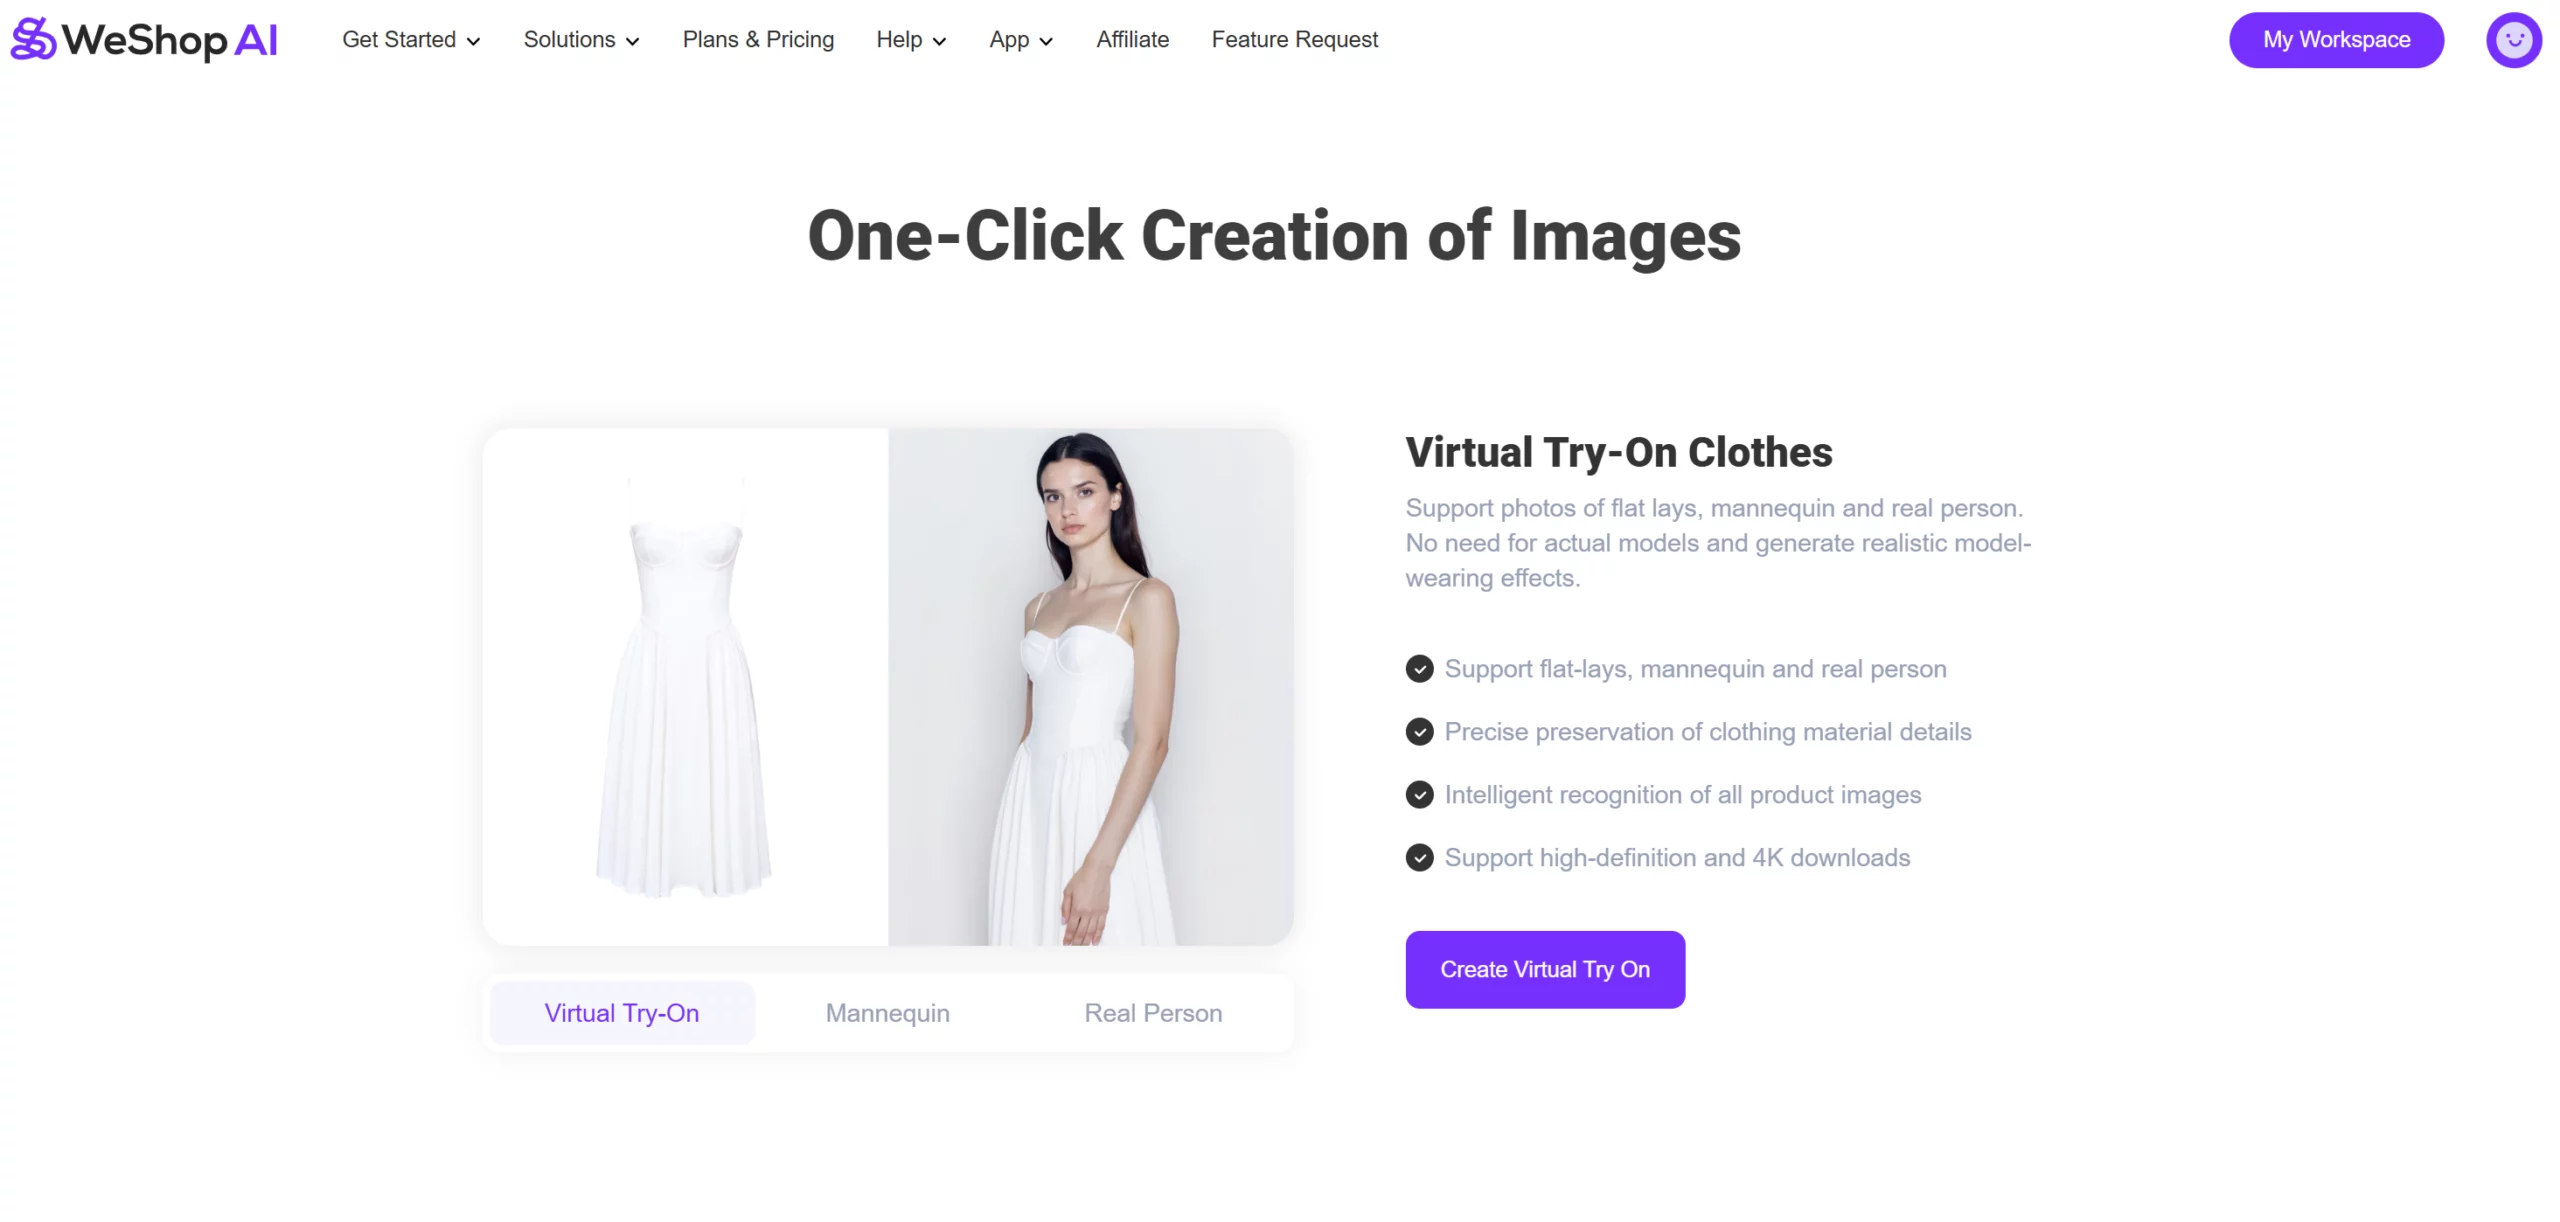
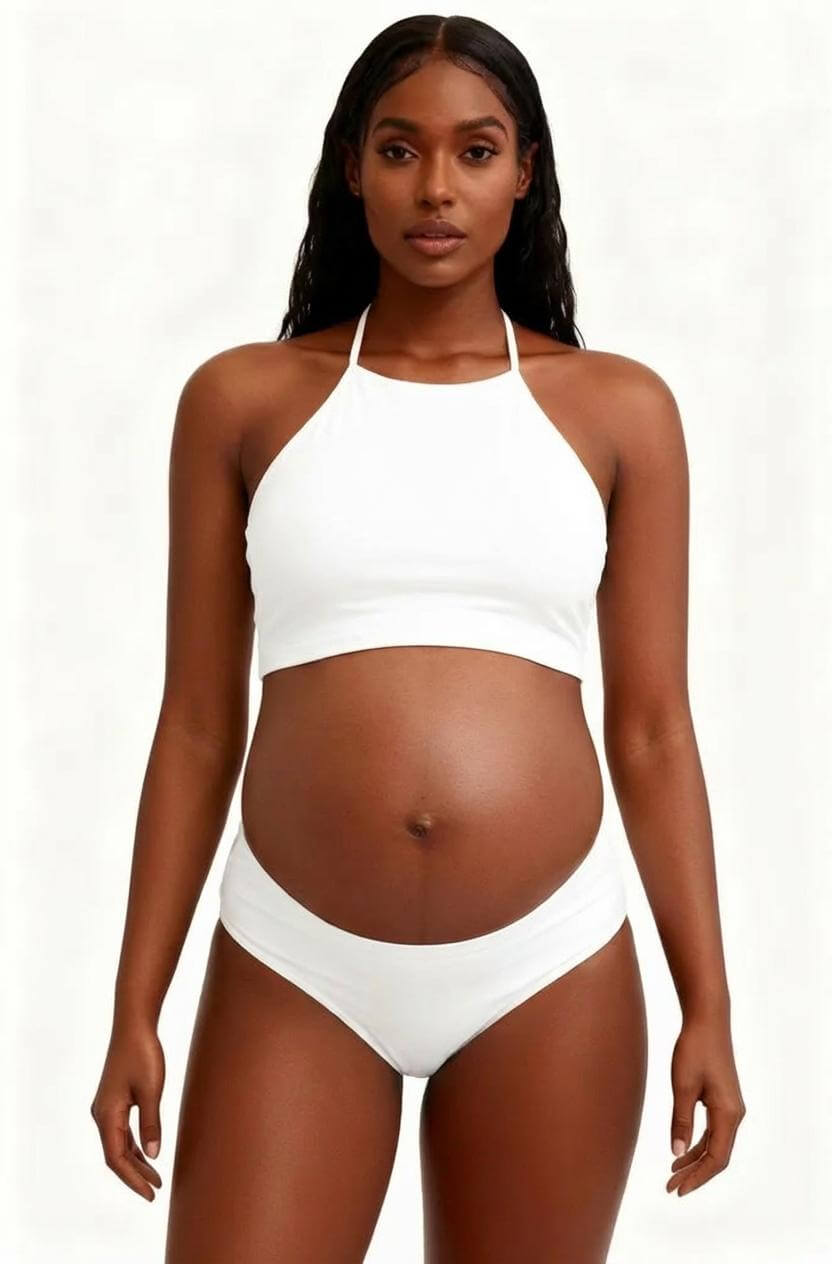
We’ve heard your feedback loud and clear! Many of you have asked for more flexibility when working with your AI-generated images — whether it’s adjusting colors, fixing small details, or adding text for a final polished look. And now, we’re excited to deliver just that. Introducing the AI Photo Editor, a brand-new feature designed to help you transform your AI-generated images into finished, ready-to-use visuals — all in one place. Whether you’re working with AI fashion models or product images, this all-in-one editor gives you complete creative control. Even when compared to Canva’s editing tools, WeShop AI’s built-in AI Photo Editor holds its own — offering intuitive controls, smart automation, and features tailored specifically for product visuals and AI-generated images.
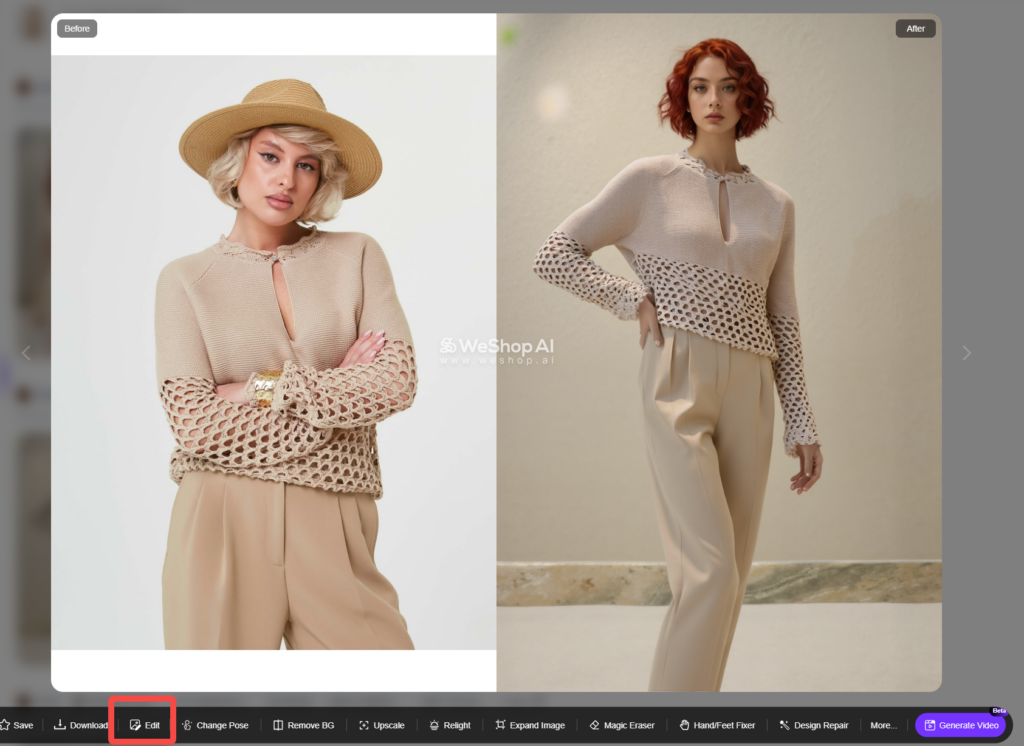
🛠️ What Can the AI Photo Editor Do?
With our AI photo editor, you can go far beyond basic image generation. Here’s what you can now achieve directly within the platform:
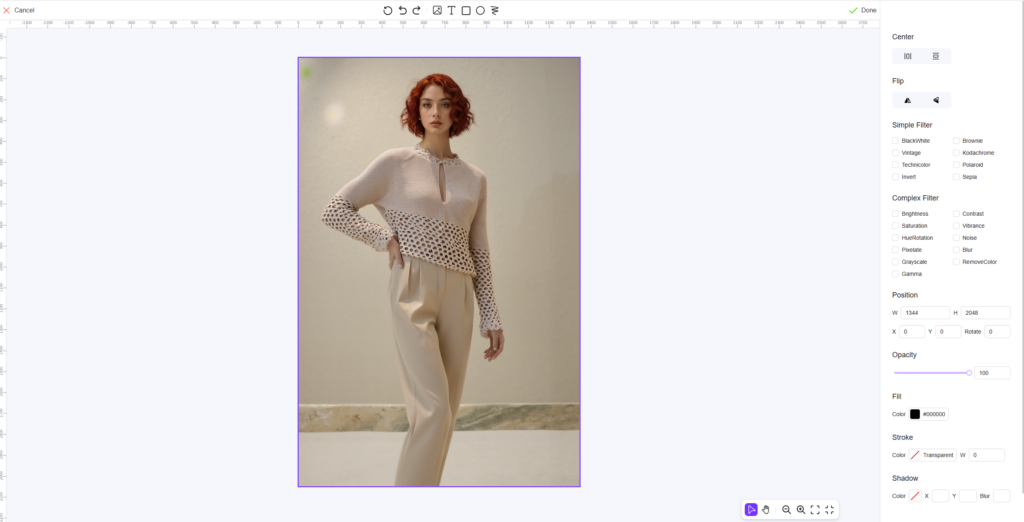
1. Freely Resize and Reposition Images
Whether you want to zoom in on details or reposition the subject for better layout balance, the editor allows you to easily adjust image scale and placement — giving you full control over your design composition.
2. Add Text, Shapes, and Drawing Elements
Need to add a title, highlight a product feature, or mark something manually? The AI photo editor includes:
- Text boxes for brand names or product descriptions
- Arrows or shapes for callouts
- A drawing tool for custom hand-drawn notes
Perfect for creating lookbooks, ad creatives, banners, and product detail pages.
3. Apply Filters and Tone Adjustments
Choose from a wide range of filters — from simple color adjustments to artistic effects. You can also manually adjust brightness, contrast, saturation, and more to match your brand style or platform requirements.
4. Combine Multiple Features for a Polished Final Image
Each function in the AI photo editor can be layered and combined to produce visually rich and professional results. Whether you’re adding stickers, borders, background shapes, or image overlays — the editor is your playground for creating scroll-stopping content.
🖱️ How AI Photo Editor Works: Step-by-Step
Let’s walk through a typical workflow using an image generated by the AI Model Generator. (The process is identical for AI still life images.)
🔹 Step 1: Enter the AI Photo Editor
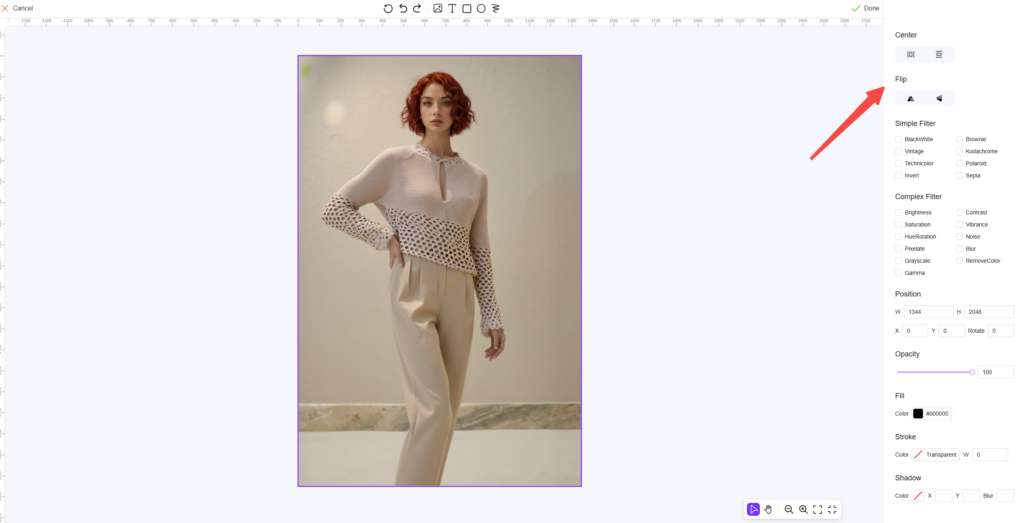
Select an image you’ve generated, and click the “Edit Image” button below it. This takes you into the editor workspace.
You’ll see options to:
- Center the image
- Flip it horizontally or vertically
- Adjust its position on the canvas
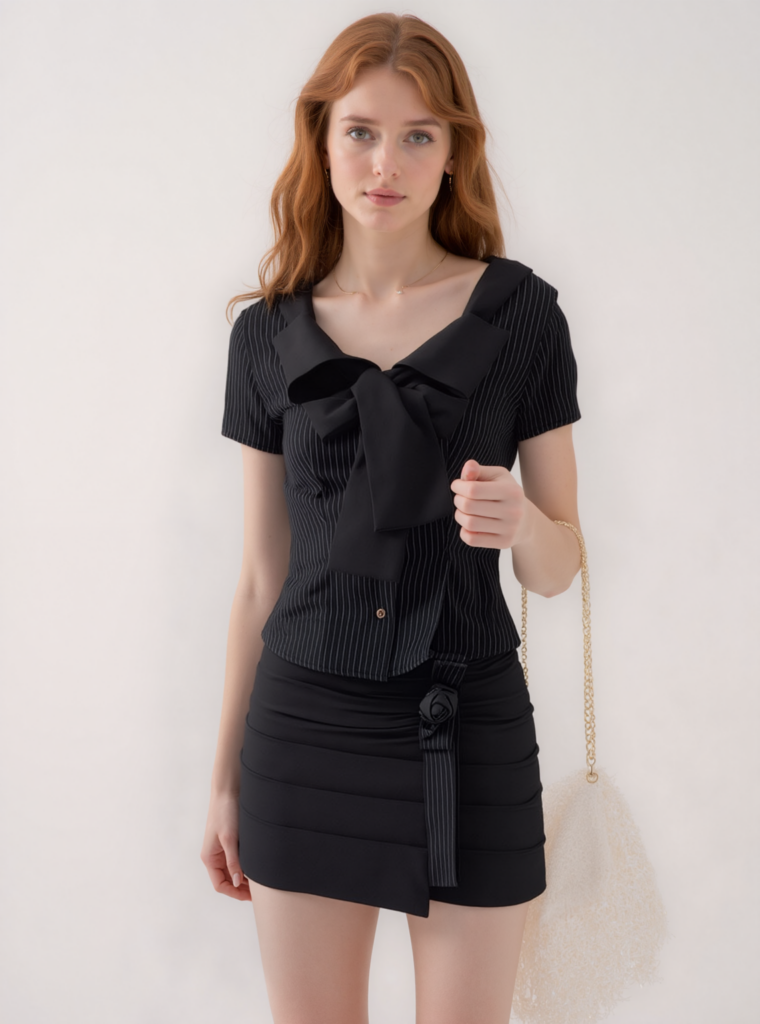
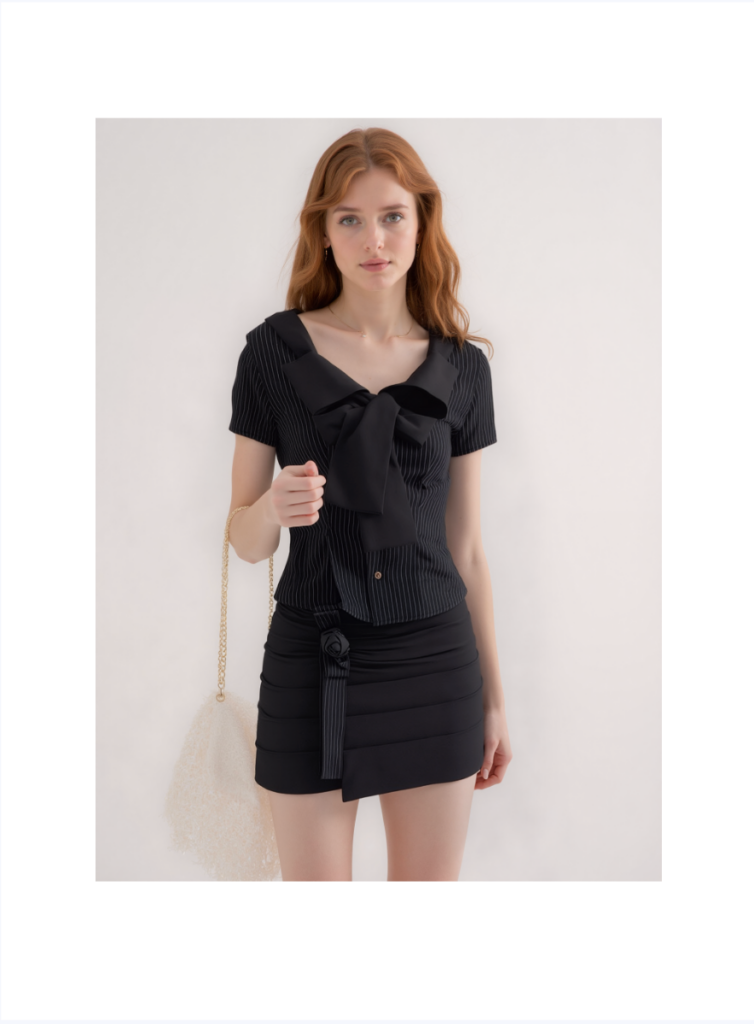
Example:
Original Image → Scaled & Flipped → Final Layout
🔹 Step 2: Add Visual Elements in AI Photo Editor
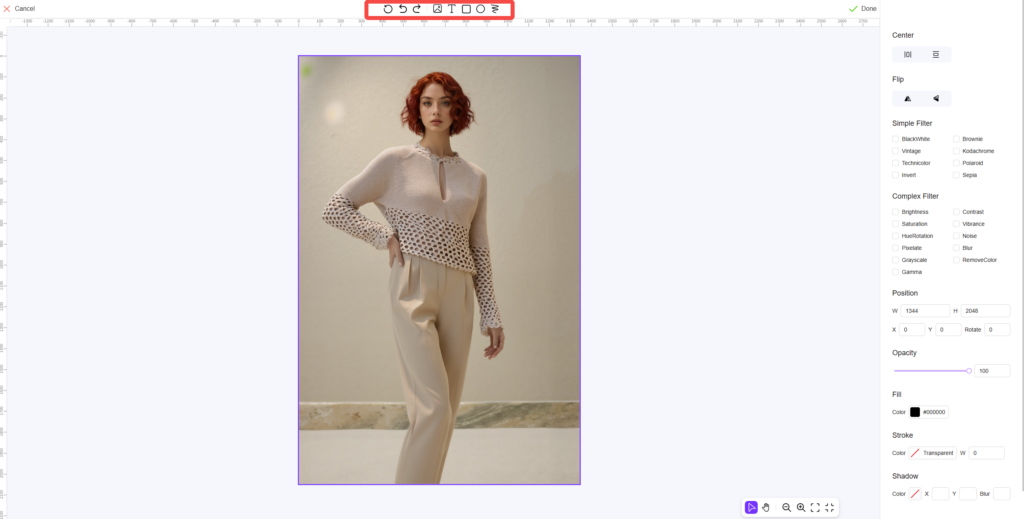
At the top of the editor, you’ll find icons for adding:
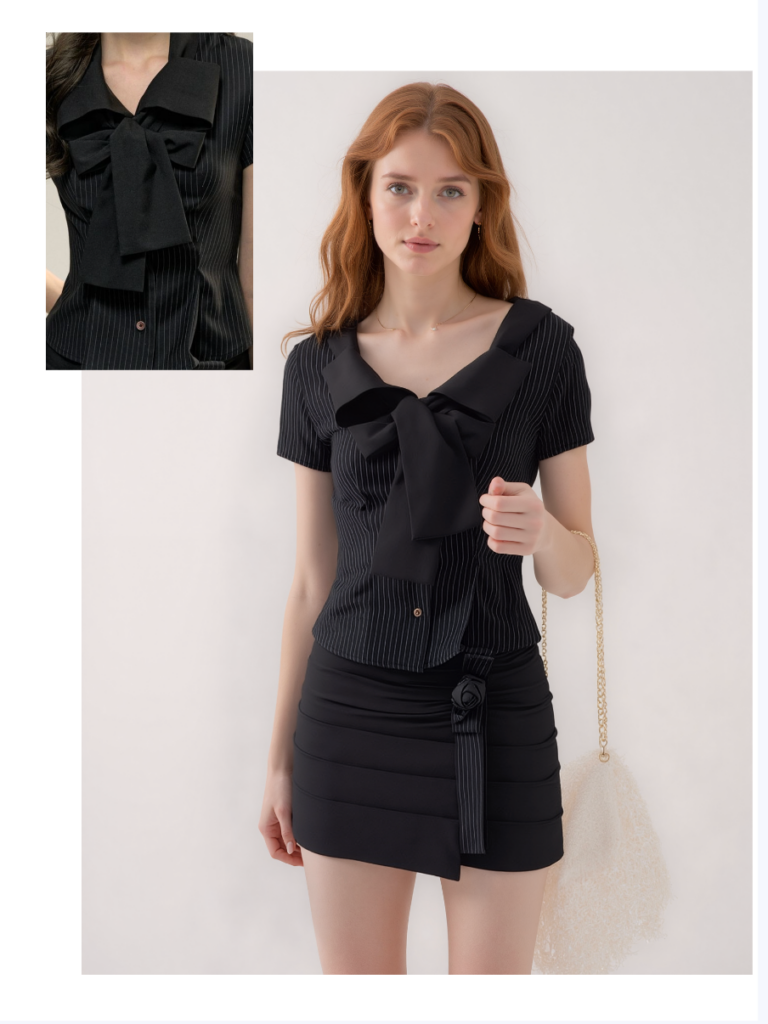
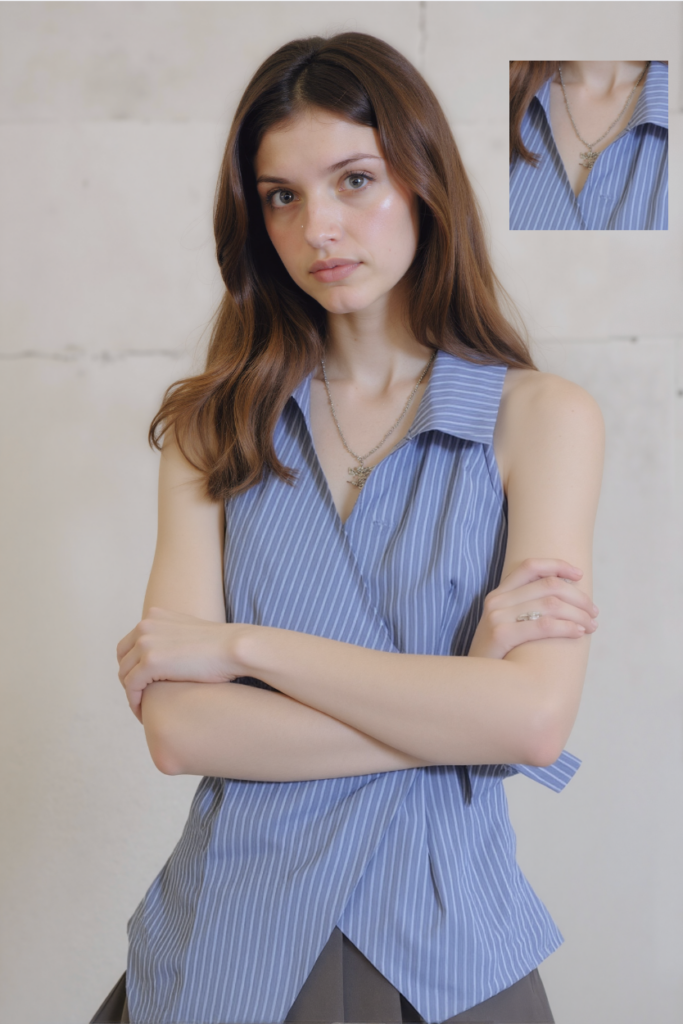
- Image Overlays: Insert additional images, such as product close-ups or branding graphics.
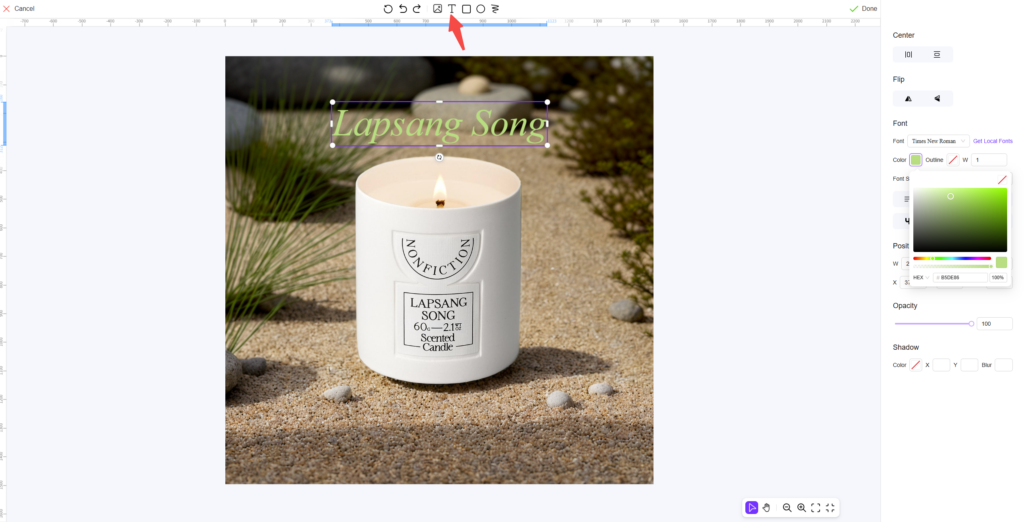
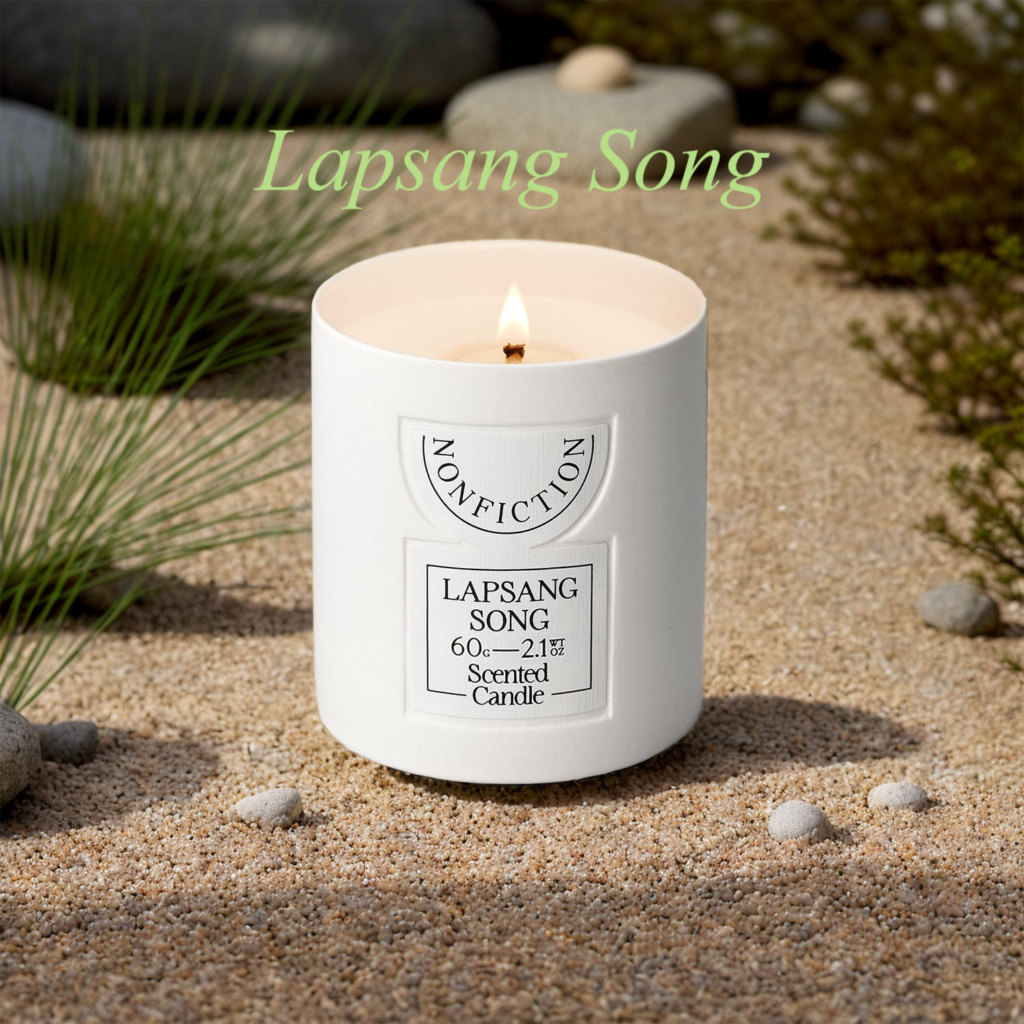
- Text: Type in your product name, brand, or any custom message.
- Shapes: Add squares, circles, and other shapes to highlight or frame content.
- Drawing Tools: Manually mark or draw for custom styling.
Each element can be adjusted in terms of:
- Size
- Position
- Color
- Opacity
- Font style (for text)
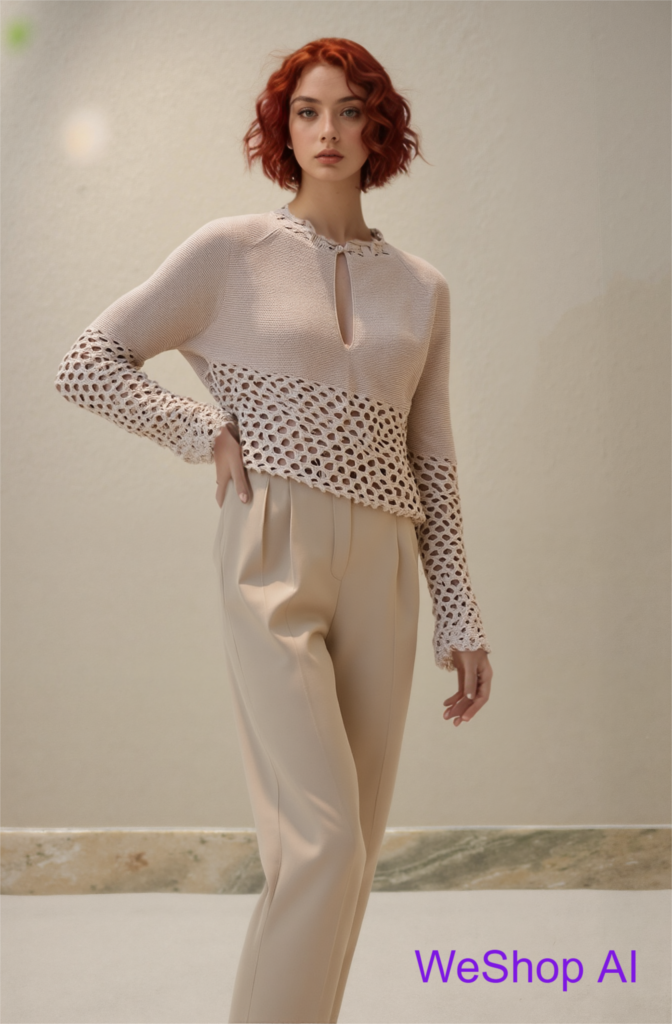
Examples:
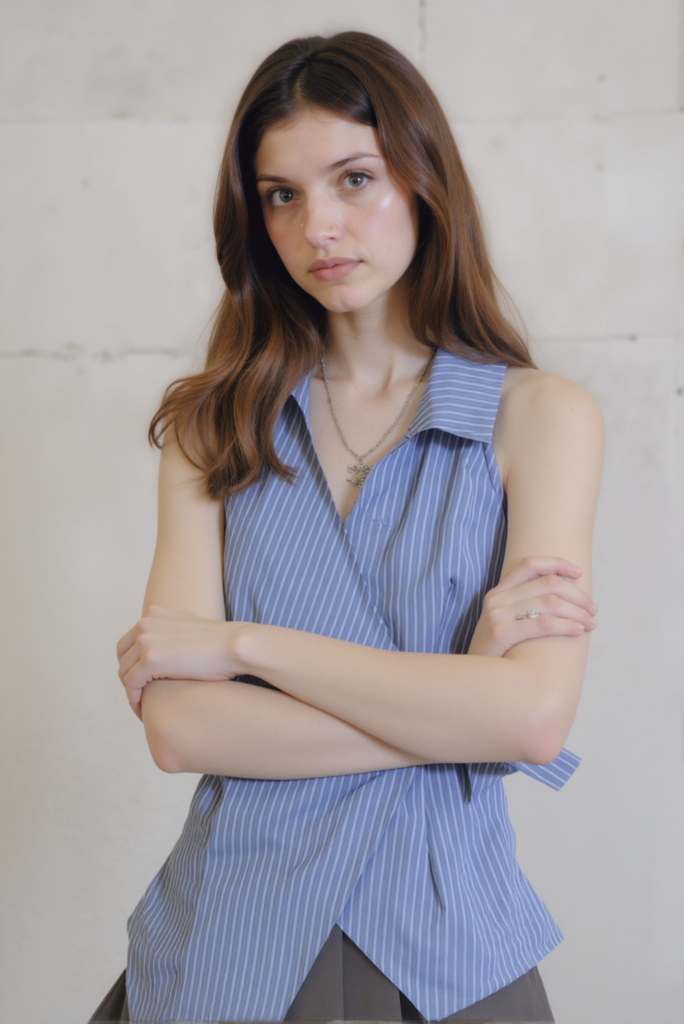
Add brand name → Insert product detail image → Add product description → Final edit

🔹 Step 3: Apply Filters and Color Adjustments
On the right side of the interface, you’ll find several preset filters. These include options for:
- Mood-based tones (warm, cool, vintage)
- Visual corrections (brightness, sharpness)
- Advanced adjustments for contrast, shadows, and saturation
Use these to match your desired aesthetic or platform visual standards.
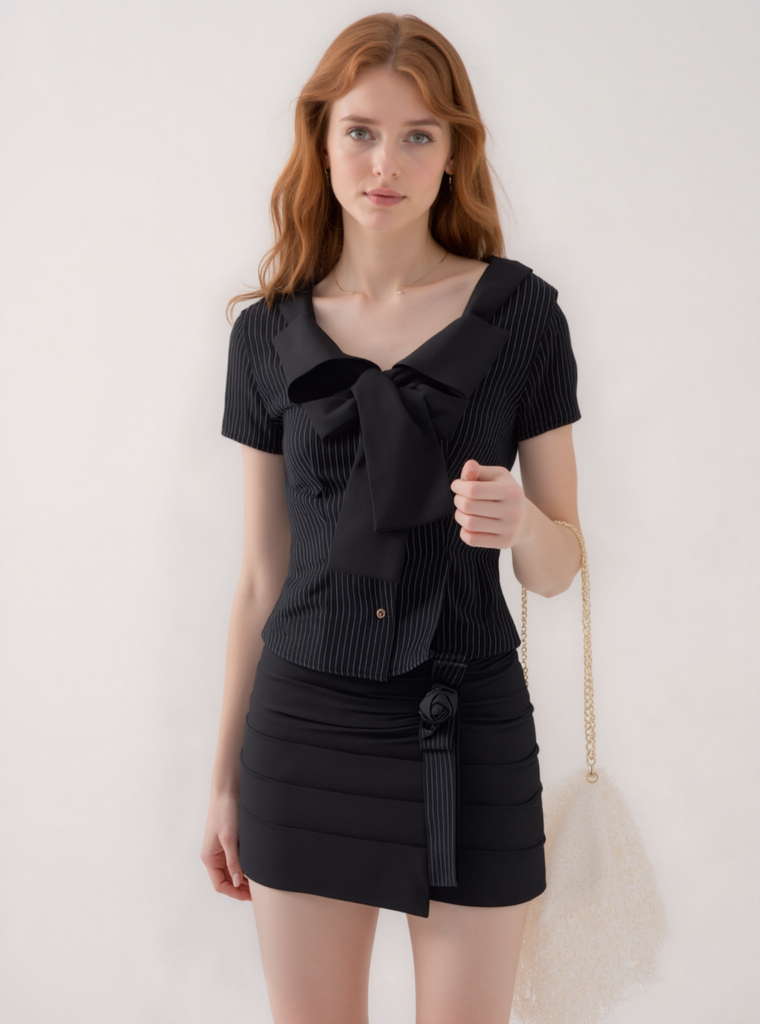
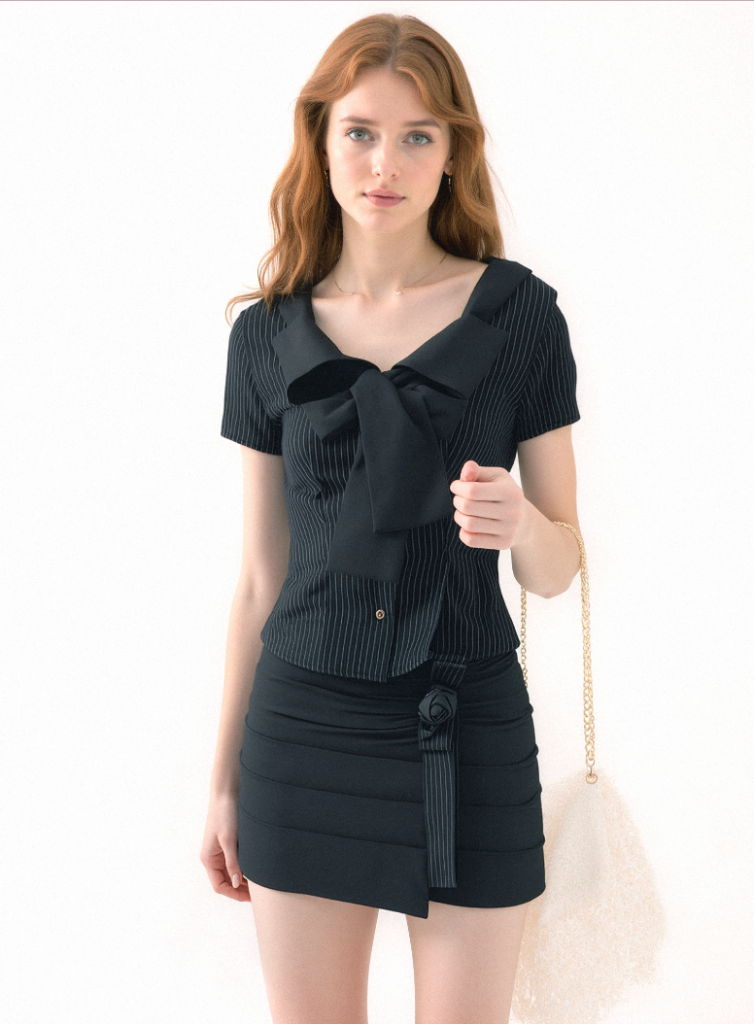
Example:
Original → Color adjusted → Polished look
🔹 Step 4: Combine Everything for Professional Results
This is where the magic happens. Combine all available functions:
- Resize and reposition the image
- Add logos or icons
- Insert text and product highlights
- Apply your favorite filter
Together, these features enable you to create full-scale product visuals that are ready for your e-commerce store, marketing assets, or social media campaigns.
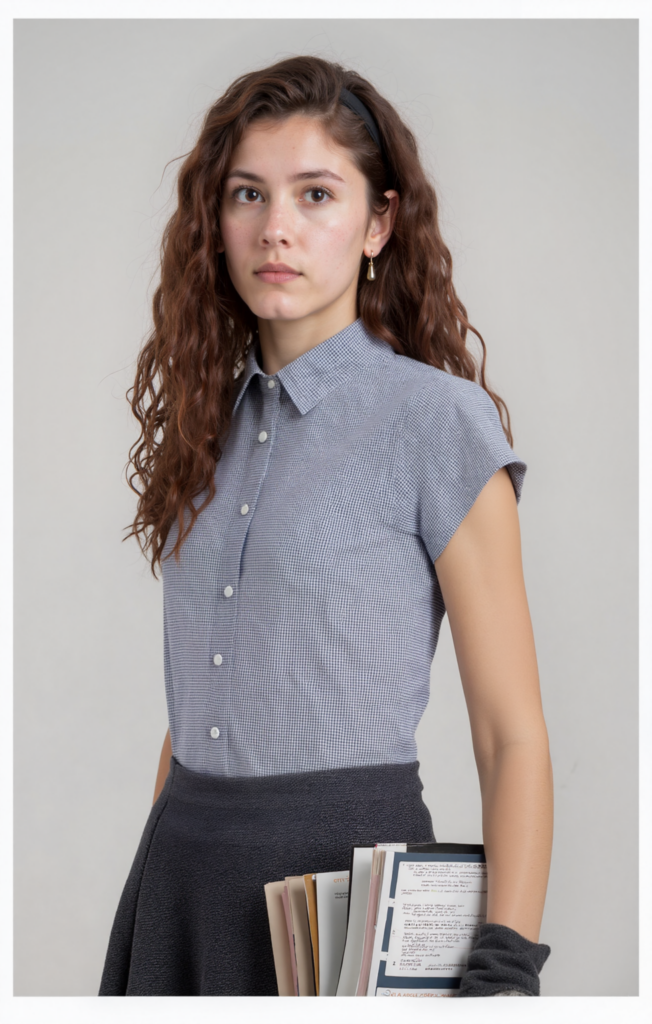
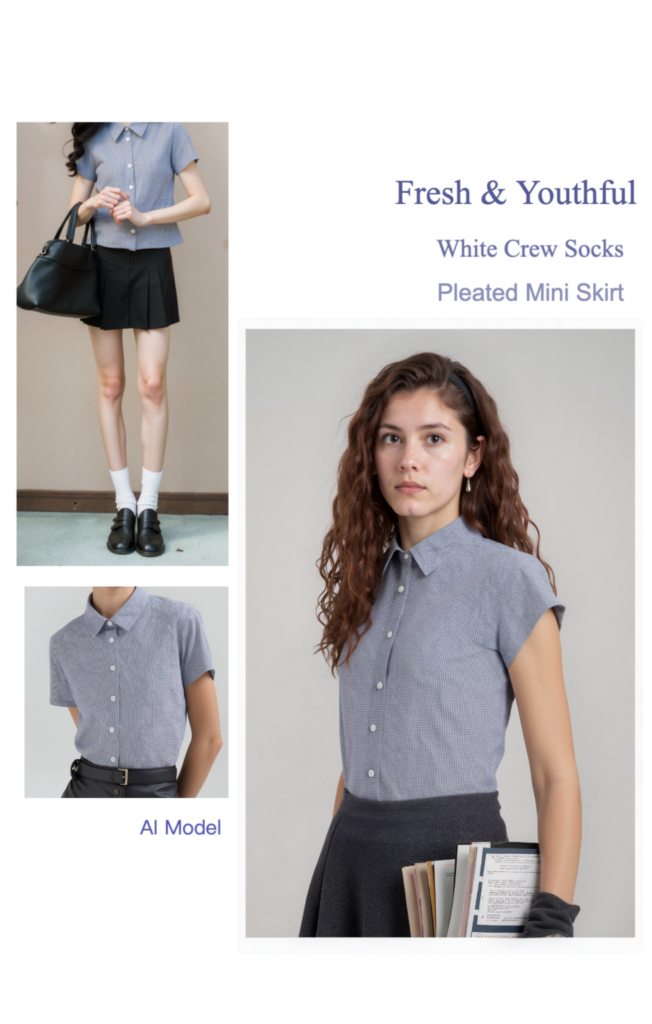
✨ Real-World Use Cases for AI Photo Editor
🧥 1. Lookbook Collages
- Combine multiple product images into a single layout
- Add product names and style codes
- Insert arrows or highlight shapes for guided viewing
🛍️ 2. E-commerce Homepage Graphics
- Recolor images for mood consistency
- Add banners or CTAs using shapes and text
- Apply filters for uniform lighting and tone
✅ Final Thoughts
The launch of the AI Photo Editor marks a major upgrade in what creators and sellers can do with their AI-generated images. It bridges the gap between raw generation and finished content, giving you everything you need in one streamlined interface.
From simple edits to full design mockups, this tool is your all-in-one solution for visual storytelling. It’s quick, powerful, and endlessly customizable.
Ready to try it out?
🔗 [Click here to explore the AI Photo Editor now!]

