

AI Video Combiner helps you turn disconnected AI clips into one smooth, structured, and publish-ready video. Instead of keeping text-to-video and image-to-video results as separate files, you can place them on one timeline, adjust their order, trim weak moments, and add music, captions, or simple transitions.
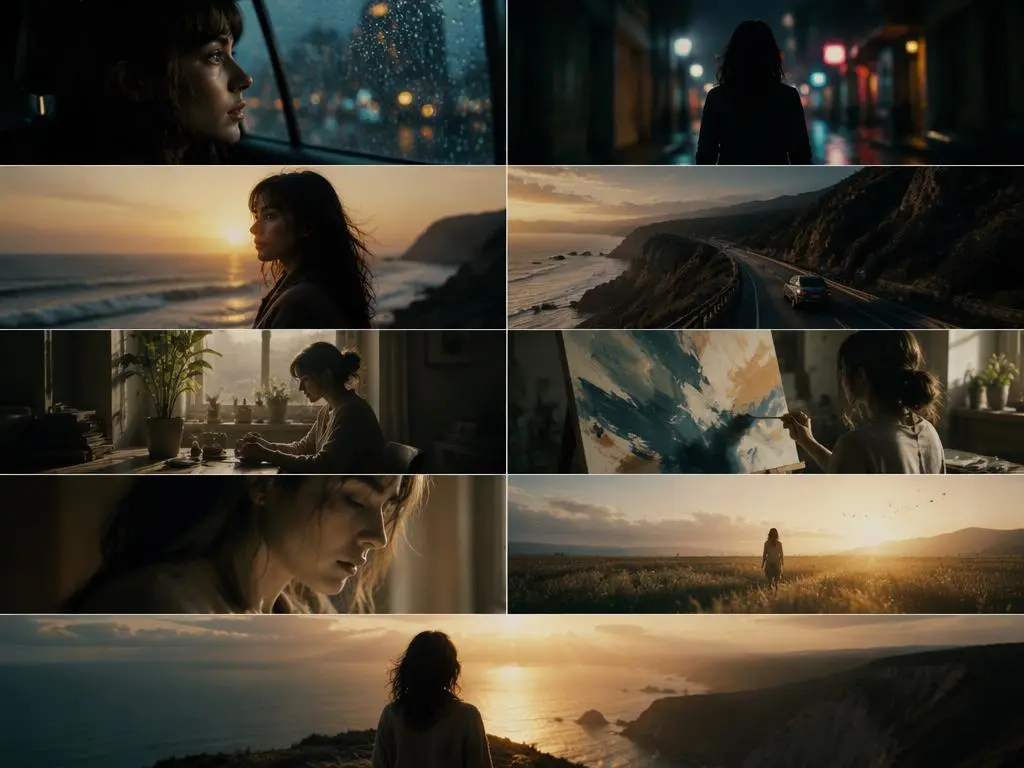
This is especially useful when you already have enough footage but still cannot create a video that feels complete. One clip may show a product close-up, another may feature a lifestyle scene, and a third may use completely different lighting or camera movement. Although each clip looks good on its own, the full sequence can still feel random.
With AI Video Combiner, you can give every scene a clear purpose and connect the clips around one central idea. The goal is not to include every generated result. Instead, you need to select the strongest footage, build a logical sequence, and create a clear beginning, middle, and ending.
In this guide, you will learn how to organize AI-generated clips, improve visual continuity, control pacing, and turn separate scenes into one cohesive video.
Why AI Video Combiner Needs a Clear Clip Structure
Most AI video tools generate one short scene at a time. Therefore, each result may look good on its own while following a different visual rule from the next scene.
AI Video Combiner makes these differences easier to notice because you can review every clip inside one sequence. Once the scenes appear next to each other, repeated actions, sudden lighting changes, and weak transitions become much more obvious.
One clip may use warm studio lighting, while another places the same subject outdoors. Meanwhile, a third clip may change the camera angle, movement speed, or background style. As a result, the sequence can feel more like a folder preview than a complete video.
The Visual Style Changes Too Quickly
Lighting, color, framing, and camera movement all affect continuity.
For example, imagine that the first scene shows a product in a bright studio. The next scene suddenly uses dark blue lighting and a fast handheld camera. Even when the product remains recognizable, the transition may feel accidental.
You do not need every scene to look identical. However, neighboring clips should share at least one visual connection, such as similar lighting, color, motion, or framing.
Several Clips Repeat the Same Information
Creators often keep every generated result because each clip required time or credits. However, three slow product rotations do not necessarily create a richer video.
Instead, each scene should add something new.
One clip may introduce the product. The next can show how it works. Another can place it in a real-life setting. Therefore, the video progresses instead of repeating the same information from different angles.
The Video Has No Clear Ending
Many AI clips contain movement but no conclusion. A character walks, a product rotates, or a camera moves through a scene. Then the clip simply stops.
When several unfinished moments are joined together, the entire video can feel incomplete. For that reason, choose a final scene that delivers a result, reaction, reveal, or clear call to action.
Use AI Video Combiner Before Generating More
When a video does not work, it is tempting to generate more footage. Yet more footage often creates more decisions rather than a clearer story.
Before opening another video generator, review the clips you already have.
Keep the scenes that show the subject clearly, introduce a useful action, or reveal an important result. Next, remove clips that repeat earlier information. Finally, separate any scene that looks attractive but does not support the main idea.
A simple question can speed up this process:
Does this clip show something the audience has not already seen?
When the answer is no, the scene may not belong in the final cut.
After this first review, upload only the strongest material to AI Video Combiner. A smaller and more focused timeline is easier to organize than a project filled with nearly identical options.
You can also divide your material into three groups:
- Keep: Essential clips that explain the subject or move the story forward.
- Optional: Useful clips that can be removed if the video feels too long.
- Repeat: Clips that show the same action, angle, or information again.
This quick sorting step saves time later because every uploaded clip already has a possible role.
Build a Clear Story With AI Video Combiner
Before arranging clips in AI Video Combiner, define what the finished video should communicate. A clear central promise will help you decide which scenes belong on the timeline and which ones should be removed.
A product video might show how an item fits into daily life. A travel reel may capture the feeling of one weekend. Meanwhile, a short concept film might follow one character through a simple change.
Once the promise is clear, organize the footage into five roles:
Hook, Context, Proof, Change, and Payoff.
1. Hook: Open With the Strongest Moment
The first scene should create immediate interest.
You could begin with a product switching on, liquid moving, a package opening, or a character reacting. In contrast, a slow establishing shot may take too long to reach the main idea.
Do not arrange clips according to file names or generation order. Instead, start with the moment most likely to make someone keep watching.
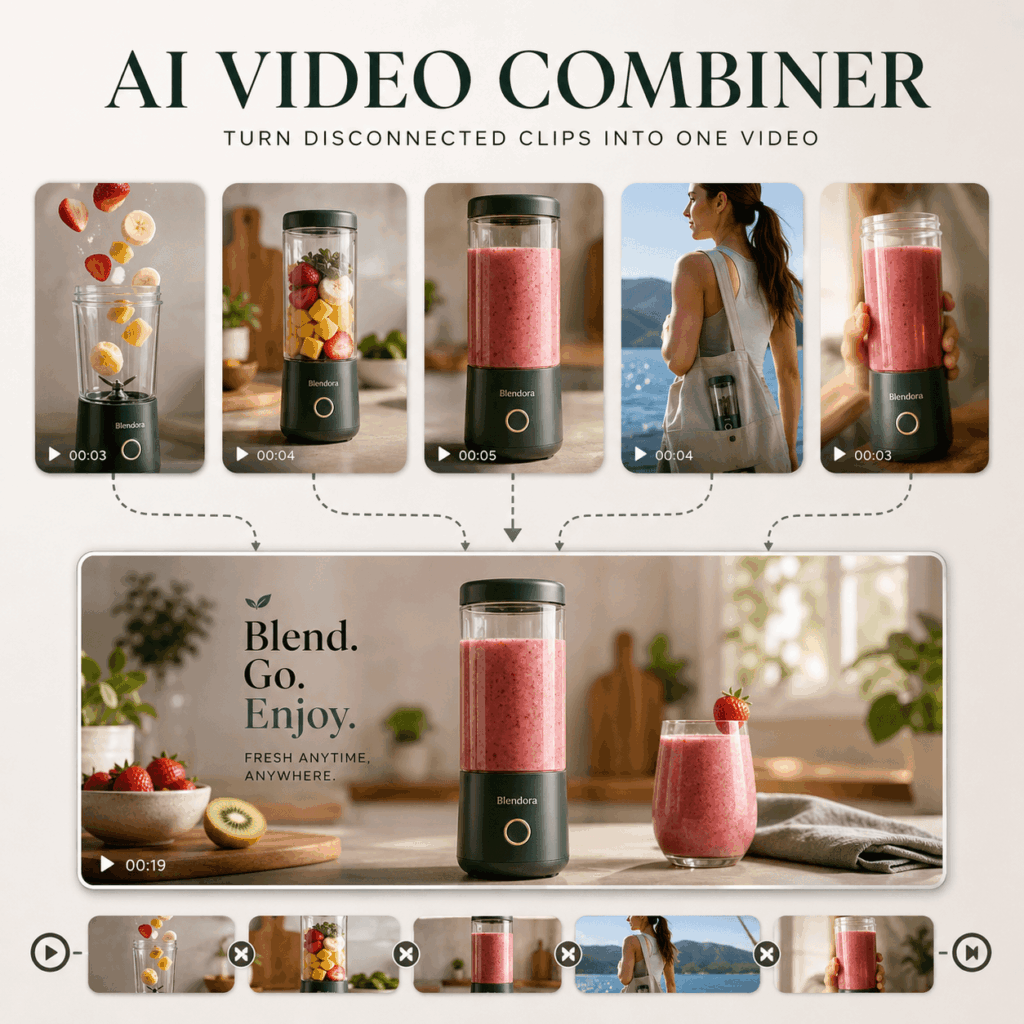
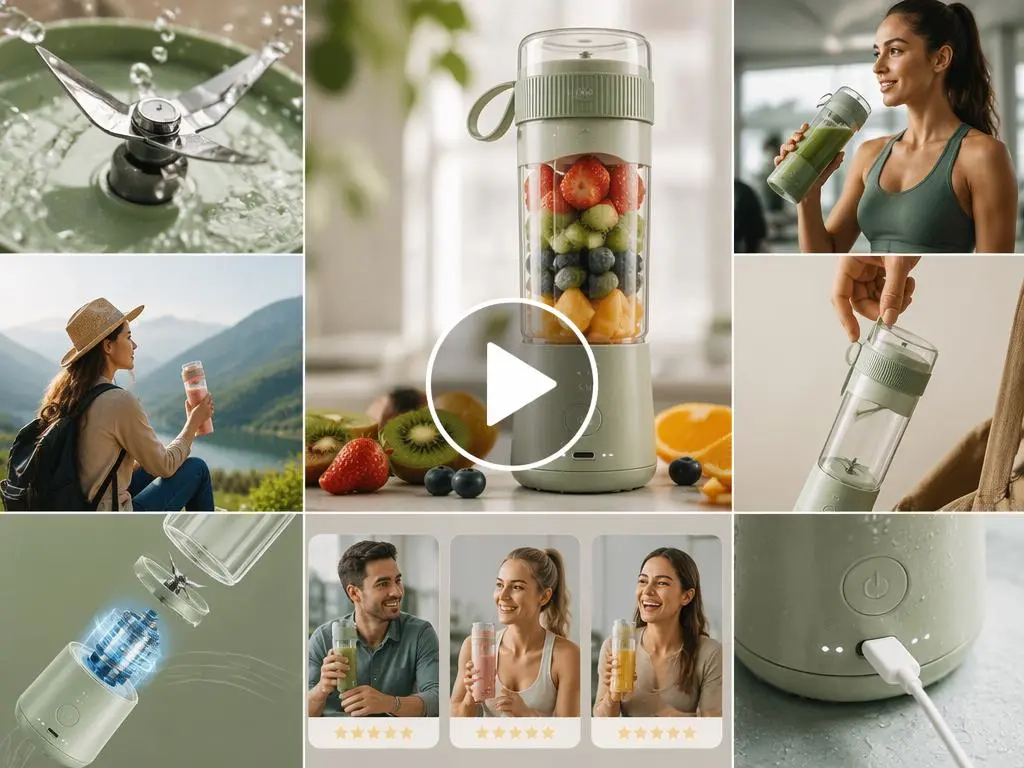
For example, a portable blender video could open with fruit dropping into the container rather than a slow shot of the product sitting on a table.
2. Context: Show What the Video Is About
After the hook, give the audience enough information to understand the subject.
For instance, if the opening shows coffee pouring into a cup, the next clip could reveal the full coffee machine and kitchen environment.
The context scene does not need to be dramatic. Nevertheless, it should make the rest of the sequence easier to follow.
3. Proof: Add a Useful Detail or Action
Next, show evidence that supports the central idea.
In a product video, proof could be a feature close-up, an operating step, or a real use case. In a travel reel, it could be food, movement, or a recognizable location. Likewise, a tutorial might use this section to show the most important action.
Most importantly, the proof scene must add information. It should not simply repeat the opening from another angle.
4. Change: Refresh the Visual Rhythm
Several similar shots in a row can make even a short video feel slow. Therefore, introduce a clear change near the middle or end.
You could move from a close-up to a wide shot. Alternatively, change from a studio scene to a lifestyle setting, from slow motion to normal speed, or from the product alone to a person using it.
The change should feel intentional. It does not need to become louder or more dramatic than the rest of the video.
5. Payoff: End With a Result
Finally, choose a scene that completes the idea introduced at the beginning.
A product story might end with the finished result or a satisfied user. A travel reel could close with a destination view. Similarly, a concept film might end with a reaction, reveal, or final visual message.
Whenever possible, avoid ending in the middle of an unfinished movement. A clear payoff helps the entire sequence feel planned.
How to Combine AI Clips With AI Video Combiner
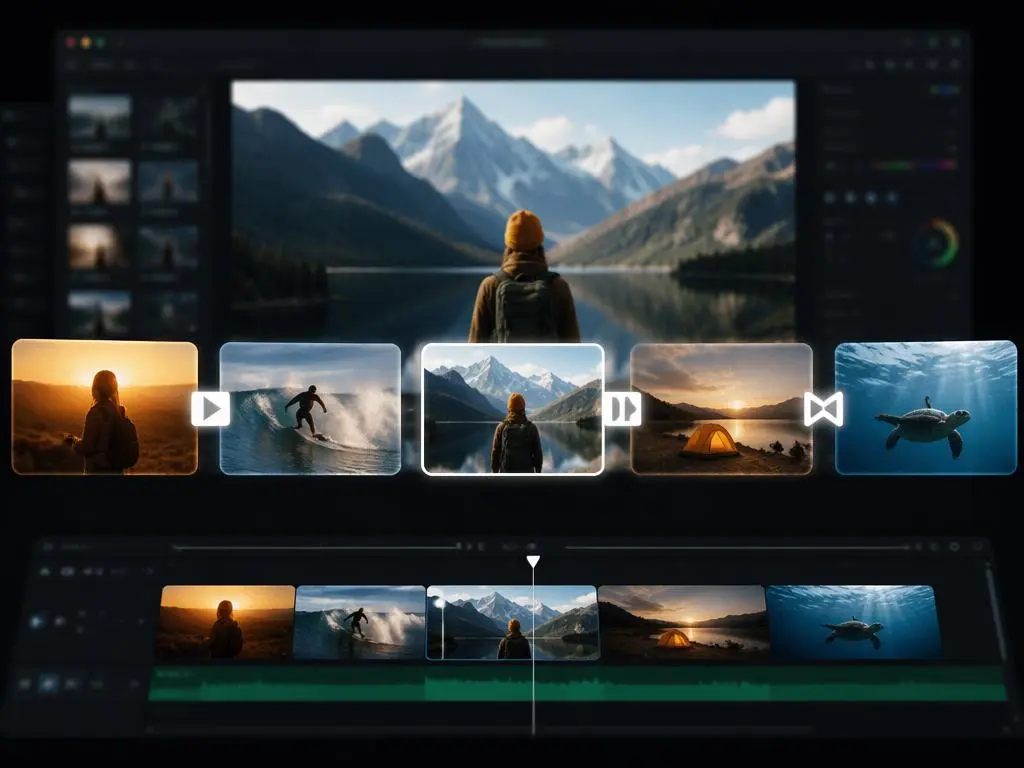
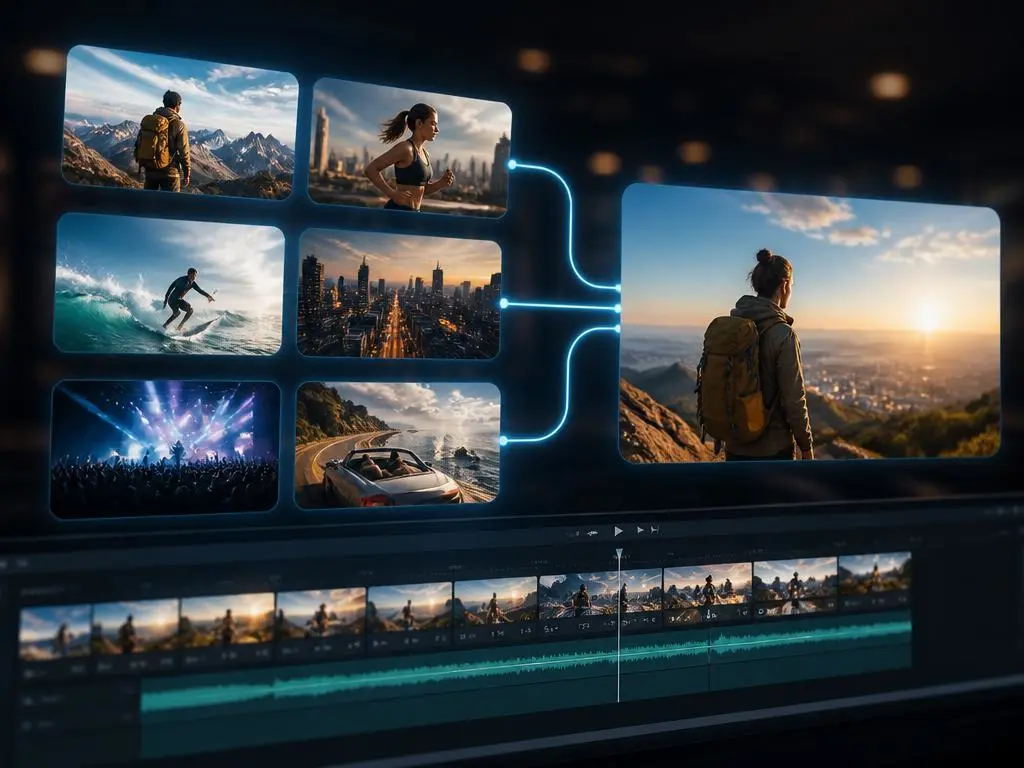
Once you have selected the strongest scenes, you can begin building the timeline in AI Video Combiner.
First, upload the clips you plan to use. Avoid importing the entire folder unless every file has a clear purpose.
Next, place the clips in your chosen order. Start with the hook, add enough context, show the proof, introduce a change, and finish with the payoff.
Then, play the sequence without transitions or music. At this stage, focus only on the story. Can you understand what the video is showing? Does each scene move the idea forward?
If one clip feels unnecessary in every position, remove it.
After the basic structure works, trim each scene. Cut empty pauses, unstable opening frames, unfinished movements, and visible generation errors near the end.
A five-second source clip may contain only two useful seconds. Therefore, do not feel required to keep its full length.
Finally, add music, captions, simple transitions, and an ending screen when needed. These elements should support the sequence rather than hide weak editing decisions.
Before exporting, watch the full video without stopping. This makes it easier to notice slow sections, repeated scenes, and sudden changes in sound.
Make AI Video Combiner Results Feel Consistent
A strong order improves the story, but consistent visuals and audio make the sequence feel like one finished video. After the basic timeline works, use AI Video Combiner to reduce the differences between separate scenes.
You do not need to make every clip look identical. Instead, focus on a few shared elements, such as movement direction, lighting, color, music, and caption style. These connections help viewers accept each cut as part of the same video.
Match Movement Between AI Clips
Movement can create a natural bridge between different scenes.
If a person exits toward the right side of the frame, the next scene can continue with movement in the same direction. Likewise, a camera push-in can connect well to another closer shot.
When two clips move in opposite directions, try changing their order. You can also place a stable detail shot between them.
Product videos can use the same technique. For example, a rotating bottle can cut naturally to a close-up that continues the circular movement.
Group Scenes With Similar Light and Color
Place visually related clips near one another whenever possible.
Warm indoor scenes usually connect more smoothly to other warm scenes. Similarly, bright outdoor shots can form their own section.
Sometimes a major visual change is necessary. In that case, place it in the Change stage of the structure. The contrast will then feel like a deliberate creative decision rather than an editing mistake.
Use Sound as the Main Connection
A consistent soundtrack can unite clips from different sources.
Choose one music track and let it continue across the main sequence. Then, align important cuts with natural beats or changes in the music.
In addition, balance the volume of the original clips. A sudden jump in background noise can break continuity even when the images match.
Captions can also help. Use the same font, size, position, and animation throughout the video. Consequently, the audience sees one visual system rather than several unrelated clips.
Keep Transitions Simple
Complex transitions cannot fix weak sequencing.
Spins, flashes, stretches, and aggressive zooms may hide a cut for a moment. However, they can also distract viewers from the content.
In most cases, a direct cut, a brief dissolve, or a movement-matched transition is enough. The transition should support the next scene rather than become the main event.
Turn Six Product Clips Into One Story
Imagine that you have generated six clips for a portable blender:
- The blender rotates on a table.
- Fruit drops into the container.
- The blades begin to move.
- Juice is poured into a glass.
- A customer carries the blender outdoors.
- The blender rotates again from another angle.
Using every clip in this order would create a repetitive product montage.
Instead, you could organize the video like this:
Hook: Fruit quickly drops into the blender.
Context: The full blender appears on a clean counter.
Proof: The blades mix the ingredients.
Change: The scene moves from the kitchen to an outdoor setting.
Payoff: The user drinks the finished smoothie.
The second rotation clip repeats information from the context scene. Therefore, it can be removed.
Now the video does more than display the product. It moves from preparation to action and then to a clear result.
This structure can also work for other products. A skincare video might move from texture to application and then to the final finish. A fashion video could move from the garment detail to styling and then to the complete look.
The product may change, but the logic remains the same: each clip should answer a different question.
Use AI Video Combiner for Multiple Platforms
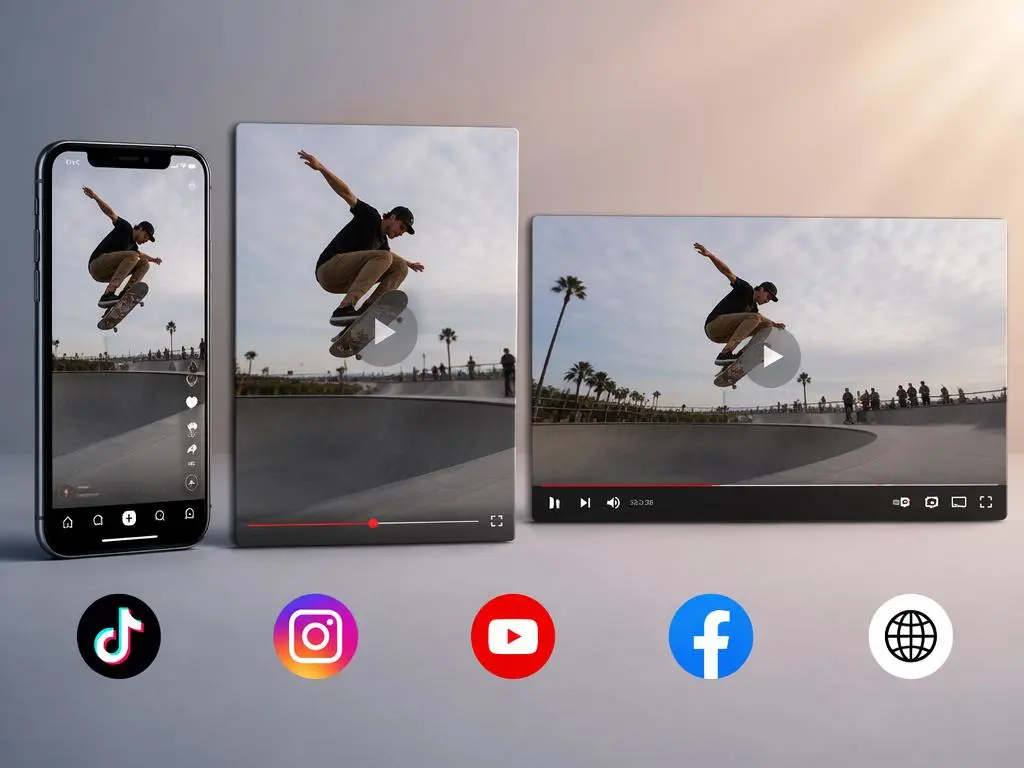
Once the master version works, AI Video Combiner can help you adapt the same sequence for different channels. Instead of rebuilding the video from the beginning, you can adjust its ratio, crop, timing, and text placement for each platform.
A vertical cut works well for TikTok, Instagram Reels, and YouTube Shorts. Meanwhile, a widescreen version is better suited to YouTube, websites, and presentations. Square formats can also support selected social placements.
However, changing the ratio is not only a technical export step.
After reframing, check whether the subject remains visible. A product placed near the edge of a widescreen shot may disappear in a vertical crop. In addition, captions should avoid areas covered by platform buttons, usernames, and descriptions.
The opening may also need to become shorter for a vertical social video. In contrast, a wider website or YouTube version can leave more room for context.
Therefore, finish one clear master sequence first. Then, adjust its crop, timing, and text placement for each platform.
You should also check the safe area of every clip. Important product details, faces, logos, and captions should remain inside the visible center of the frame.
AI Video Combiner Final Export Checklist
Before exporting from AI Video Combiner, watch the full sequence from beginning to end.
First, check whether the opening reaches the main idea quickly. Then, look for repeated shots or slow sections. Make sure the visual change feels intentional and the final scene delivers a clear result.
Review these details as well:
- Does every clip add new information?
- Do neighboring scenes share similar movement, lighting, or color?
- Is the music volume consistent?
- Are captions easy to read?
- Are the transitions simple and useful?
- Does the video end after the main action is complete?
- Is the subject safe inside the final aspect ratio?
- Are there any unstable or distorted frames?
- Does the final call to action remain on screen long enough?
Whenever one section feels too slow, try removing a clip before adding an effect. A shorter sequence with a clear purpose often feels more polished than a longer sequence filled with every available result.
It is also helpful to watch the video once without sound. This lets you test whether the visual story still makes sense. Afterward, listen without focusing on the screen to check whether the music, narration, and volume changes feel smooth.
Finish the Story Instead of Filling the Timeline
Generating more footage is not always the best way to improve a video.
Often, the necessary scenes already exist. They simply need stronger selection, a clearer order, and a more consistent presentation.
AI Video Combiner gives you a practical way to arrange those scenes, trim unnecessary moments, add shared audio and text, and prepare the final video for different platforms.
Therefore, the next time your folder is full of disconnected AI clips, do not immediately create another one.
Choose the strongest hook. Add context and proof. Introduce one meaningful change. Then, finish with a clear payoff.
A cohesive video does not need the largest number of clips. It needs every clip to appear for a reason.
Go to WeShop AI For Exploration:


