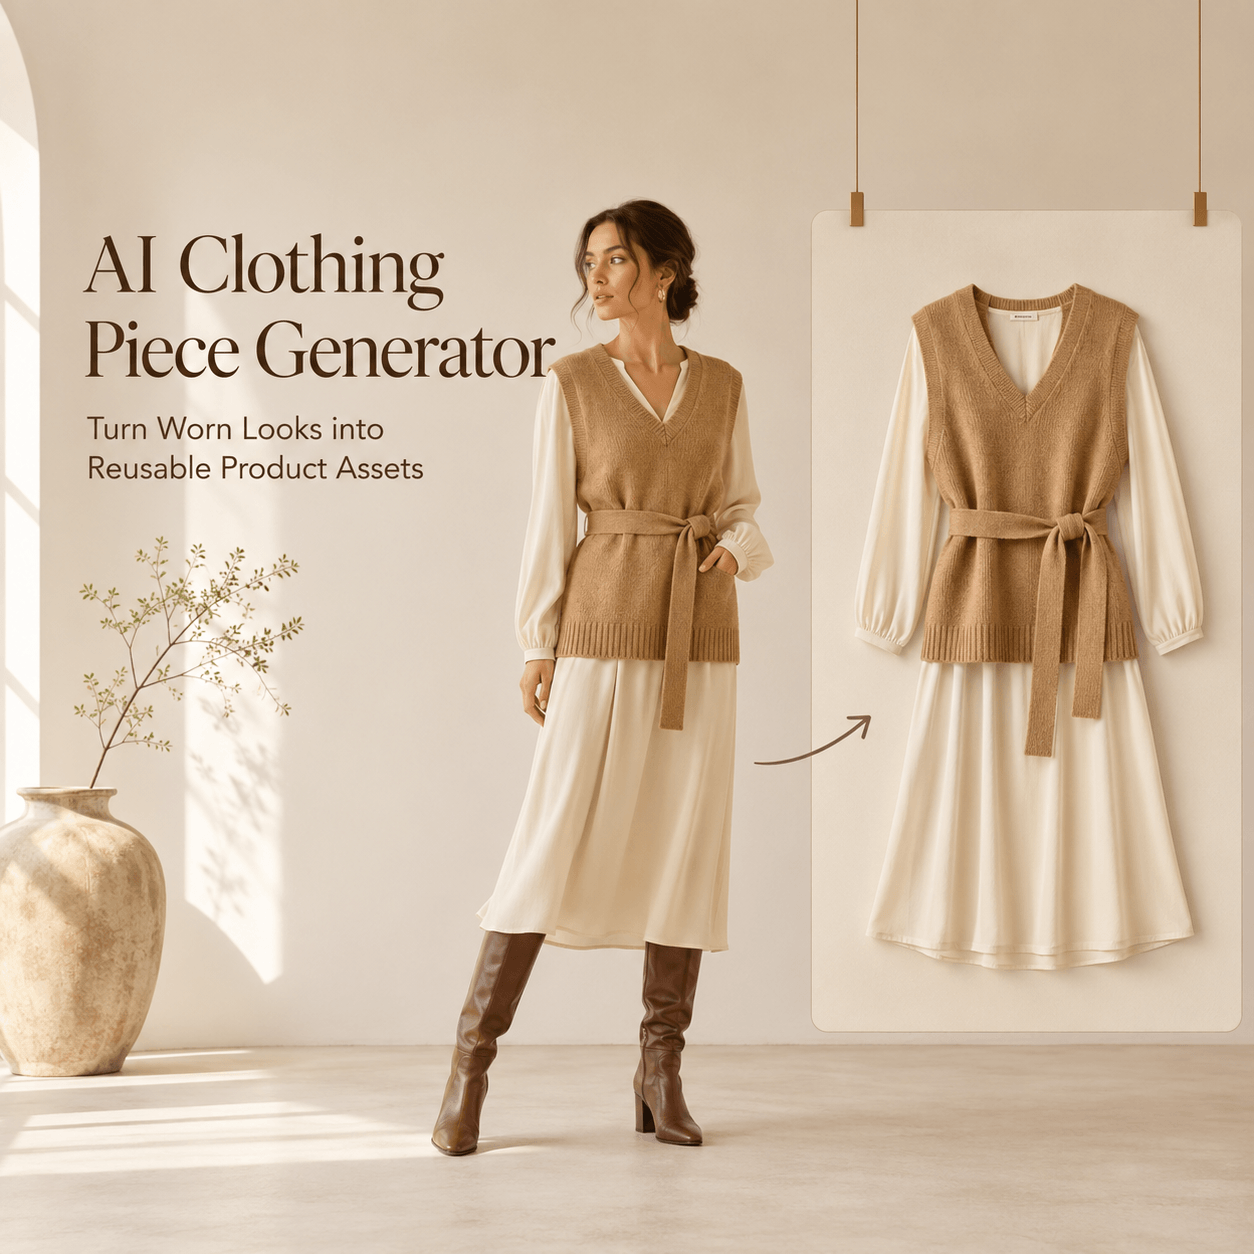
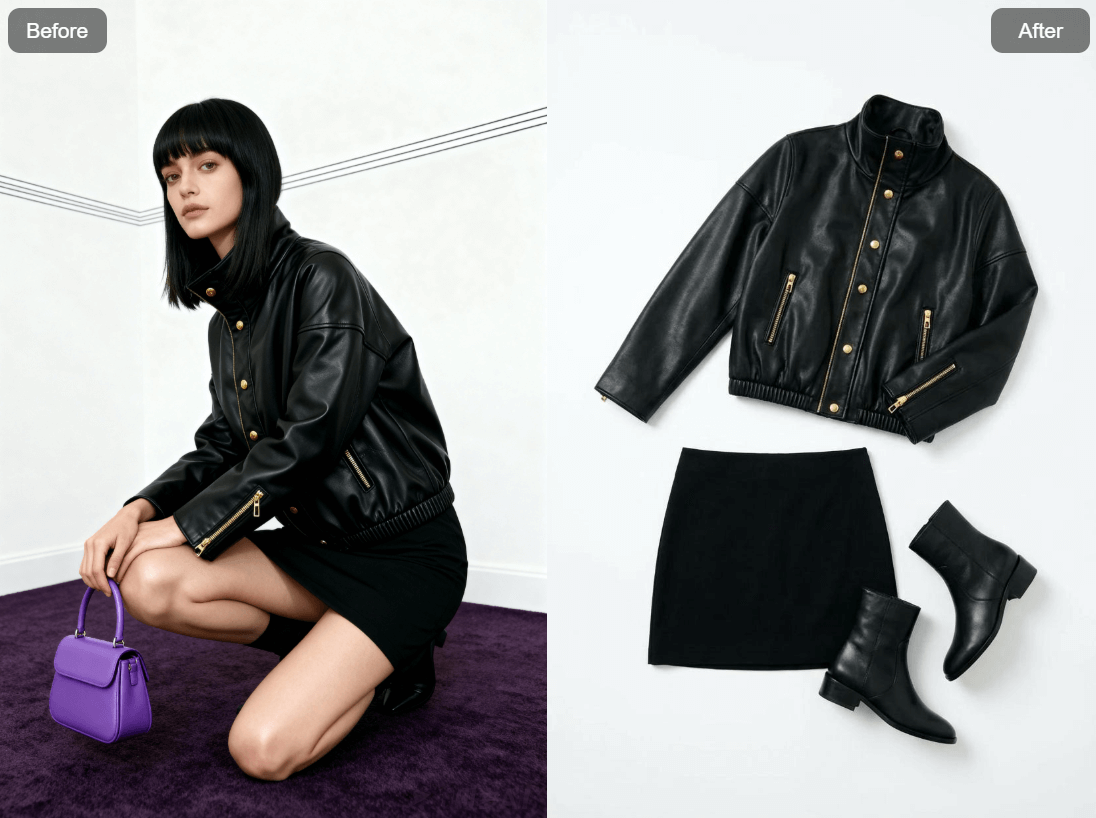
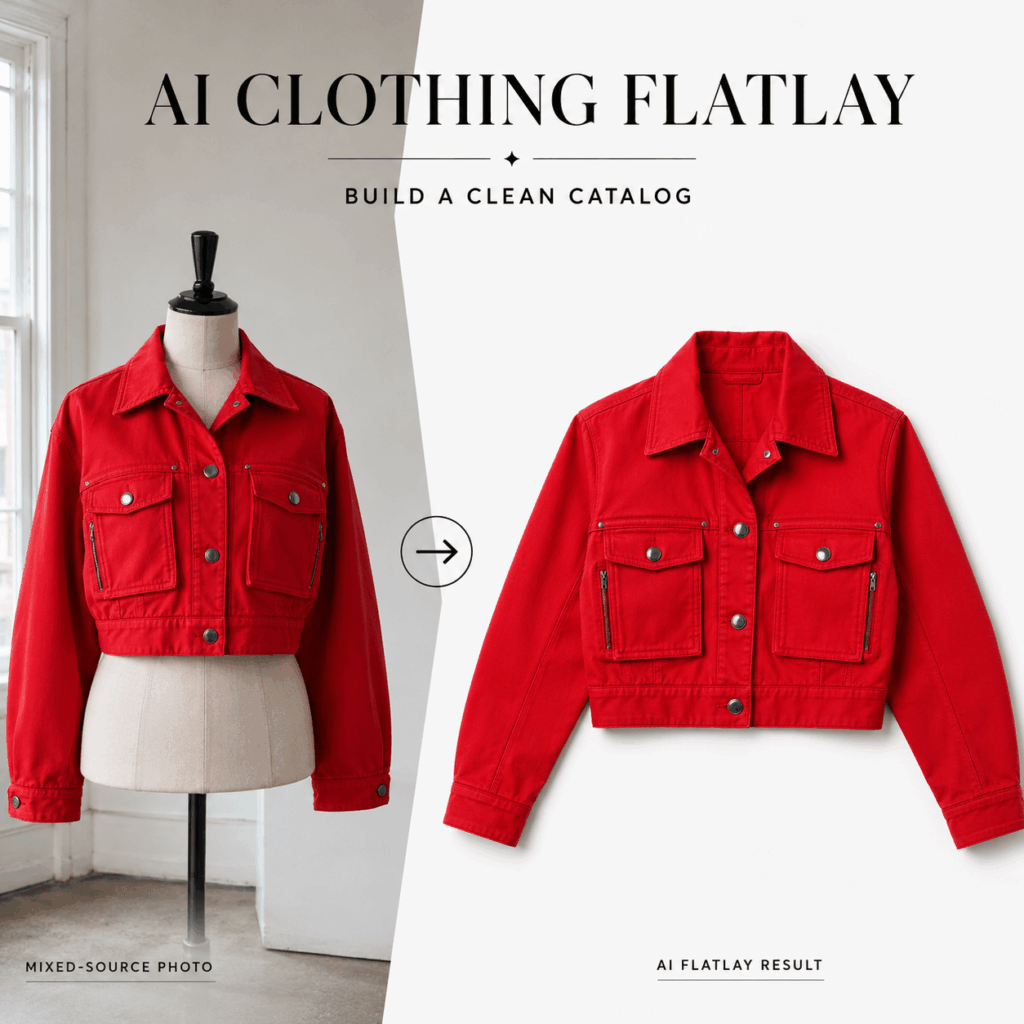
AI Clothing Flatlay helps turn mixed clothing photos into clean and consistent product visuals. Your source images may come from a phone, a supplier, an old listing, or a model shoot. However, they do not need to stay visually disconnected.
A customer may see a shirt on a mannequin, jeans on the floor, and a jacket against a bedroom wall. Each image may look fine alone. Still, the full catalog can feel unfinished when every photo follows a different style.
With AI Clothing Flatlay, sellers can turn apparel photos into neat overhead product images with cleaner backgrounds and a more uniform look. Therefore, the tool can support ecommerce listings, social posts, fashion planning, campaigns, and resale pages.
The goal is not to make every garment look identical. Instead, it is to give every product the same visual rules.
Why Mixed Clothing Photos Weaken a Catalog
Small fashion brands rarely create every image in one studio session.
Some products arrive with supplier photos. Others are photographed on models. Meanwhile, new stock may be captured quickly with a phone before launch.
As a result, the catalog can contain several background colors, camera angles, lighting styles, and image sizes.
This creates three common problems.
First, customers may find it harder to compare products. A dark jacket on a model can look larger than a pale shirt photographed from above. Therefore, differences in presentation can affect how shoppers read size, shape, and color.
Second, a mixed catalog can weaken brand identity. The products may belong to the same collection. However, the page may feel as if it was built from several unrelated stores.
Finally, inconsistent images make updates harder. Every new item requires another visual decision. Over time, the catalog becomes even less controlled.
A clear flatlay system can reduce that visual noise.
What AI Clothing Flatlay Can Standardize
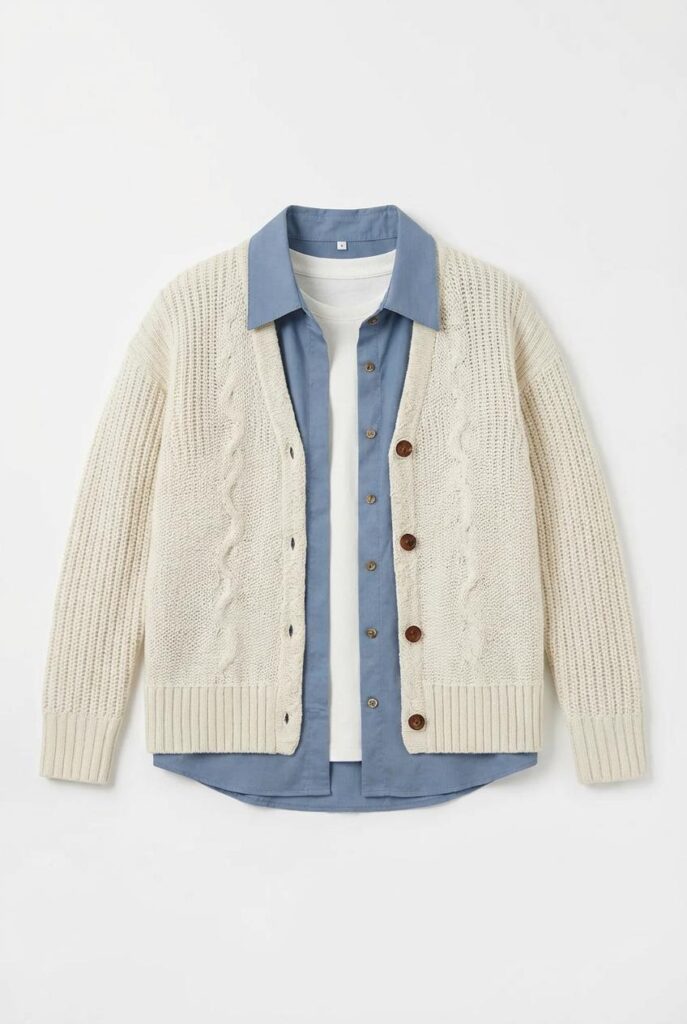
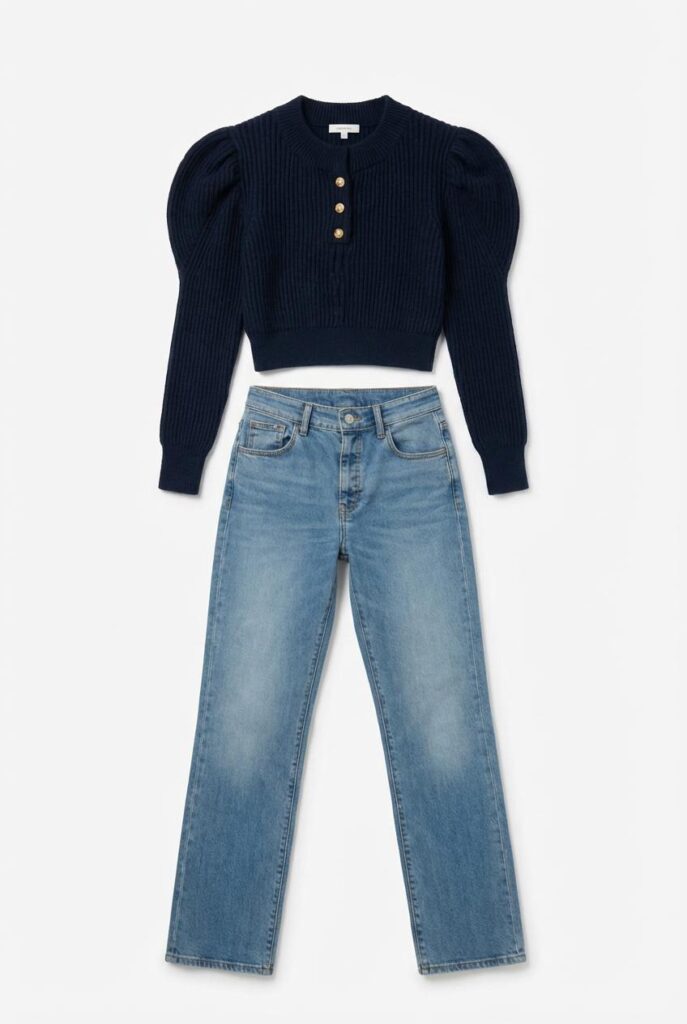
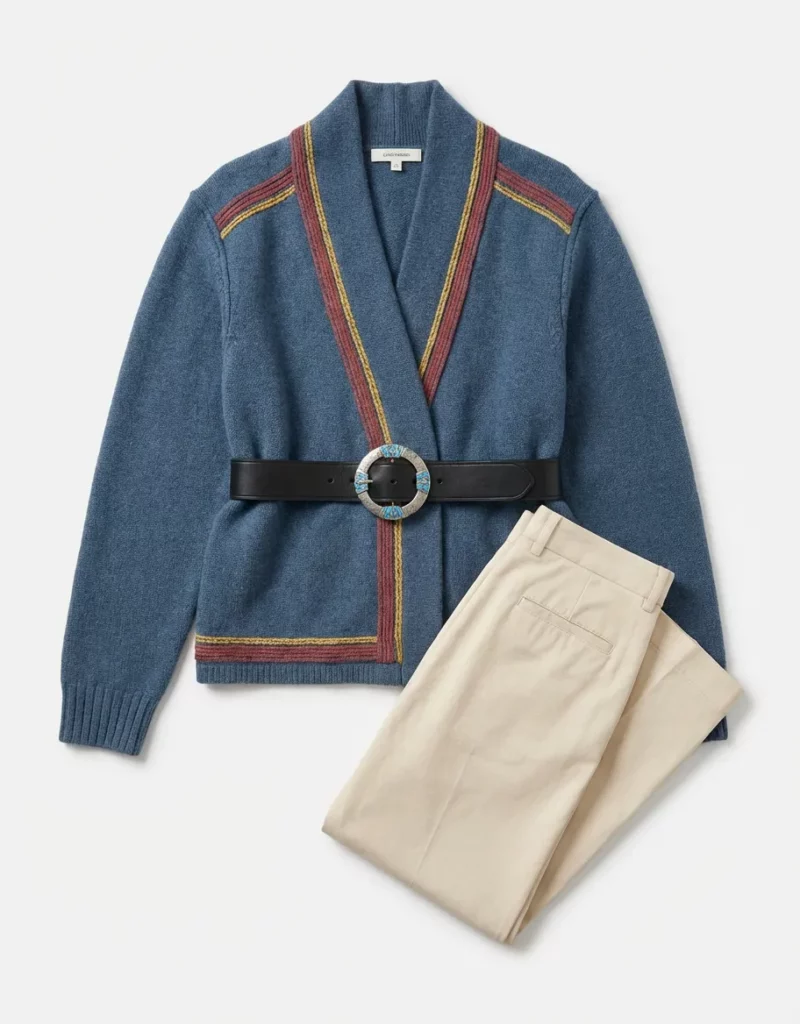
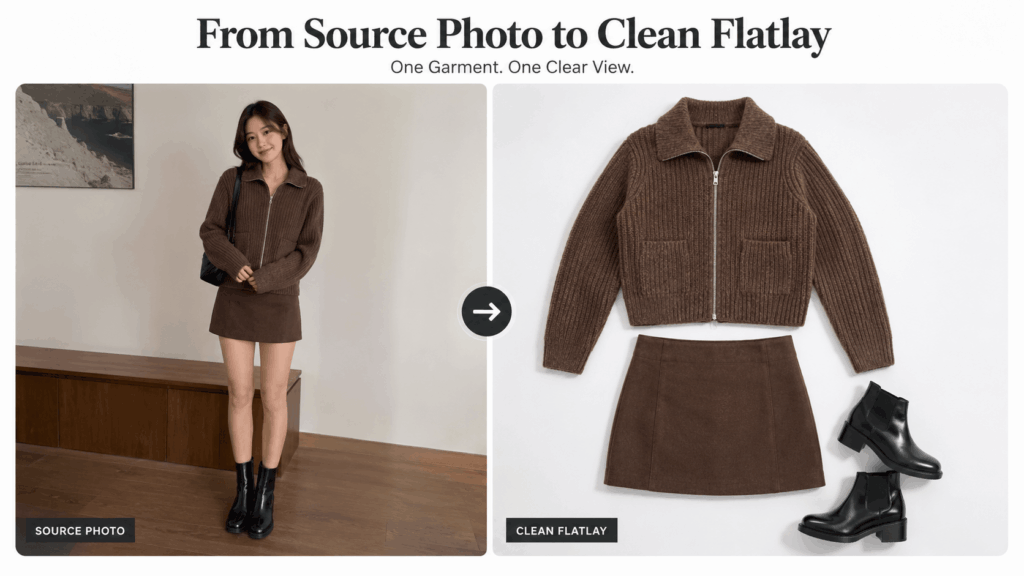
AI Clothing Flatlay can convert a casual clothing photo into a more organized overhead product image. It can also clean and simplify the background. Therefore, photos from different sources can feel more connected.
However, a flatlay system involves more than changing the background.
You can also standardize:
- Garment direction
- Product scale
- Camera angle
- Background tone
- Space around the item
- Sleeve and leg placement
- Crop and image ratio
- Shadow strength
For example, every shirt could face upward with the neckline near the top of the frame. Each product could also use the same cool white background and similar spacing.
As a result, shoppers would see the differences between the garments, not the differences between the photos.
Consistency is especially useful for product grids. A clean grid makes color, cut, print, and fabric easier to compare at a glance.
Still, standardization should not remove the identity of each item. A structured blazer should not be flattened into the same shape as a soft cardigan. Likewise, wide-leg trousers should not look like slim-fit pants.
The visual system should stay consistent while the product remains accurate.
Choose the Right Source Photos
AI can improve a weak source photo. However, it cannot recover every hidden detail.
Therefore, source selection still matters.
Start With One Clear Garment
Choose an image where the main clothing item is easy to identify.
The best source usually has:
- One complete garment
- A clear neckline or waistband
- Visible sleeves or trouser legs
- Limited overlap with other objects
- Enough light to show the real color
- A useful view of prints and details
A casual phone photo can work. Therefore, you do not always need professional studio photography.
However, avoid images where the garment is folded into a small pile. Also, be careful with photos where a hand, bag, or another item covers key areas.
The tool needs enough visual information to rebuild the clothing as a flatlay.
Keep Real Product Details Visible
Before uploading, check which details matter most to the buyer.
These may include:
- Collar shape
- Button count
- Pocket placement
- Zipper direction
- Sleeve length
- Printed graphics
- Embroidery
- Cuffs and hems
- Distressed areas
- Fabric texture
For example, a shirt may have one chest pocket with a small logo. If that area is hidden in the source photo, the generated image may guess what should be there.
Therefore, choose the source with the clearest product information, not simply the most attractive pose.
A plain but complete image is often more useful than a stylish image with missing details.
Build an AI Clothing Flatlay System
Generating one clean product image is simple. However, building a full catalog requires a repeatable system.
Without clear rules, every result may still look slightly different.
Set One Catalog Rule
Before generating, define how your standard flatlay should look.
A basic catalog rule might be:
- Cool white background
- Full garment visible
- Overhead camera angle
- Product centered vertically
- Soft natural shadow
- Equal space on each side
- No decorative props
- Square image ratio
Write this rule down before working through the catalog.
Then, use the same visual direction for every garment in that product group.
For instance, tops may follow one rule, while trousers follow another. Accessories may also need a separate scale and crop.
This approach keeps the system flexible without making it random.
Generate a Small Test Batch
Do not process the entire catalog before checking the results.
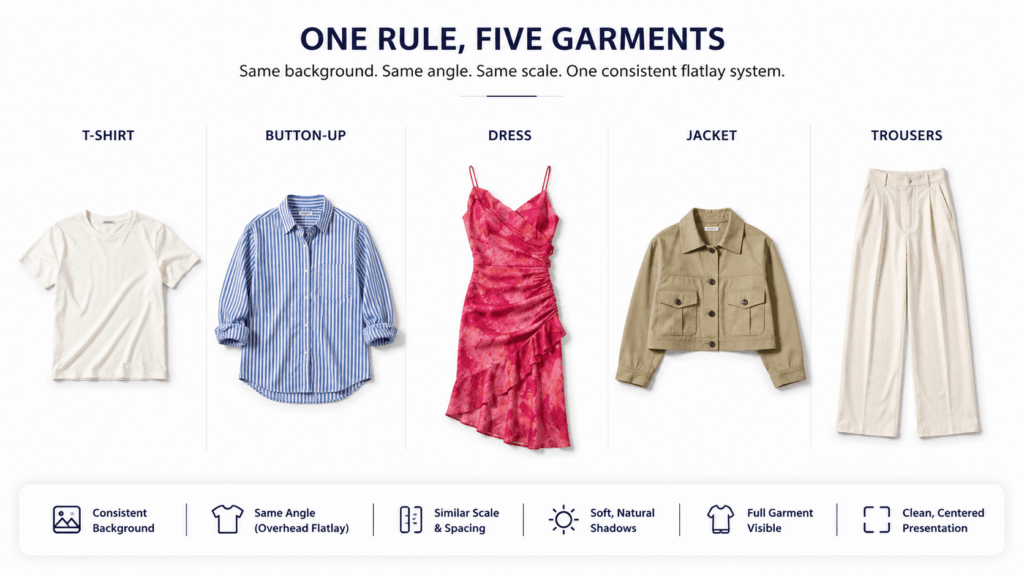
Instead, begin with five items that represent different product challenges:
- A simple T-shirt
- A button-up shirt
- A printed dress
- A structured jacket
- A pair of trousers
Next, compare the five images as one product grid.
Look for changes in background color, product size, rotation, and empty space. In addition, check whether soft and structured garments still look natural.
If the batch feels inconsistent, adjust the visual direction before generating more images.
Small tests reduce repeated work later.
Use AI Clothing Flatlay for Batch Consistency
Once the test group works, create a simple batch checklist.
For every image, confirm:
- The same background family is used
- The product fills a similar amount of space
- The garment faces the same direction
- Sleeves and legs are arranged naturally
- Shadows stay soft and consistent
- No extra styling objects appear
This does not require every image to have the exact same layout.
Instead, the full set should feel as if one team prepared it under one clear art direction.
Review AI Clothing Flatlay Results
A clean background can make an image look finished very quickly. However, visual polish can hide product errors.
Therefore, review the garment before approving the image.
Check Structure and Product Identity
Place the source photo beside the generated flatlay.
Then, compare the main structure:
- Is the neckline the same?
- Did the garment become longer or shorter?
- Are the sleeves still the correct shape?
- Did the tool add or remove pockets?
- Is the logo in the correct position?
- Did the print change?
- Are all closures still present?
Pay extra attention to asymmetrical clothing.
For example, a dress with one shoulder, a side zipper, or an uneven hem can easily become more balanced during generation. Although the result may look clean, it may no longer show the real product.
Product accuracy matters more than perfect symmetry.
Check AI Clothing Flatlay Spacing
Next, stop looking at the garment and review the full frame.
Ask whether the item feels too large, too small, or slightly tilted. Also, compare its empty space with other products in the same category.
A T-shirt should not fill 90% of one frame while a similar shirt fills only 60% of another.
In addition, check the background around thin details, such as:
- Straps
- Laces
- Belt loops
- Fringe
- Drawstrings
- Transparent lace
- Loose threads
These areas can blend into the new background. They may also become unnaturally thick.
Therefore, inspect both the full product grid and the full-size file.
Review Color and Fabric
Color is one of the most important parts of an ecommerce image.
Compare the result with the real garment under neutral light. If possible, also compare it with a fabric sample or another trusted product photo.
Then, check the material.
Denim should not look like smooth cotton. Velvet should not lose its depth. Meanwhile, leather should keep natural grain without becoming overly glossy.
AI Clothing Flatlay can improve presentation. However, your review must protect product truth.
Adapt AI Clothing Flatlay for Each Channel
One flatlay style does not need to serve every purpose.
The same garment can appear in a clean product image, a styled social post, and a seasonal campaign. However, each version should follow the needs of its channel.
AI Clothing Flatlay for Product Pages
Product listings need clarity.
Therefore, remove unnecessary props. Show the garment clearly and keep the full shape visible.
Also, use enough empty space so the item does not feel trapped inside the frame.
A product-page flatlay should help customers answer simple questions:
- What is the shape?
- How long are the sleeves?
- Where are the pockets?
- What does the print look like?
- What color is the item?
Therefore, clarity should come before mood.
The image should help customers understand the garment without needing to study the page for too long.
AI Clothing Flatlay for Social Posts
Social content can be more expressive.
For instance, a flatlay may include shoes, sunglasses, a belt, or another garment to show a complete styling idea.
However, do not let the props hide the product.
A simple rule helps: the main item should still be the largest and clearest object in the image.
In addition, use props that add useful context. A random decorative object may look attractive, but it does not always help the viewer understand the clothing.
Therefore, choose styling items that support the outfit or target customer.
AI Clothing Flatlay for Resale Listings
Flatlays can also help second-hand and vintage sellers create cleaner listings.
Still, resale images require extra care.
Do not remove real wear, fading, repairs, stains, or fabric damage that could affect a buyer’s decision. Likewise, do not reshape an old garment until it looks new.
Instead, use AI Clothing Flatlay to improve the layout and background while keeping the real condition visible.
A strong resale listing can include:
- One clean full-garment flatlay
- One back view
- Close-ups of the label and fabric
- Clear photos of any flaws
- Measurements in the product description
Clean presentation should increase trust, not hide information.
Where AI Clothing Flatlay Fits in the Workflow
AI Clothing Flatlay works best as part of a larger product-image process.
A simple workflow can keep the results accurate and consistent.
Step 1: Collect the Best Source Images
Gather phone photos, supplier images, model photos, and older listing images.
Then, choose the clearest view of each garment.
Do not choose an image only because the pose looks attractive. Instead, select the image that shows the most useful product details.
Step 2: Group Similar Products
Separate tops, trousers, dresses, outerwear, and accessories.
This makes it easier to apply suitable scale and spacing rules.
For example, a long dress needs more vertical space than a cropped top. Therefore, these items should not always use the same placement rule.
Step 3: Create a Test Batch
Generate a small set first.
Next, review the group as one catalog page rather than approving each image alone.
This step helps you notice small differences in scale, direction, and background tone.
Step 4: Correct Product Errors
Compare each result with the source photo.
Reject images that change important details, even when they look polished.
If a logo moves, a pocket disappears, or a print changes, the image is not ready.
Step 5: Export Channel Versions
Use the cleanest version for product listings.
Then, create more styled versions for social posts, campaign graphics, or collection previews.
However, keep the product identity consistent across every version.
Step 6: Review the Live Catalog
Finally, place the images inside the real store layout.
A flatlay may look balanced by itself but feel too large or too pale beside other product cards.
Therefore, approve images in context rather than on a blank screen.
When Not to Use a Flatlay
Flatlays are useful, but they cannot answer every product question.
A flatlay does not clearly show:
- The garment’s fit on a real body
- The natural waist position
- Fabric movement during wear
- The fit and comfort of a sleeve
- A skirt’s actual length when worn
- The way a jacket shapes the shoulders
- Fabric transparency against the skin
Therefore, do not replace every model image with a flatlay.
Instead, use several image types together.
A strong apparel product page may include:
- A clean front flatlay
- A back flatlay
- An on-model front view
- An on-model side view
- Fabric close-ups
- Detail images
- A size or fit reference
The flatlay explains the product. Meanwhile, the model image explains the fit.
Both have a clear job.
Final Thoughts on AI Clothing Flatlay
A mixed photo library does not have to become a mixed-looking catalog.
AI Clothing Flatlay can help turn phone shots, supplier images, model photos, and older product pictures into a cleaner visual system. As a result, products become easier to compare, and the full store feels more intentional.
However, a consistent background is only the beginning.
You still need rules for scale, direction, spacing, shadows, and product accuracy. In addition, every result should be checked against the real garment before it goes live.
Start with a small batch. Build one clear system. Then, apply it across the catalog.
The best flatlay is not simply neat. It is consistent, useful, and true to the product.
Go to WeShop AI For Exploration: