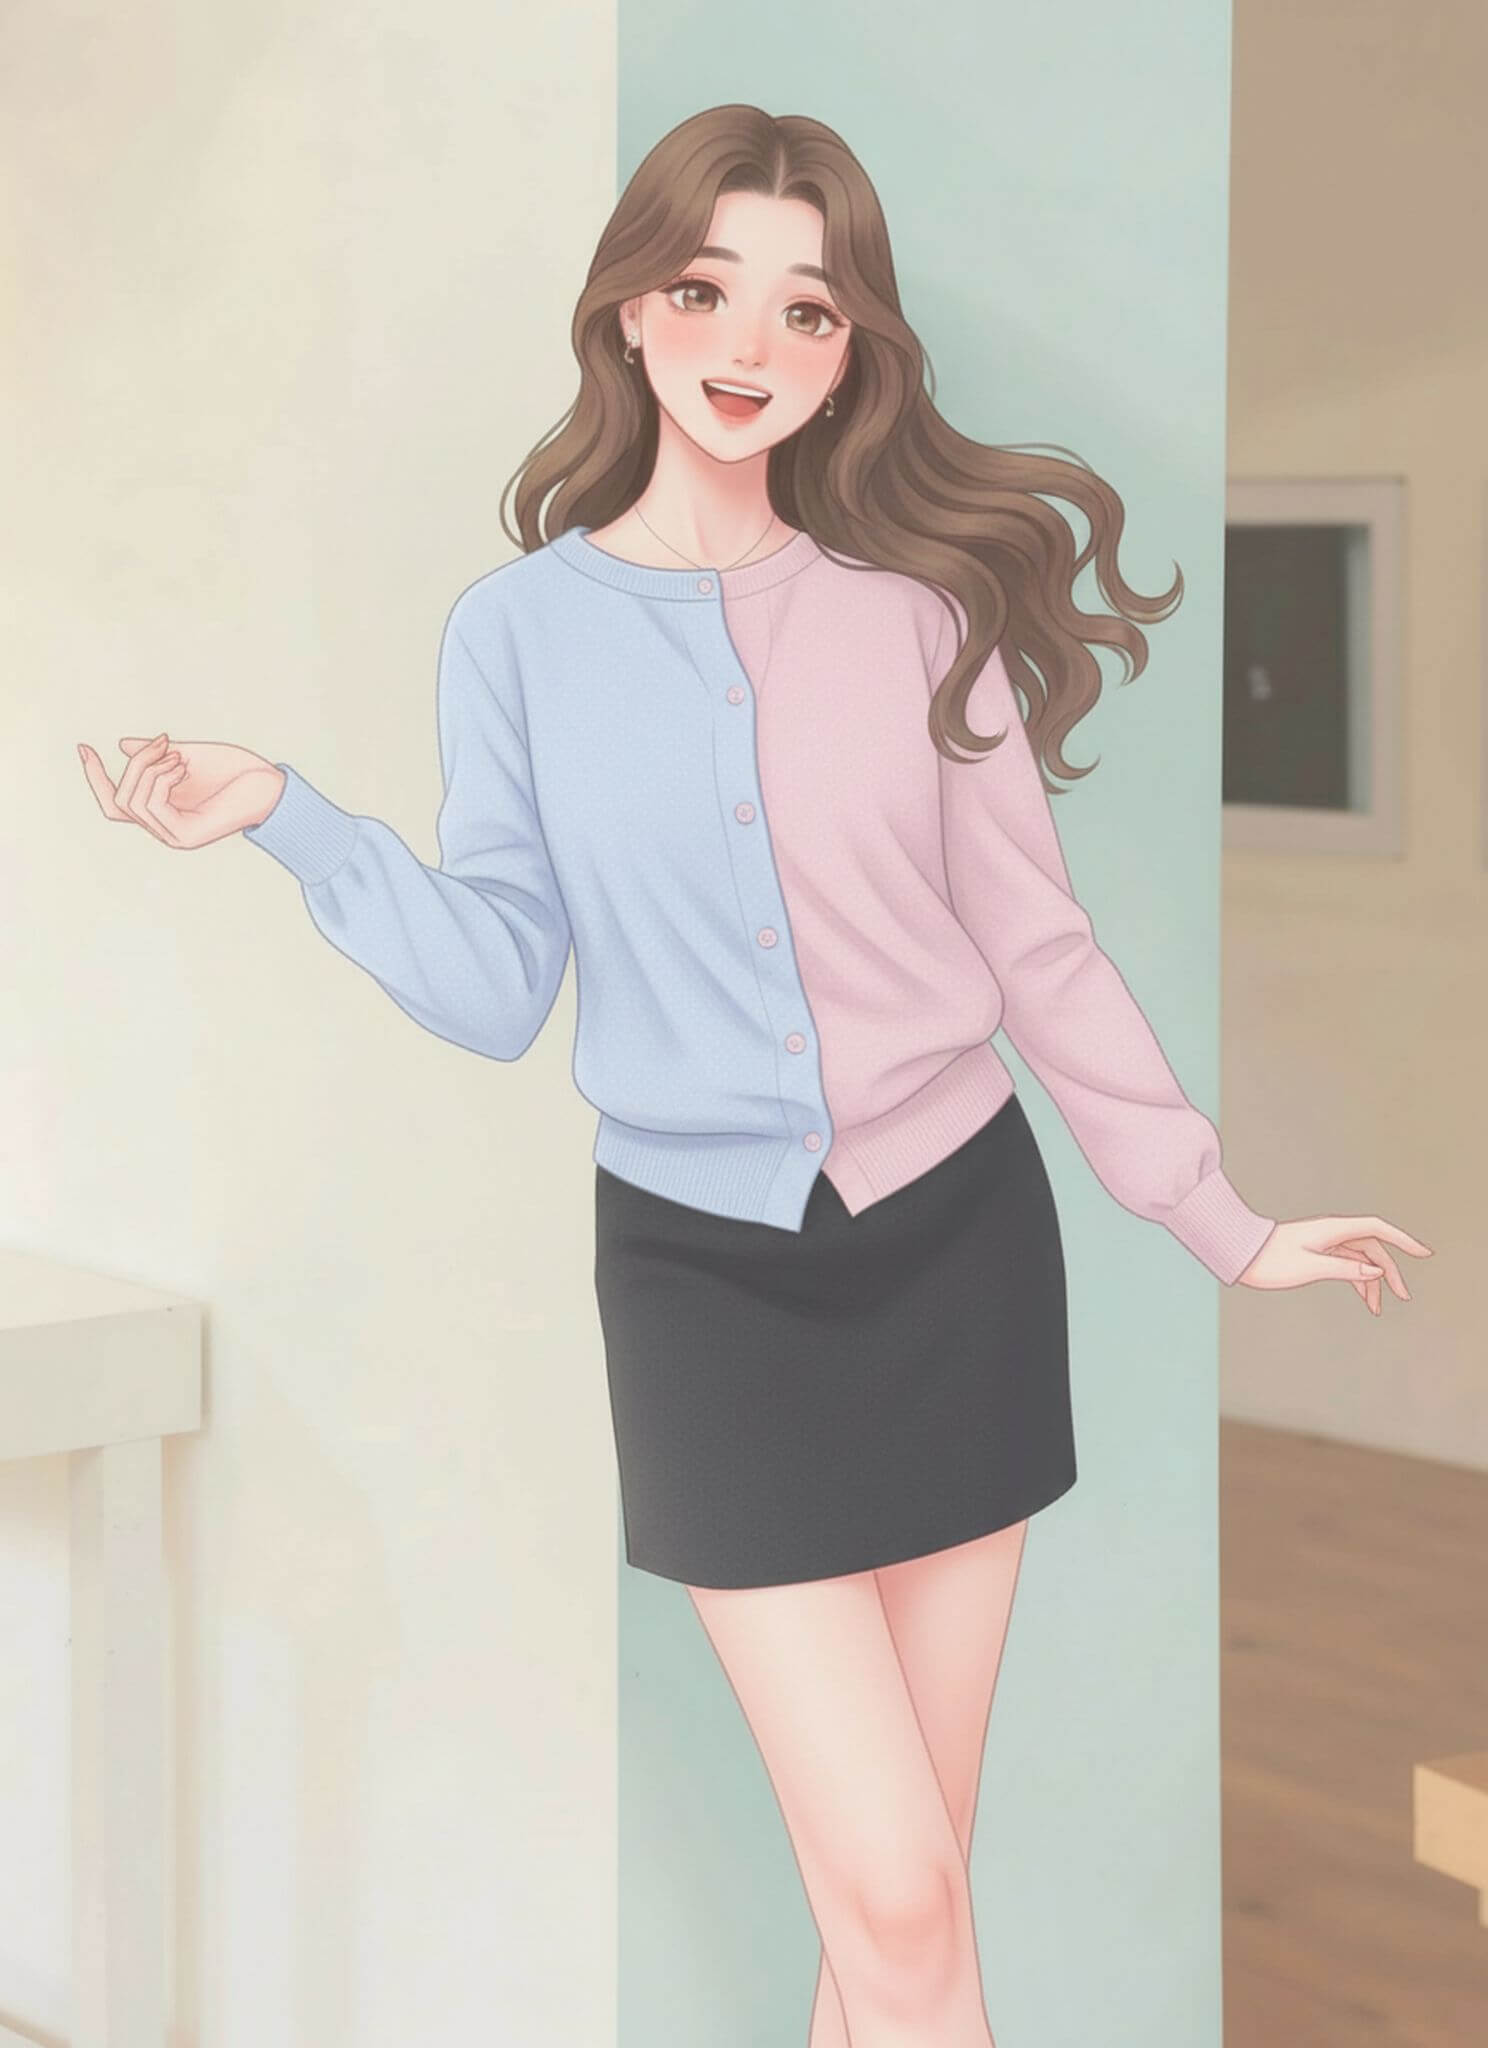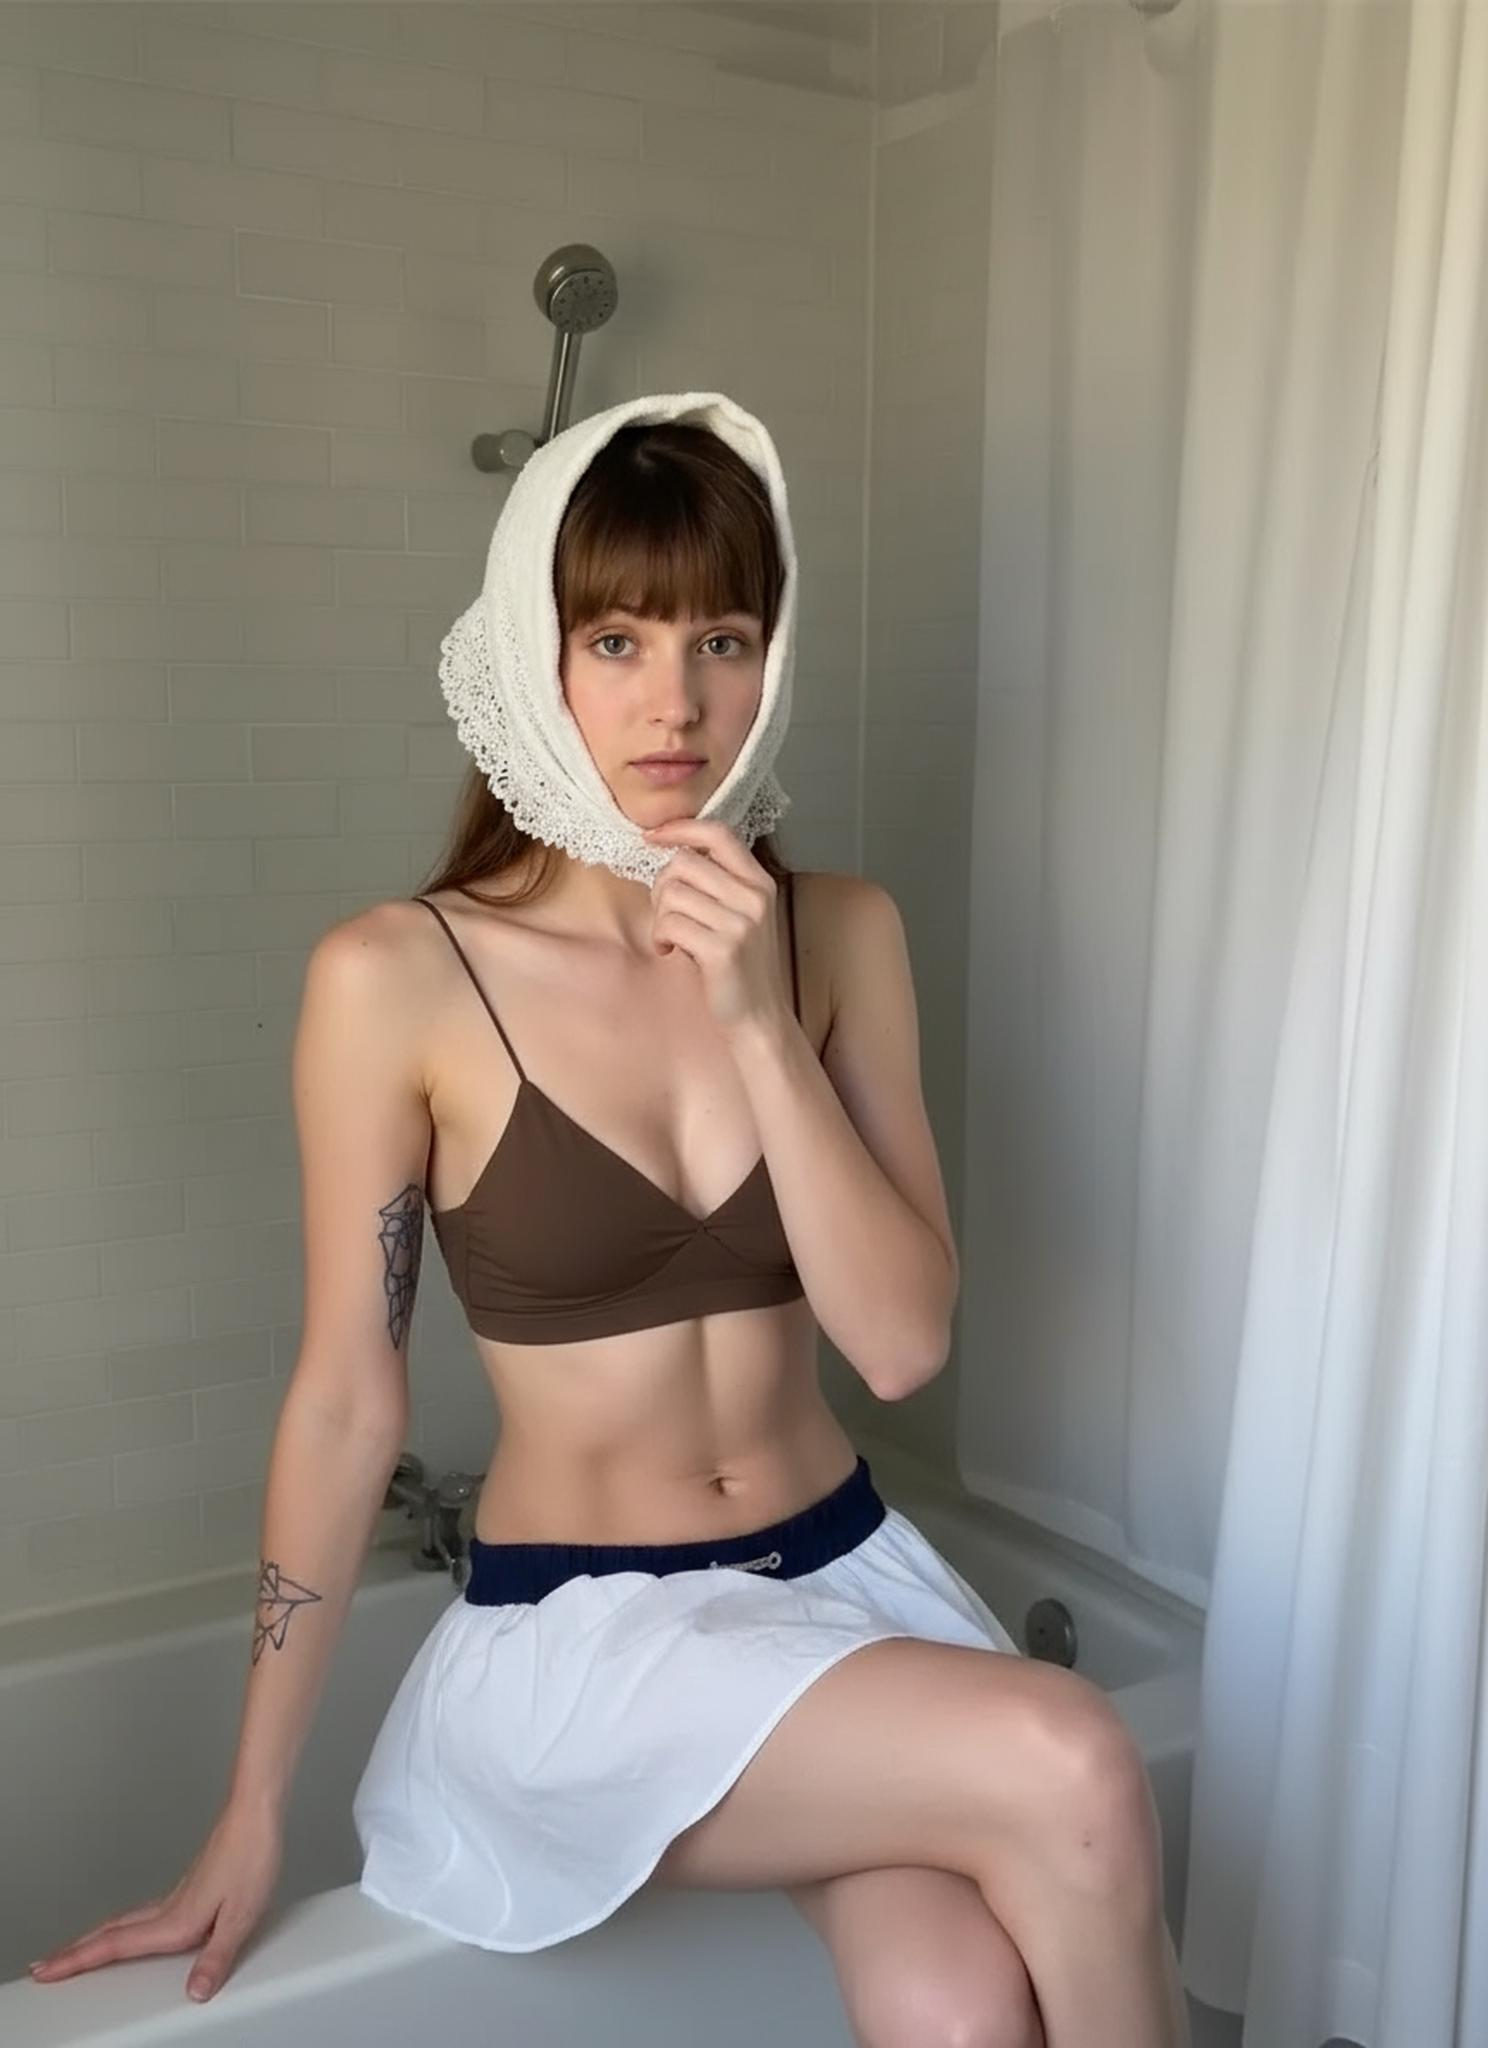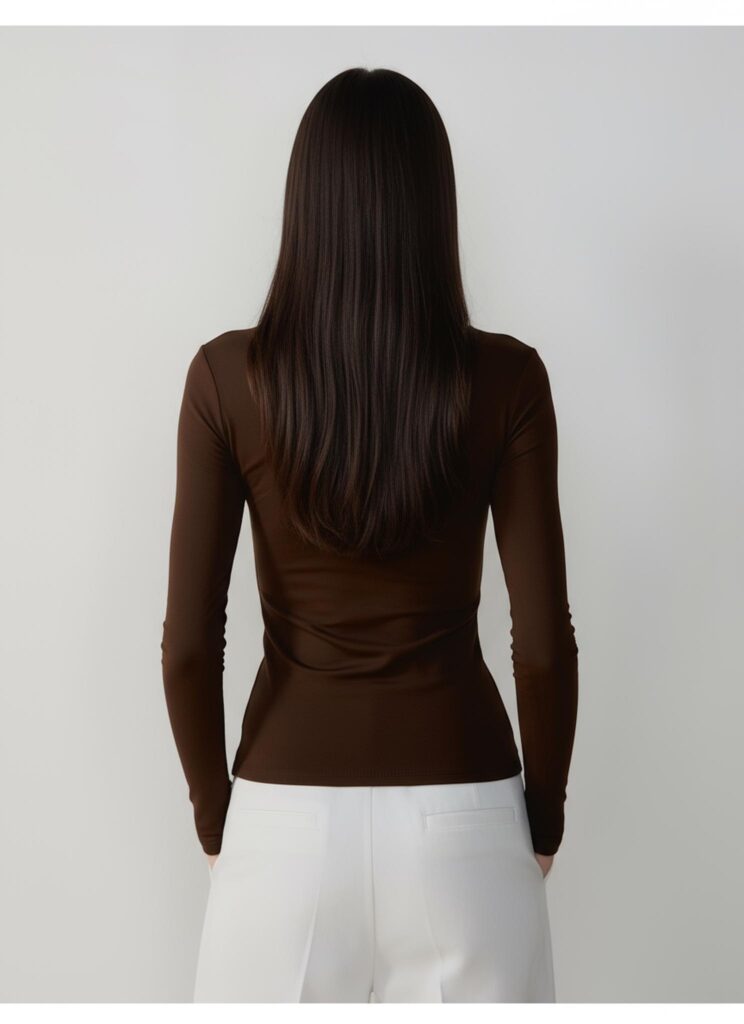
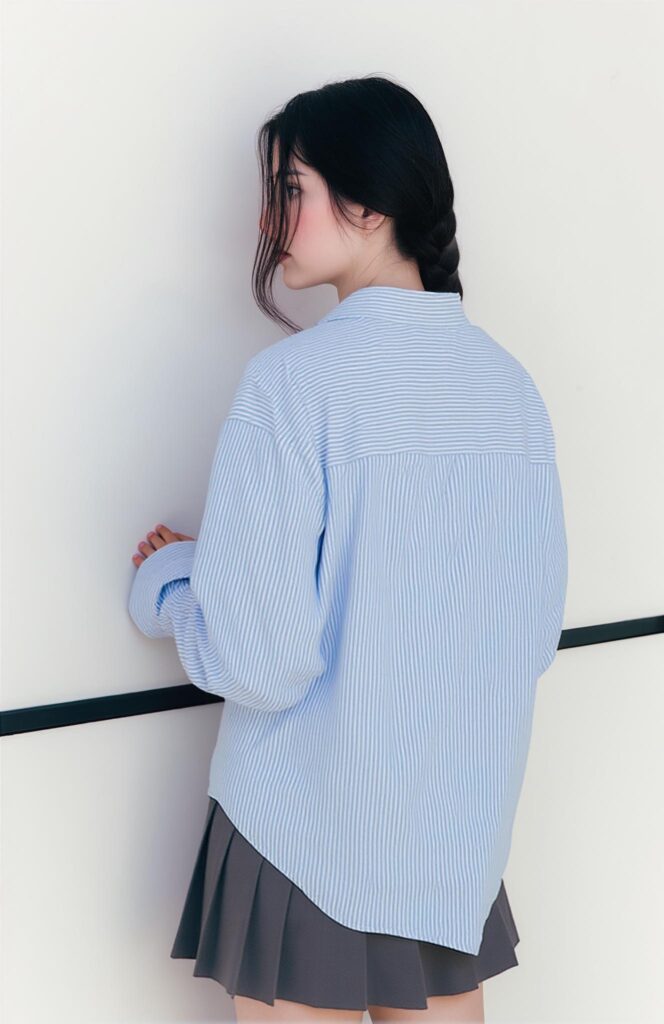
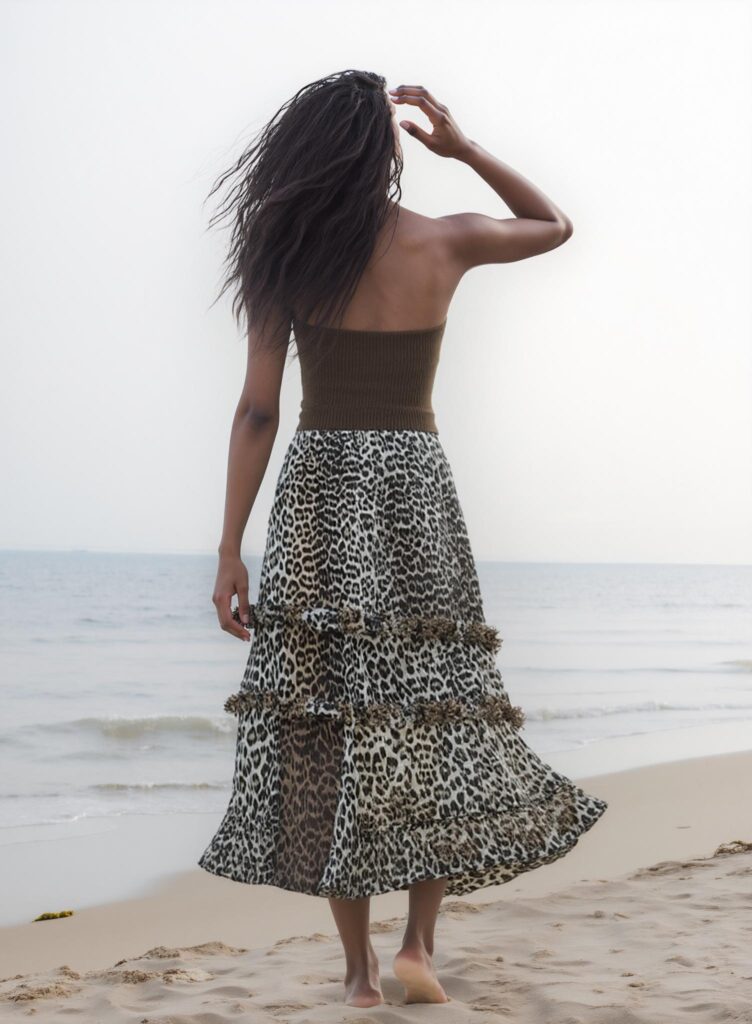
Creating back views of garments can be hard. Especially when you only have flat lay images or mannequin photos. Luckily, Weshop AI Pose Generator can help. First, it uses AI to transform poses. Then, it turns front images into realistic back views. This helps fashion designers, e-commerce sellers, and creators show every angle. In this guide, we will explain step by step. You will learn how to generate back images from any garment image. Finally, you can present your products professionally and attractively.
Generate Back Views from Flat Lay or Mannequin Images with AI Pose
To create a back view of a garment directly from a flat lay image or mannequin image, start by uploading the image to the AI Model feature. Next, select a model and generate a front-facing view. After that, take the front image and use the AI Pose Generator to create a realistic back view. This simple workflow allows you to transform any garment image into a full-view presentation.
This method can be applied in multiple scenarios. For example, in online stores, you can show customers both front and back views of products without needing additional photos. It can also be useful for fashion portfolios, marketing visuals, or digital catalogs where full garment visibility is essential.
Step-by-Step Guide to Generate Back Views with AI Pose
Step 1: Upload Your Flat Lay or Mannequin Image to AI Model
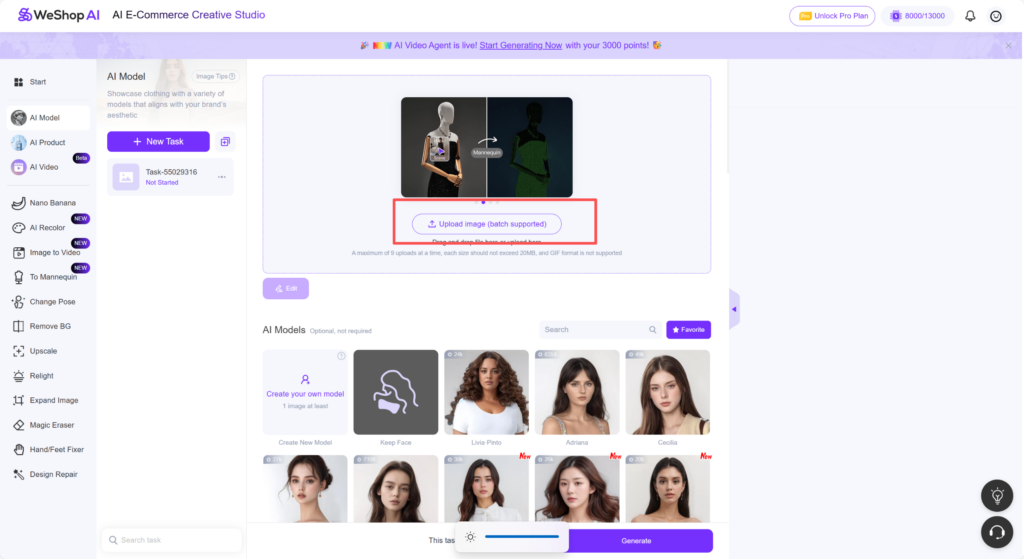
First, open the WeShop AI platform. Then, look at the left-hand task menu and find AI Model. Click to enter the AI Model section. Next, choose Upload Image. This image can be a flat lay, a mannequin photo, or a model image. Once uploaded, you are ready to start generating a front view in the next step.
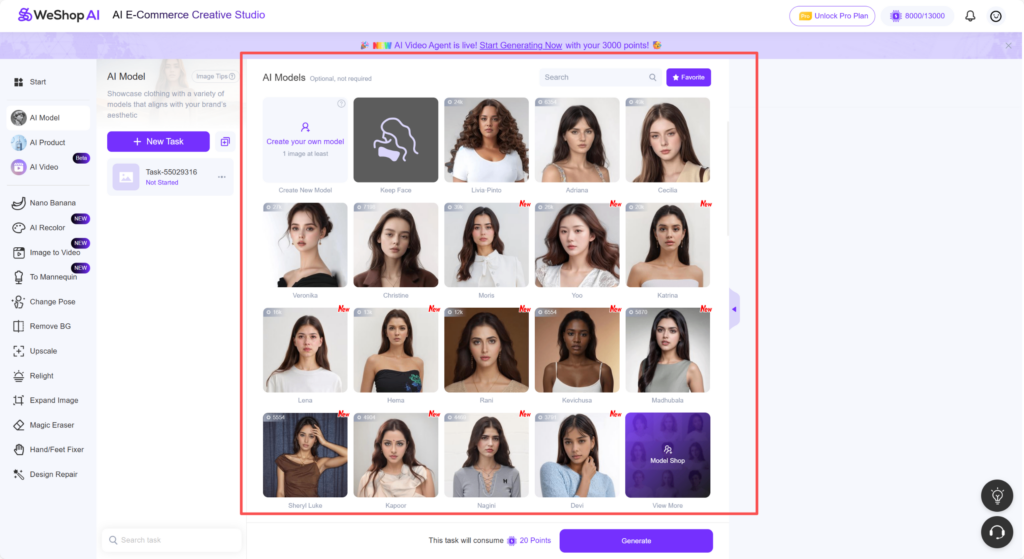
Step 2: Select a Model and Generate a Front View
After uploading your flat lay or mannequin image, go to the AI Model section. Here, choose a model that you want to use for your garment. Then, in the description box below, add some details about the image you want to generate. Make sure the details are rich enough, as they will affect how the AI Pose step transforms the pose later. Generate a front-facing view of your garment on the selected model. This front image will be used in the next step to create the back view.
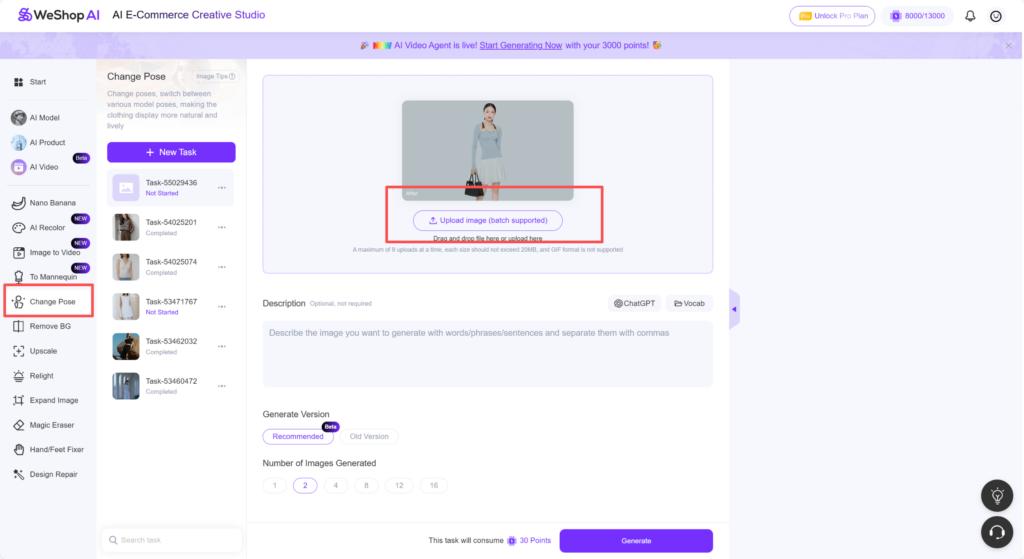
Step 3: Use AI Pose to Transform Front View into Back View
Next, go to the left-hand menu and click Change Pose. This will take you to the AI Pose page. Then, click New Task. After that, select Upload Image and upload the front-facing model image you generated in Step 2. In the Description box, write that you want to change the pose. Specify that the image should be transformed into a back view. Once done, generate the image. The AI will create a realistic back view of your garment based on the front image.
By following these steps, you can generate a realistic back view of any garment from a flat lay or mannequin image. First, upload your image to AI Model. Then, select a model and generate a front view. After that, use AI Pose to transform it into a back view. If you clearly specified in the description that you want a back view but the AI still generates a front image, don’t worry. Simply try again. Often, a second attempt will produce the back view you need. This ensures you get accurate results for your online store or portfolio.
Tips for Writing Effective Prompts in AI Pose
When using AI Pose to generate back views of garments, crafting a clear and detailed prompt is key. First, always mention explicitly that you want a back view. Even small hints like “show the garment from behind” can make a big difference.
Next, include relevant details about the model, such as posture, hair, or garment fit. This helps the AI create a realistic image while keeping the scene consistent. You can also note any subtle adjustments, like sleeve length or folds, but avoid overloading the prompt at this stage.
Additionally, be patient—sometimes the first result may not match your expectations. In such cases, tweak your description slightly or try a second generation.
Finally, review the generated image and keep experimenting. With careful prompt writing, you can achieve accurate and high-quality back views, ready for online stores, portfolios, or marketing visuals.
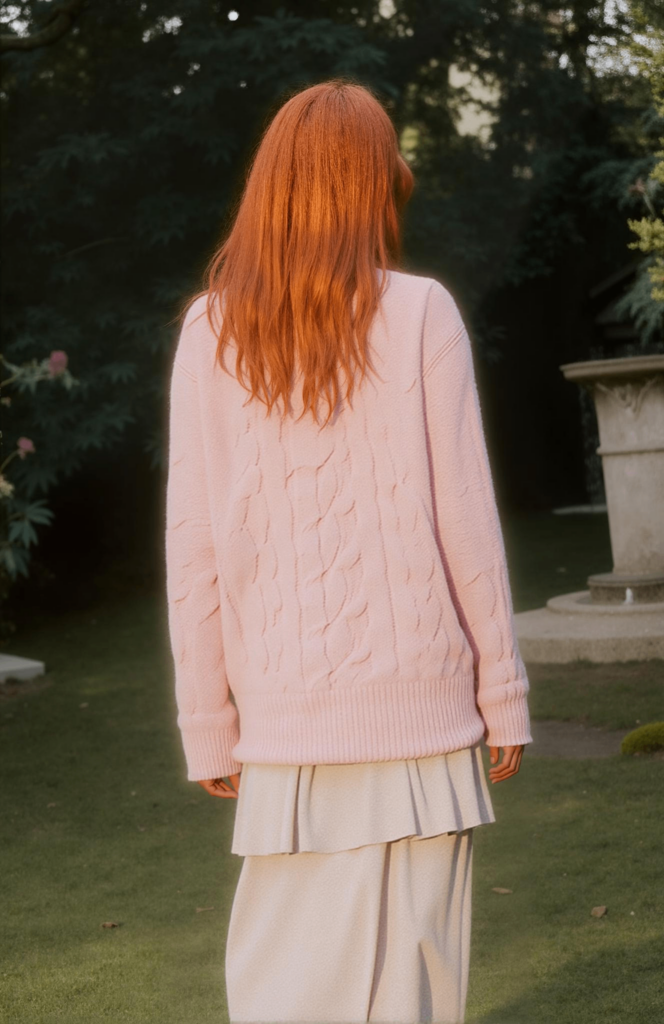
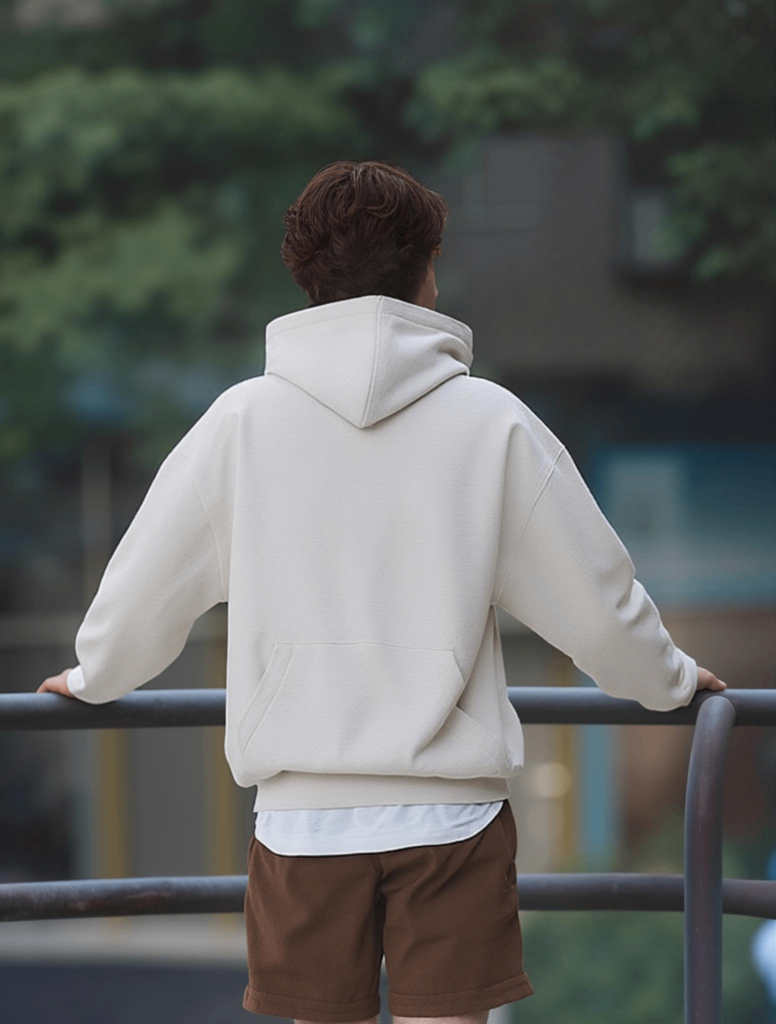
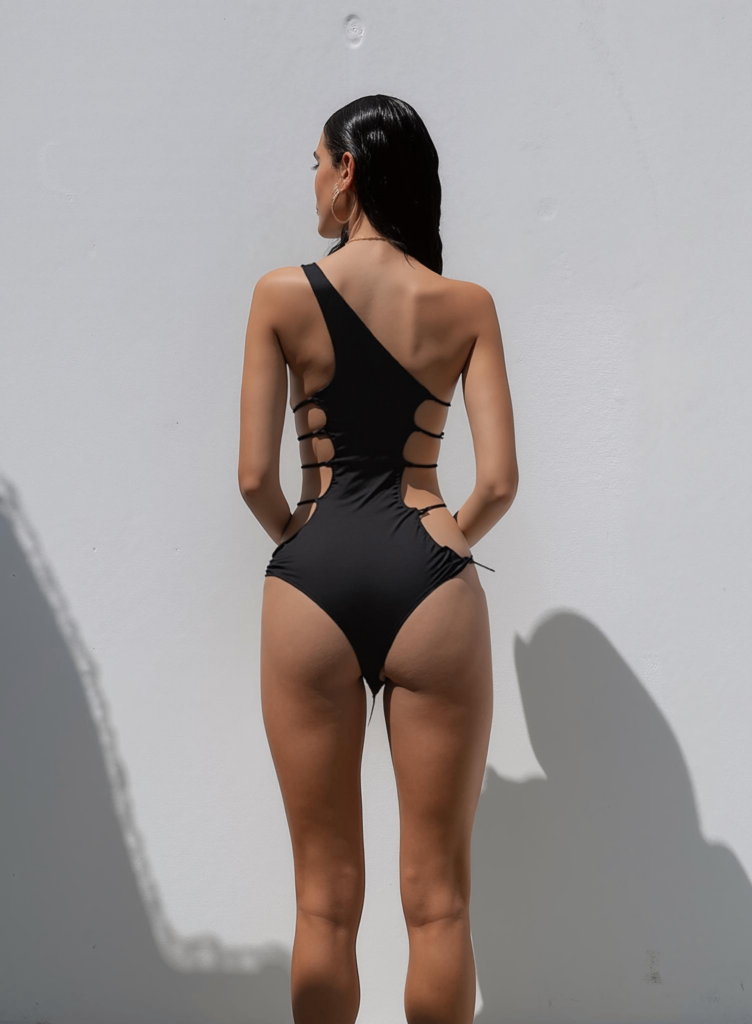
The Value of Back Views in E-Commerce
Back views play an essential role in showcasing garments in e-commerce. Customers often want to see how a product looks from all angles before making a purchase. By generating realistic back views with AI Pose, you can present the garment from behind, revealing details that are not visible from the front. This includes folds, seams, fabric textures, and the overall fit, which help convey the quality and design of the product.
Additionally, back views can make product listings more professional and complete, improving customer confidence and reducing returns. They also allow fashion brands to highlight unique design elements, such as cutouts, embroidery, or special tailoring, that might otherwise go unnoticed. Ultimately, combining front and back views gives shoppers a more immersive experience, closely mimicking in-store inspection, while saving time and resources for content creation.
Conclusion
In this guide, we explored how to generate back views of garments using AI Pose. First, we uploaded flat lay or mannequin images to AI Model. Then, we generated a front view and transformed it into a back view with AI Pose. Along the way, we shared tips for writing effective prompts. Moreover, we discussed how back views enhance e-commerce listings by showing folds, textures, and garment fit. Finally, remember that patience is key. If the first result isn’t perfect, try again. By following these steps, you can create professional, realistic back views and improve the overall presentation of your products.


