









MiniMax H3 First and Last Frame: Create a Smooth AI Image-to-Video Transition
Learn how to use MiniMax H3 to turn matching empty and furnished room images into a smooth, fixed-camera AI time-lapse transformation video.
When two shots show the beginning and end of a transformation, a direct cut leaves out the most engaging part: how the change happens.
This MiniMax H3 first-and-last-frame tutorial shows how to create a smooth AI image-to-video transition with MiniMax H3 on WeShop AI. An empty room provides the first frame, while a fully styled living room defines the last. The generated scene connects them through a time-lapse sequence in which two movers bring in the furniture, arrange the decor, and finish the room as daylight shifts into blue hour.
Prepare Matching First and Last Frames
Start with two landscape images that share the same viewpoint and aspect ratio:
- First frame: the empty room before styling.
- Last frame: the finished living room from the same camera position.
- Keep permanent features such as the window, wall corner, baseboards, and floor lines aligned.
- Make sure the final furniture placement is physically plausible within the room.
Stable architecture gives the image-to-video model clear visual anchors. The differences between the frames—furniture, decor, lighting, and time of day—define what the connecting scene needs to explain.
| First frame | Last frame |
|---|---|
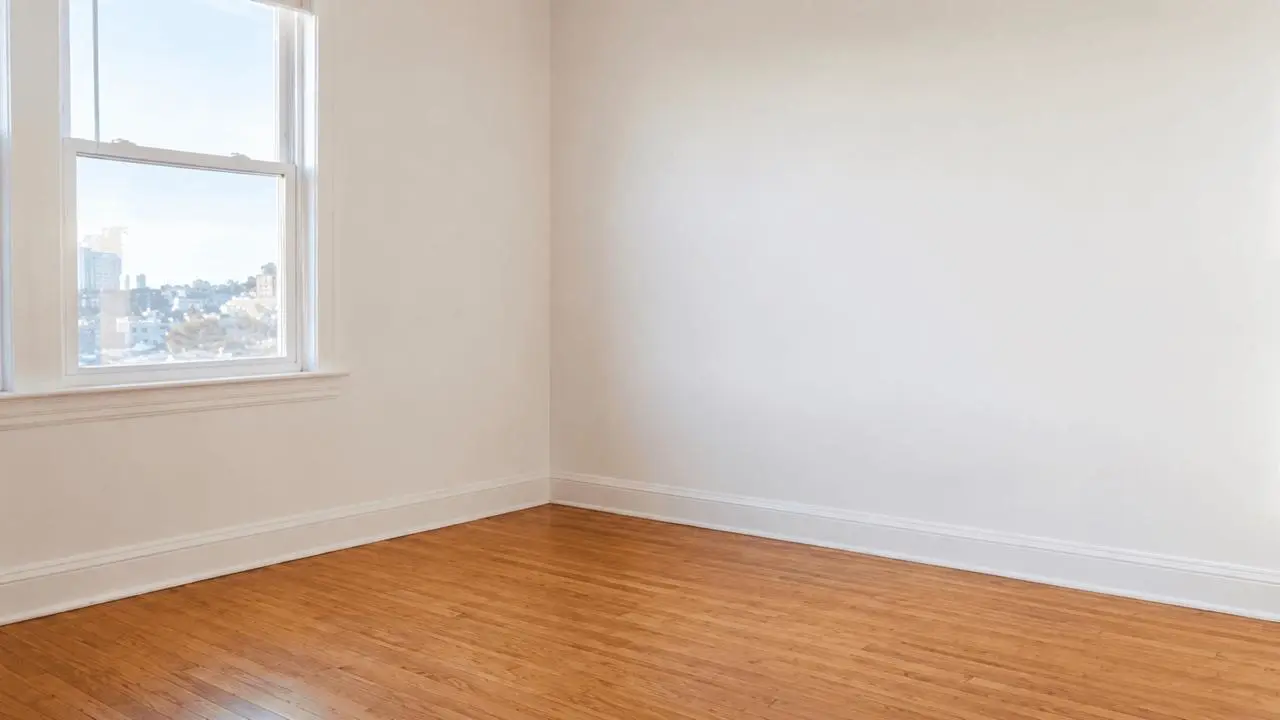 | 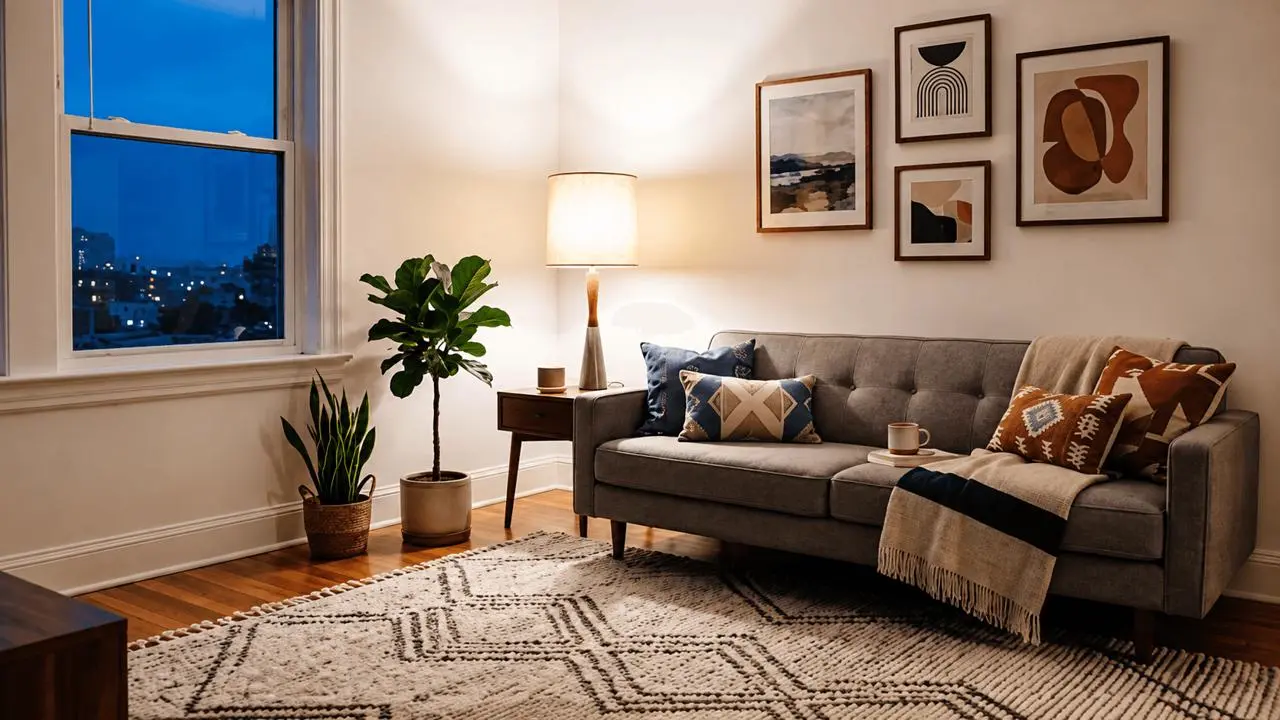 |
Matching room geometry helps MiniMax H3 build a more coherent transition between the two shots.
Design the Connecting Scene, Not Just the Final Look
The first and last frames already define the start and destination. Your prompt should concentrate on the missing action between them.
For this room transformation, the connecting scene follows a clear sequence:
- Two movers carry in and position the gray sofa.
- They unroll the rug.
- They arrange the cushions and throw blanket.
- They add the side table, floor lamp, and plants.
- They hang the framed artwork behind the sofa.
- Daylight outside the window shifts into blue hour.
- The floor lamp turns on as the scene reaches the last frame.
This order gives the model a practical route from large furniture to smaller styling details. It also tells the model that objects should be carried into the scene rather than suddenly appear.
Use This Image-to-Video Transition Prompt
Set the empty room as the first frame and the furnished room as the last frame, then paste this prompt:
A locked-off time-lapse shot. Use Image 1 as the first frame and Image 2 as the last frame. Two young men wearing black tops and blue jeans quickly furnish the empty room. First, they carry in a gray sofa and position it correctly. Then they unroll the rug, arrange the cushions and throw blanket, bring in the side table, floor lamp, and potted plants, and finally hang the framed artwork on the wall behind the sofa. The decorating process is continuous and physically natural, with each piece of furniture visibly carried into the room instead of appearing out of nowhere. Outside the window, daylight gradually transitions into blue hour. At the end, the floor lamp turns on, creating a warm and comfortable modern living room. The camera remains completely fixed. Photorealistic interior cinematography, smooth time-lapse action, and natural motion blur.
The prompt provides four useful types of control:
- Camera constraint: “locked-off” and “completely fixed” discourage unwanted pans, zooms, or reframing.
- Characters and actions: the movers give every new object a visible reason to enter the scene.
- Action order: large furniture arrives first, followed by textiles, accessories, plants, and wall art.
- Atmosphere: the daylight-to-blue-hour shift connects the bright first frame with the warmly lit final room.
Generate a First-and-Last-Frame Video with MiniMax H3
Open MiniMax H3 on WeShop AI, then follow this workflow:
- Upload the empty-room image as the first frame.
- Upload the finished living-room image as the last frame.
- Paste the transition prompt.
- Confirm that the two frames are in the correct order.
- Choose the available duration and aspect ratio that fit your source images.
- Select Generate.
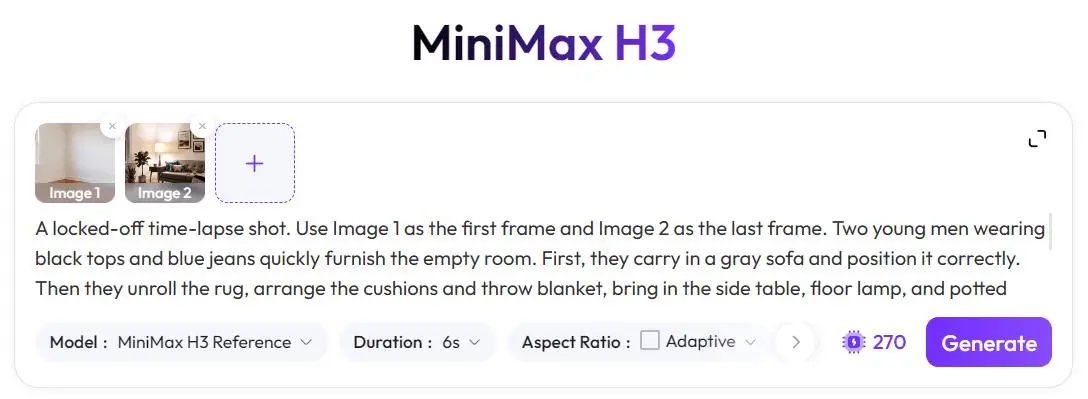
The WeShop AI generation interface with MiniMax H3 selected.
After generation, check whether the sofa, rug, plants, lamp, and wall art enter through readable actions. The camera position and architectural lines should remain stable as the room changes.
Inspect the Final Transition
The finished result should begin with the empty room, move from large furniture to smaller decor, and settle naturally into the supplied last frame. In this example, the movers establish the sofa and rug first, add the soft furnishings and plants, then complete the wall art before the lighting changes.
AI-generated motion can vary between runs, so review hands, object boundaries, furniture continuity, and the final-frame match before publishing. Use only input assets you have the right to transform and disclose AI-generated media where appropriate.
Make the Transformation the Story
A useful first-and-last-frame video does more than travel from one image to another. It turns the missing action into the subject of the shot, giving viewers a visual process they can follow from an empty room to a finished interior.
Generate your connecting scene with MiniMax H3 on WeShop AI
You can try it directly using the tool on the right.