






AI Virtual Try-On and Color Matching: A Zero-Basics Guide for E-Commerce Apparel Merchants
Learn how e-commerce apparel merchants can use AI image generation for virtual try-on and precise color matching. This beginner-friendly tutorial walks through replacing clothing on a model and calibrating fabric colors—no Photoshop skills required.
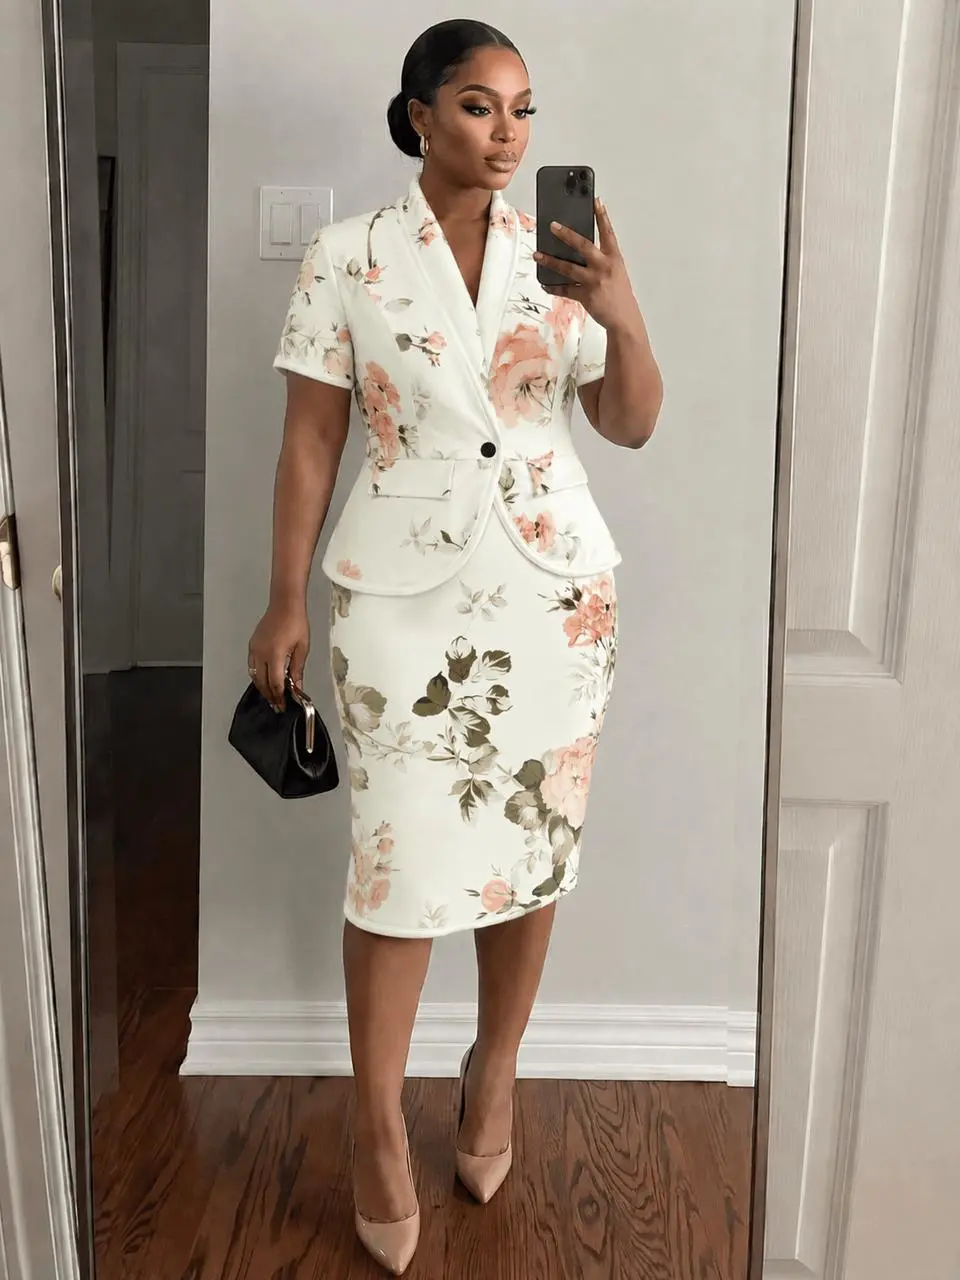
For e-commerce apparel merchants, product photography is often a huge expense: hiring models, renting studios, post-production retouching—not only is it costly, but the cycle is also long. Even more troublesome, if product images have “color deviation”, it can lead to an extremely high return rate. Today, we’ll reveal how to use cutting-edge AI image generation tools to easily achieve “AI Virtual Try-On” and “Precise Color Matching”. With just two simple steps, you can seamlessly have the same model switch to the same garment style in different patterns and perfectly restore the real fabric colors. No professional Photoshop skills needed—even beginners can produce high-quality product detail images in 5 minutes!
|
|
|
Preparation / Required Tools
Before you start, make sure you have the following materials and tools ready:
- AI Image Generation Tool: Register and log in to WeShop AI Universal Canvas Tool
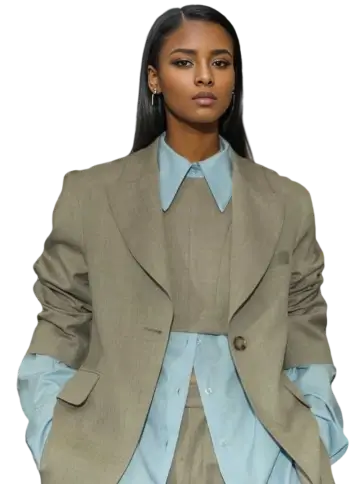
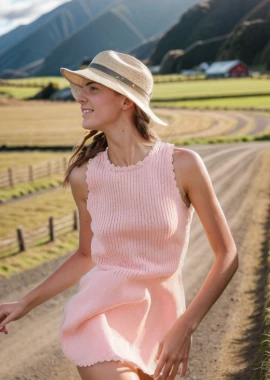
- Base Model Image (Image A): A photo of a model wearing a basic/old style garment (used to provide the person, pose, and background environment).
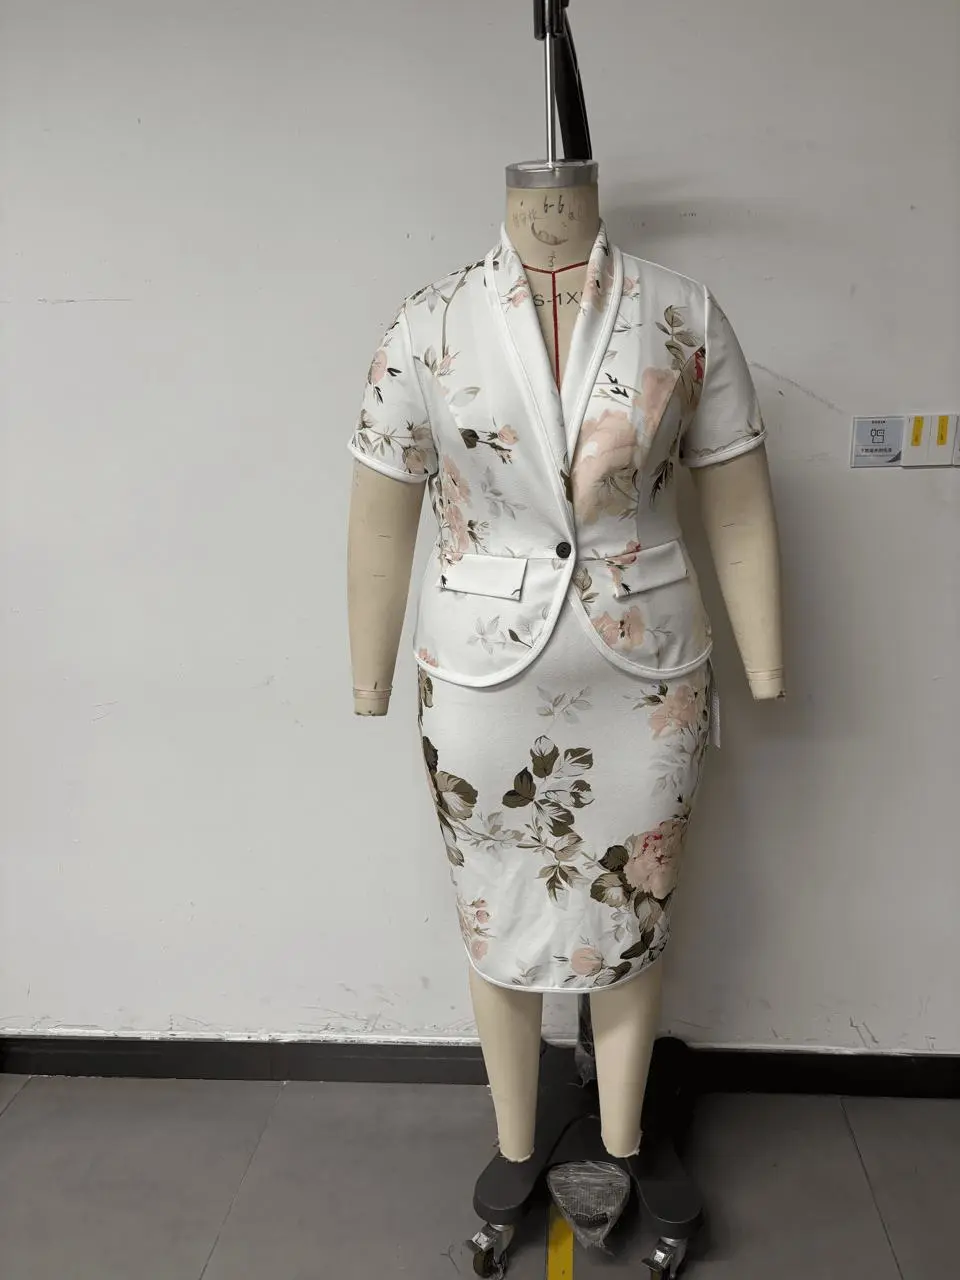
- Target Style Image (Image B): A photo of the new garment you want the model to wear (used to extract the garment’s cut and fit).
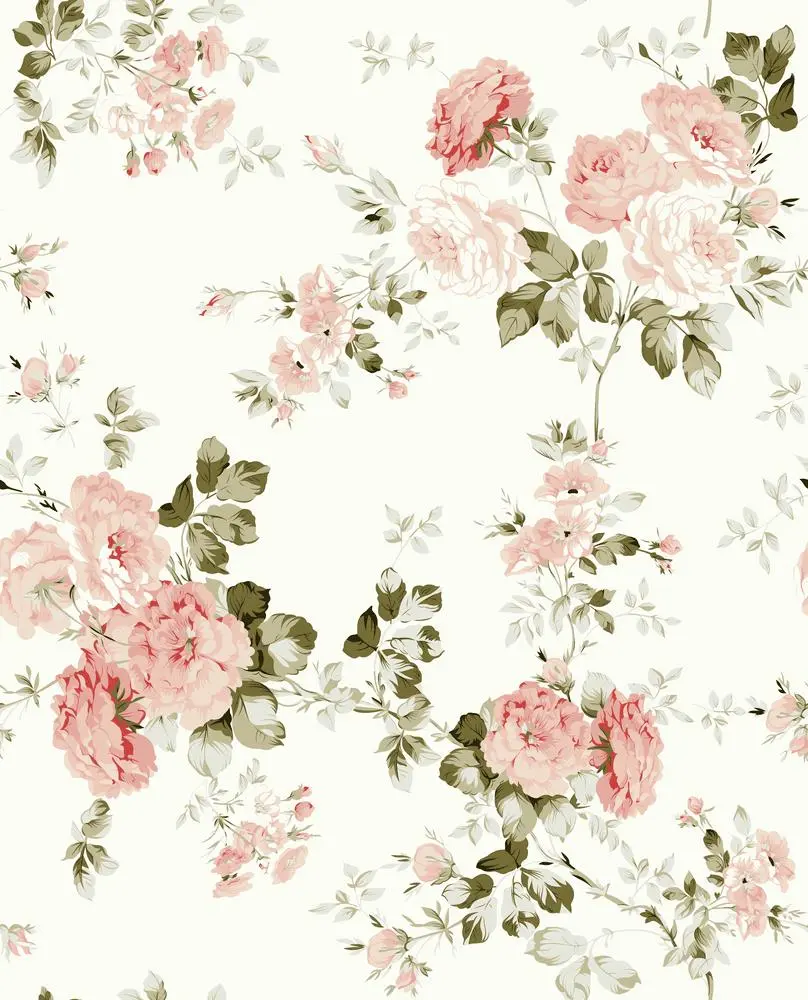
- Precise Color Reference / Fabric Image (Image C): A high-definition close-up of the new garment’s fabric or a standard color card image (used for color correction in Step 2).
Detailed Step-by-Step Guide
Step 1: One-Click AI Clothing Swap (Replace the Original Model’s Outfit with the Target Style)
The core goal of Step 1 is to “change clothes”. We need the AI to preserve the model’s face, body proportions, and background environment from the original image, and only replace the clothing with the new style.
- Enter the Workspace: Open the GPT-Image tool page on WeShop AI.
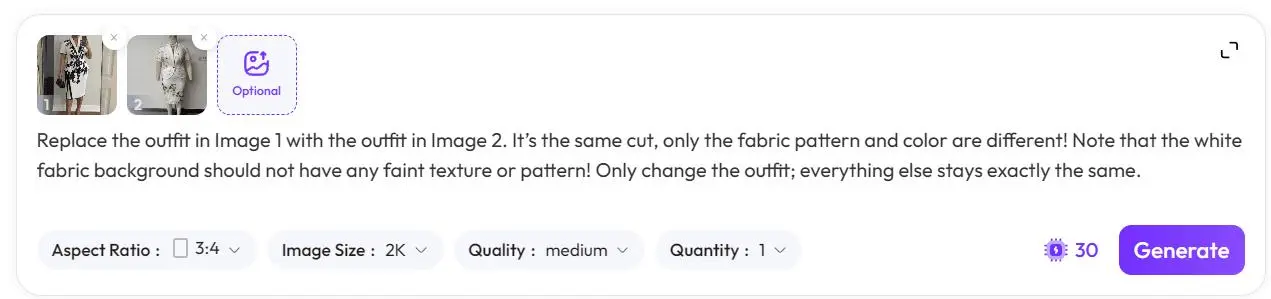
- Upload Reference Images: In the upload area, upload your [Base Model Image] in Position 1 (left) and your [Target Style Image] in Position 2 (right).
- Enter a Precise Prompt:
Enter the following instruction in the text box to clearly tell the AI what you need:
“Replace the outfit in Image 1 with the outfit in Image 2. It’s the same cut, only the fabric pattern and color are different! Note that the white fabric background should not have any faint texture or pattern! Only change the outfit; everything else stays exactly the same.”
- Set Generation Parameters:
- Aspect Ratio: Select
3:4(this is the vertical ratio best suited for e-commerce apparel display). - Resolution: Select
2K(to ensure baseline clarity for the product image). - Quality: Select
medium(medium quality is enough, since the main goal is to generate the base cut and improve image generation speed). - Quantity: Select
1image.
- Aspect Ratio: Select
- Run Generation: Click the purple 【Generate】 button in the bottom-right corner and wait for the AI to generate the initial clothing swap result.
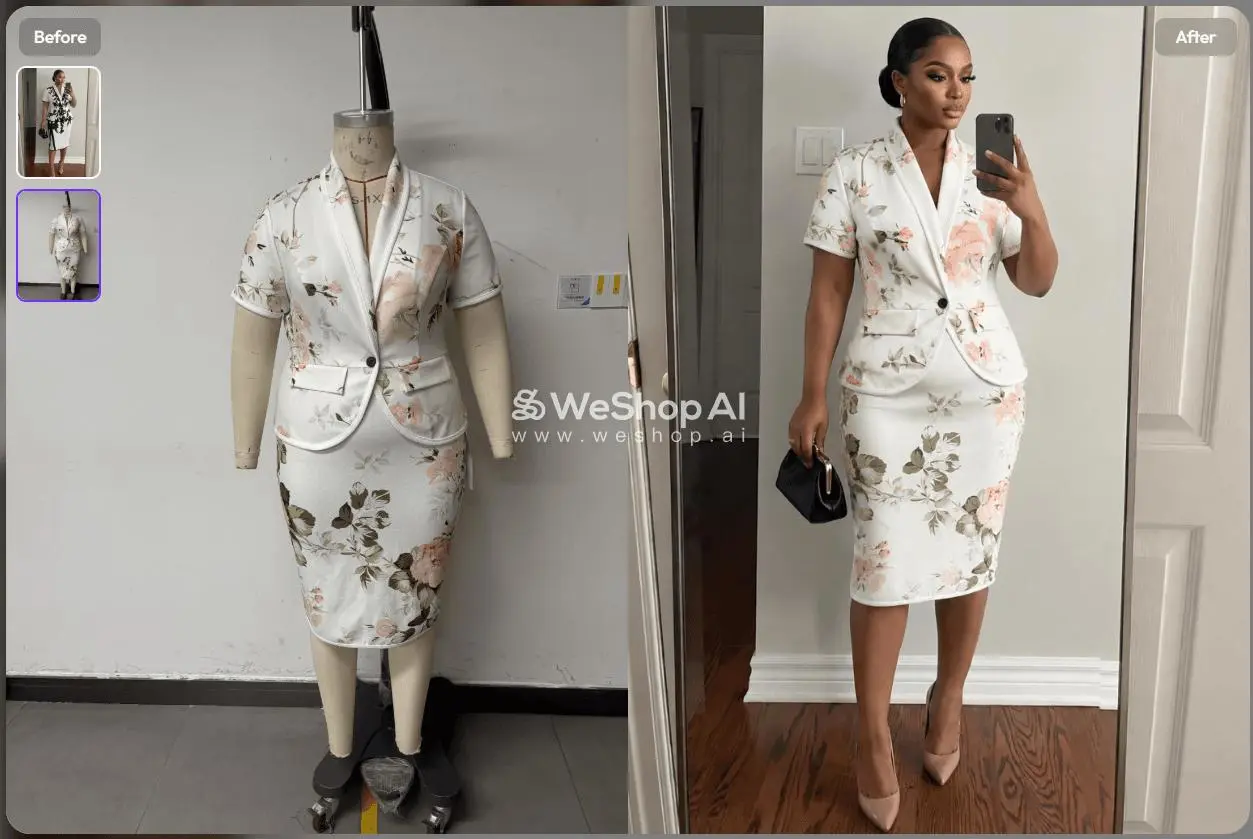
💡 Tip / Pitfall Avoidance Guide: The phrase “white fabric background should not have any faint texture or pattern” in the prompt is critical. AI tends to over-interpret folds or noise when processing solid-color fabrics; this instruction effectively keeps the fabric clean.
Step 2: Precise Color Correction (Restore True Fabric Colors with a Color Reference)
Although the image from Step 1 has the new clothing, the color may not be precise enough due to the AI’s understanding of ambient light. Color deviation is a major taboo in e-commerce! Therefore, we need to use the “color reference image” for a second calibration so the clothing blends perfectly with the environment’s lighting and shadows.
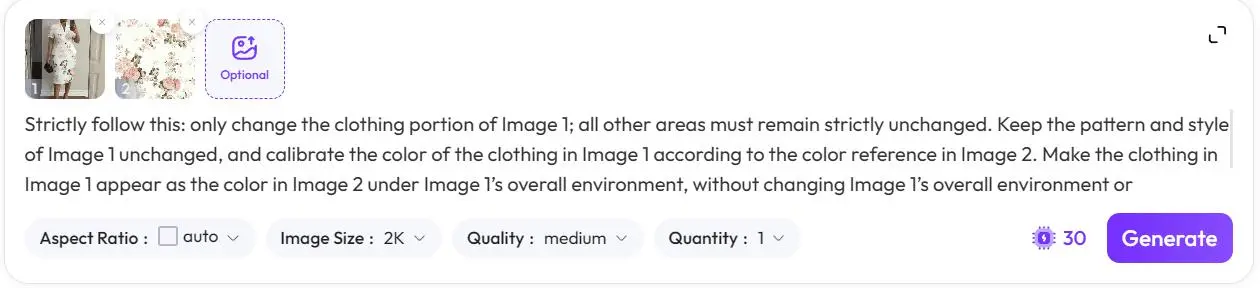
- Replace the Uploaded Materials: Clear the previous images. Now upload the [clothing swap result from Step 1] in Position 1 (left) and the prepared [precise color reference / fabric image] in Position 2 (right).
- Enter a Highly Restrictive Prompt:
This step’s prompt needs to be extremely rigorous to prevent the AI from altering the already generated model and background. Copy the following instruction in full:
“Strictly follow this: only change the clothing portion of Image 1; all other areas must remain strictly unchanged. Keep the pattern and style of Image 1 unchanged, and calibrate the color of the clothing in Image 1 according to the color reference in Image 2. Make the clothing in Image 1 appear as the color in Image 2 under Image 1’s overall environment, without changing Image 1’s overall environment or lighting/shadows—only change the clothing in Image 1. Strictly comply: only alter the clothing area in Image 1; do not make any changes to areas other than the clothing (people, background).”
- Adjust Advanced Parameters:
- Aspect Ratio: Select
auto(automatically match the original image ratio). - Resolution: Keep
2K. - Quality: Choose
highormedium. - Quantity: Set to
8images. (Key operation: Because the AI’s lighting/shadow blending varies slightly each time, generating 8 images lets you pick the best result with the most natural lighting and most accurate color).
- Aspect Ratio: Select
- Generate and Select: Click 【Generate】 (note that this step consumes more computing power). After generation, pick the most perfect one from the 8 results as the final product image.
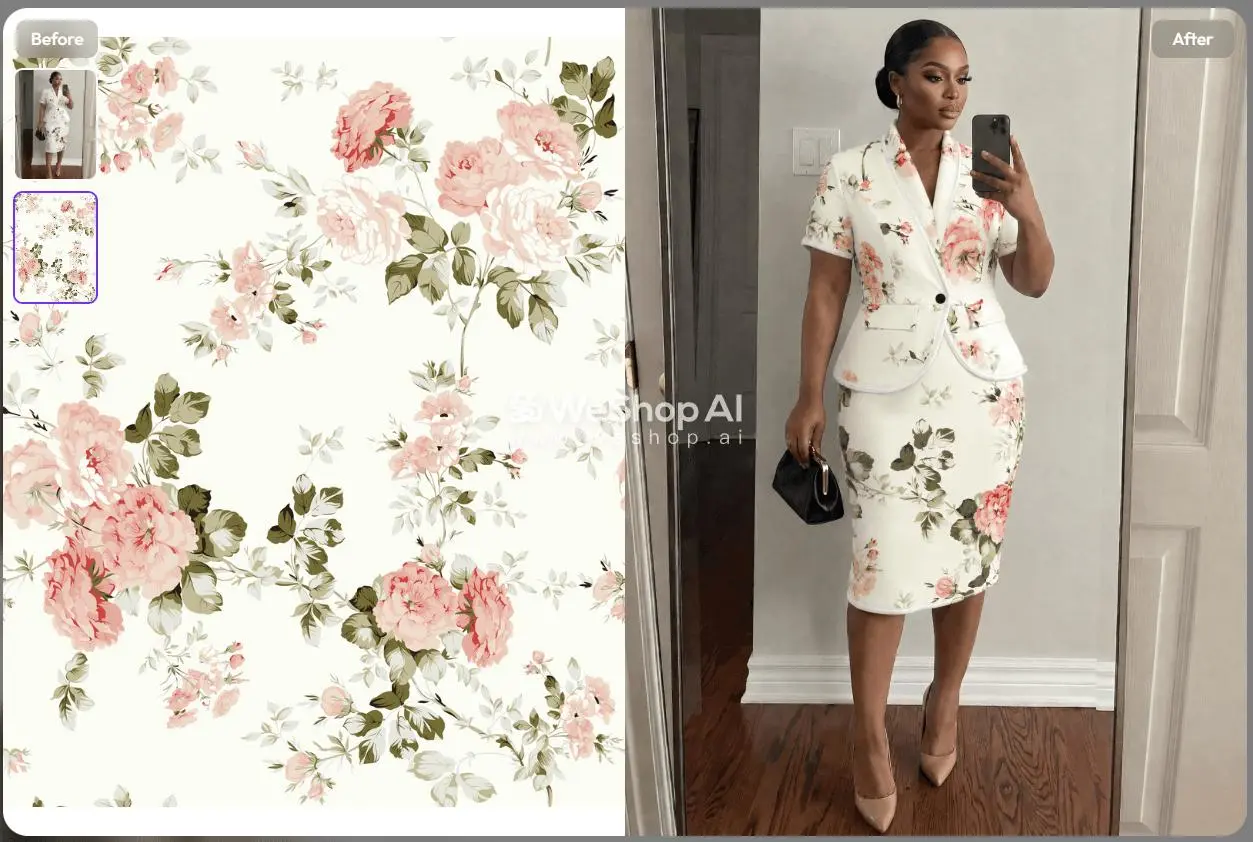
Advanced Tips / FAQ
- Q: Why does Step 2 repeatedly emphasize “strictly follow, do not change the background”? A: AI image generation is divergent. If you don’t emphasize with stronger wording that “nothing other than the clothing should be changed”, the AI will very easily also alter the model’s skin tone or the background wall color when adjusting colors. Using repetitive, imperative words (such as “strictly follow”, “only change”) can effectively lock down non-target areas.
- Q: What if the generated clothing color still looks a bit off? A: Check whether your [color reference image] itself has reflections or shadows. The AI extracts all pixel information from the color reference image, so the fabric color reference you provide must be a standard image that is flat, evenly lit, and free of color deviation.
- 💡 Efficiency-Doubling Tip: Save these two core prompts as your “common phrase templates”. In the future, when launching new SKUs with the same style but different patterns, you only need to swap out the source images without overthinking—this enables true industrialized, assembly-line image production.
By using this combination of “swap the cut first, then correct the color”, e-commerce merchants can completely skip expensive real-life shoots and use AI to produce vast numbers of product detail images at low cost and high efficiency. Technology is reshaping e-commerce visuals. The earlier you master AI tools, the sooner you can enjoy the benefits. Open WeShop now and try it with an old product image from your store!
💬 Interaction Time: How did the AI model images turn out when you ran this workflow? Did you encounter the AI “messing up” or colors that just wouldn’t correct no matter what? Feel free to leave a comment below with your questions or share your final images, and I’ll help everyone troubleshoot and avoid the pitfalls one by one!