



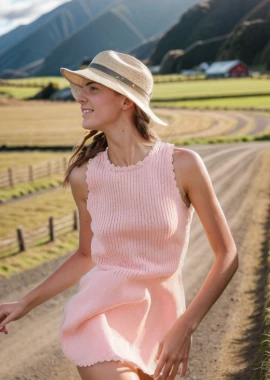




How to Make Multi-Outfit Transition Videos with MiniMax H3
Learn how to use MiniMax H3 to turn one character image into a multi-outfit transition video, with prompt tips for consistency, smooth changes, and review.
How to Make a Multi-Outfit Transition Video with MiniMax H3
Want to show one character switching between several outfits in a single video?
Previously, this effect required filming multiple takes, matching the movement, and editing every transition. With MiniMax H3, you can now start with one character image, describe the movement and outfit sequence, and generate the complete transition as one AI video.
This tutorial shows you how to create it from start to finish.
What You Need
Prepare:
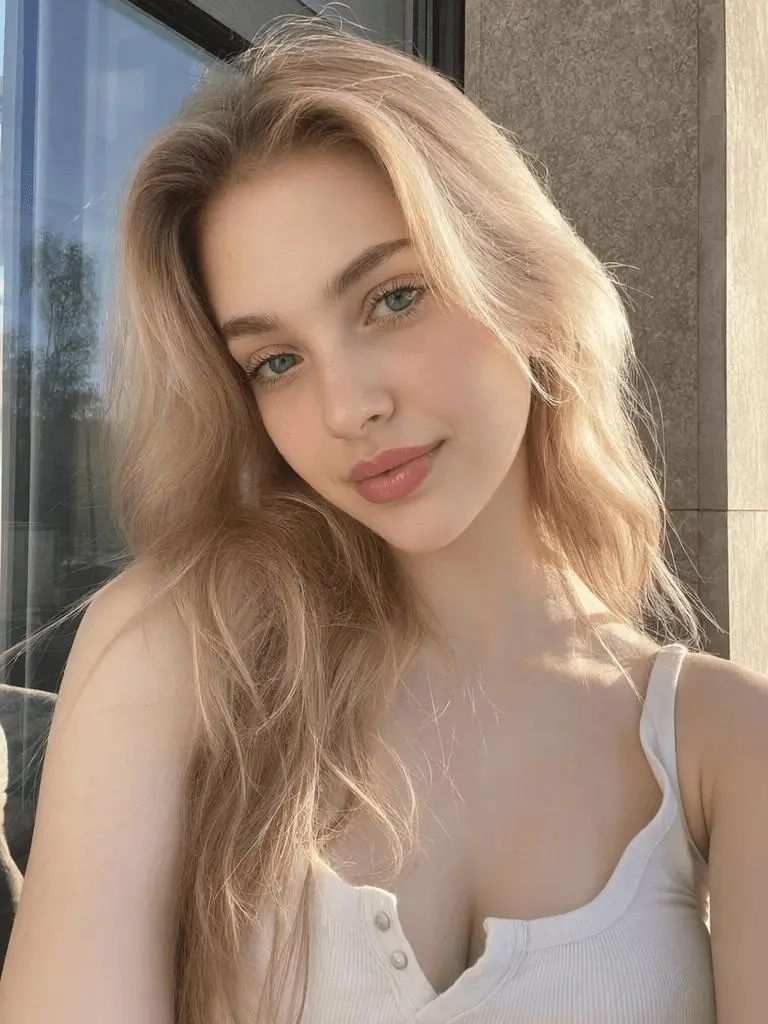
- One character image: Use a clear full-body or near-full-body image.
- An outfit list: Decide which looks should appear and in what order.
- One simple action: A turn, short dance, or model pose sequence works well.
Choose an image with:
- A clearly visible face and body;
- Enough space around the character;
- Minimal obstruction of the arms and legs;
- A simple or stable background;
- The necessary usage and commercial rights.
Step 1: Open MiniMax H3
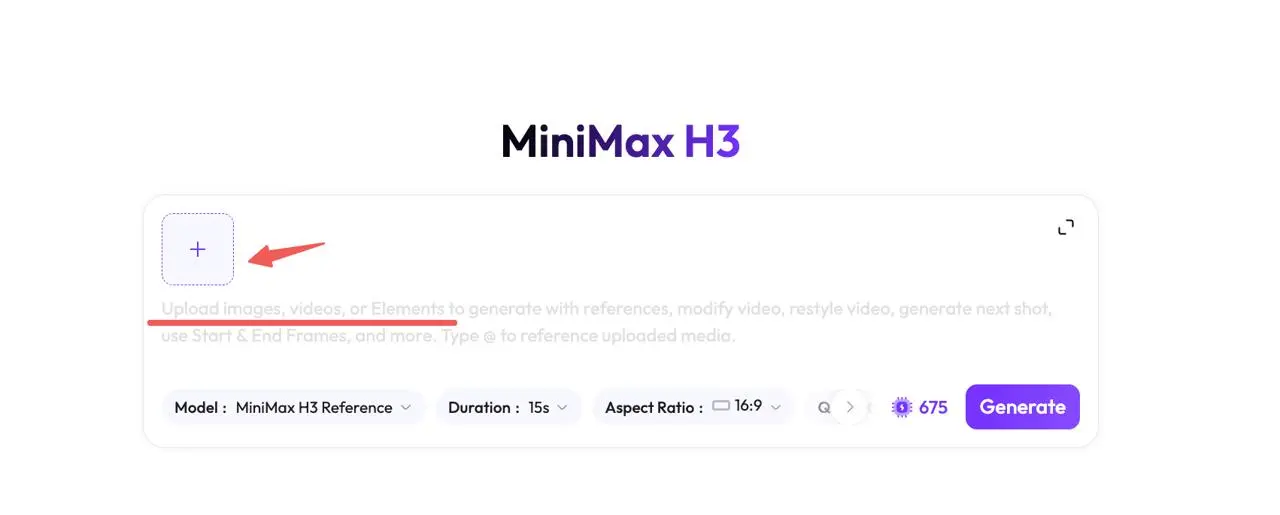
Open the MiniMax H3 tool in WeShop AI.
Upload your character image in the available reference area. Check the current interface for supported file requirements and generation options, as these may change.
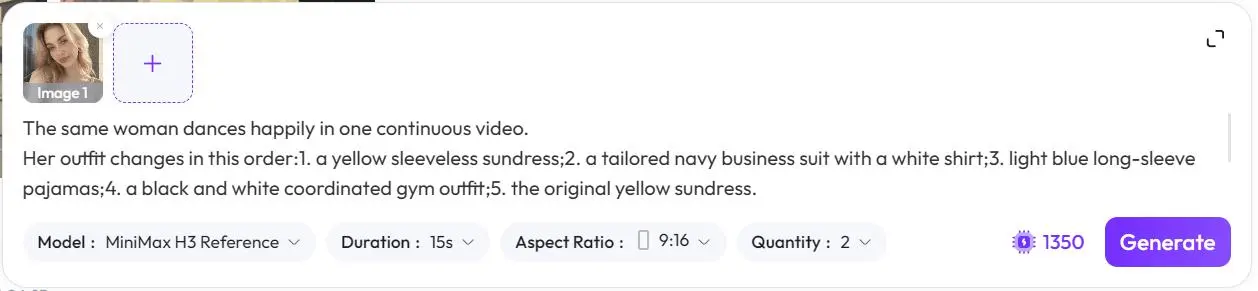
Step 2: Write the Outfit Change Prompt
Your prompt only needs to define:
- What the character does;
- Which outfits appear;
- The order of the outfits;
- What should remain consistent.
Copy and adapt this prompt:
The same woman performs a simple, cheerful dance in one continuous video.

Her outfit changes in this order:
1. a yellow sleeveless sundress;
2. a tailored navy business suit with a white shirt;
3. light blue long-sleeve pajamas;
4. a black and white coordinated gym outfit;
5. the original yellow sundress.

Keep her facial features, hairstyle, body proportions,
dance movement, camera framing, lighting, and background consistent.

Non-diegetic music: Upbeat instrumental dance music
at a moderate tempo, with no vocals.
Replace the outfit descriptions with your own looks. Keep each description visible and specific, such as color, garment type, and overall style.
For a real ecommerce product, use supported product references when available. A text prompt alone may not preserve the exact fabric, cut, pattern, or product details.
Step 3: Generate the Video
Before generating, check that:
- The character is fully visible;
- The outfit order is correct;
- The action is simple;
- The prompt does not contain conflicting instructions.
Then click Generate.
You can try it directly using the tool on the right.
Start with one short test. Avoid combining complicated choreography, multiple backgrounds, fast camera movements, and too many outfits in the first generation.
Step 4: Review the Final Result
When the video is ready, check every outfit transition:
- Did all outfits appear in the correct order?
- Does the character still look like the reference?
- Are the hands, face, and body structurally plausible?
- Did the hairstyle or background change unexpectedly?
- Are garment colors and shapes stable?
- Can the final frame connect naturally to the opening frame?
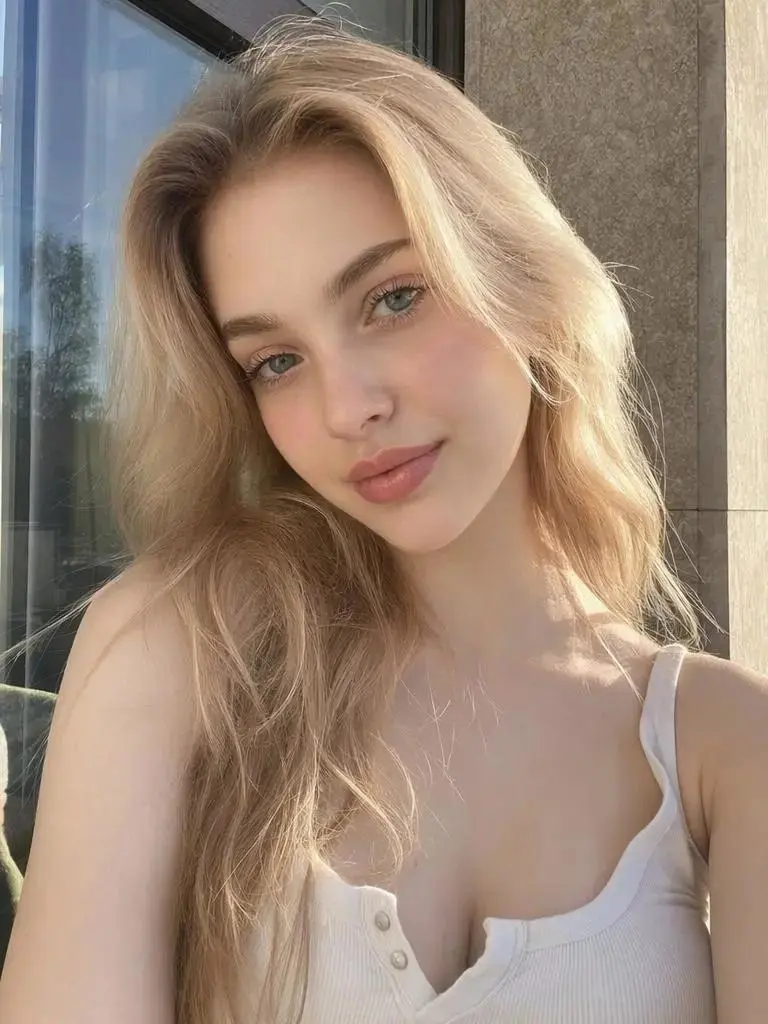
|
If an outfit is missing, make the sequence shorter. If the movement is unstable, simplify the action. Change one instruction at a time so you can identify what improves the result.
How to Make the Outfit Change More Gradual
Listing several outfits may produce cuts or fast replacements rather than a smooth transformation.
To request a more visible transition, describe the intermediate change:
The yellow fabric gradually darkens into navy.
The skirt shortens while a tailored jacket forms over her shoulders.
The woman continues the same dance movement during the transition.
This can guide the transformation, but it does not guarantee seamless fabric morphing. Review the actual result before publishing it as a continuous transition.
Can This Replace Virtual Try-On?
This workflow is useful for creating playful fashion concepts, social videos, and campaign previews. It is not automatically an accurate virtual try-on.
AI generation may change:
- Garment fit and silhouette;
- Fabric texture;
- Colors and patterns;
- Logos and printed text;
- Buttons, pockets, and zippers;
- The relationship between the garment and the body.
If the video represents a real product, compare every important frame with the actual item. Do not present an AI-generated outfit as an exact product demonstration unless the visual details have been verified.
Add an AI-generated disclosure where appropriate, and use only character images, garments, music, and source materials you are authorized to use.
Final Prompt Checklist
Before clicking Generate, confirm:
- One clear character image is uploaded.
- One simple action is described.
- The outfits are listed in the correct order.
- Character and background consistency are requested.
- The result will be reviewed manually.
- The source materials have the required usage rights.
That is the complete workflow: upload one character image, paste the outfit sequence, generate the video, and inspect every transition.
Try it now with the MiniMax H3 tool in WeShop AI.