







WeShop for DeepSeek Harness: Turn a Portrait and Product Image Into a Girl Holding a Bag
Learn how to use WeShop Canvas in DeepSeek Harness to turn a portrait and bag product image into a polished ecommerce product still.
WeShop for DeepSeek Harness: Turn a Portrait and Product Image Into a Girl Holding a Bag
Many AI tools can generate a single image, but real ecommerce production usually continues after that: saving files, re-uploading references, explaining the same intent to another tool, and organizing versions.
WeShop for DeepSeek Harness reduces that repeated work by putting reference materials, selected items, Harness chat, and generated results on one canvas. Select the materials on the left, describe the goal on the right, and the result returns to the canvas for the next step.
In one sentence: select the materials, describe the goal, and keep refining on the same canvas.
WeShop for DeepSeek Harness is designed for ecommerce visual tasks such as product photography, model images, virtual try-on, background replacement, reference image editing, and video generation.
Get WeShop for DeepSeek Harness: official GitHub repository
Before you start
- Install DeepSeek Harness and open
http://127.0.0.1:3080. - Use WeShop Canvas mode.
- Make sure the model configuration and account balance are ready.
- Confirm the top bar shows API configured.
Full tutorial: portrait -> full body -> bag material -> girl holding the bag
Step 1: Understand the Workspace
The workspace combines a canvas and a conversation. The canvas stores references and results; the conversation sends instructions, shows progress, and receives questions from the agent.
Step 2: Add a Reference Image to the Canvas
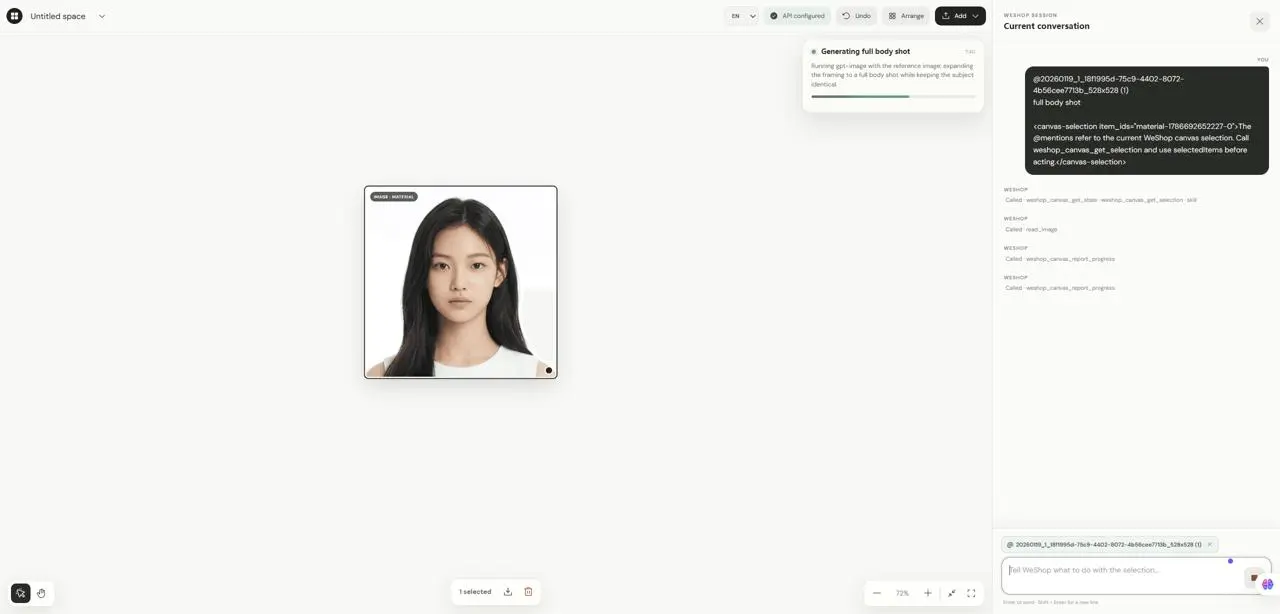
Selecting an item tells the agent exactly which material to use next. Click Add -> Upload files to upload the portrait; it appears on the canvas as IMAGE · MATERIAL.

Step 3: Select the Reference Image
Use the arrow/select tool to click the portrait. When 1 selected appears at the bottom, the image has become the reference for the next message.
Step 4: Confirm the Selection Reference in the Conversation
The green @ material-name tag means the message is connected to the selected canvas material. The following English prompt is kept for accurate model instruction:
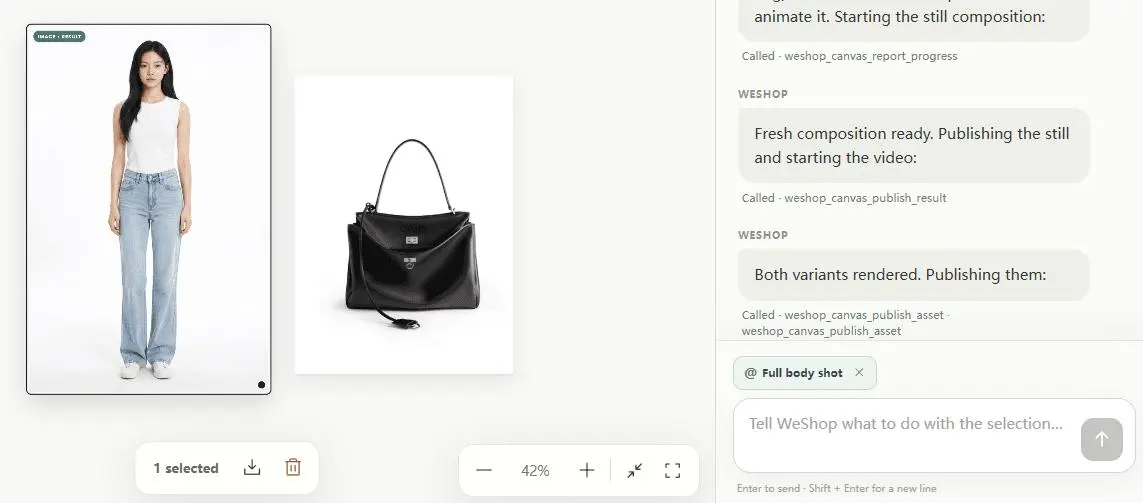
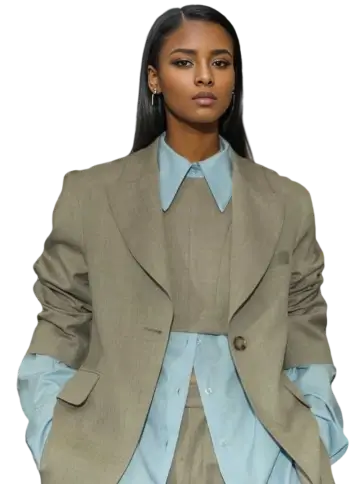
Extend the selected portrait into a 2:3 full-body image. Preserve the person’s face, hairstyle, identity, and overall visual style. Complete the image with a natural standing pose, full outfit, and clean background.
Step 5: Let the Agent Execute the Task
After submission, the agent interprets the request, chooses the proper generation capability, handles model or parameter errors, and publishes the result back to the canvas.
Step 6: Compare the Source Material and Generated Result
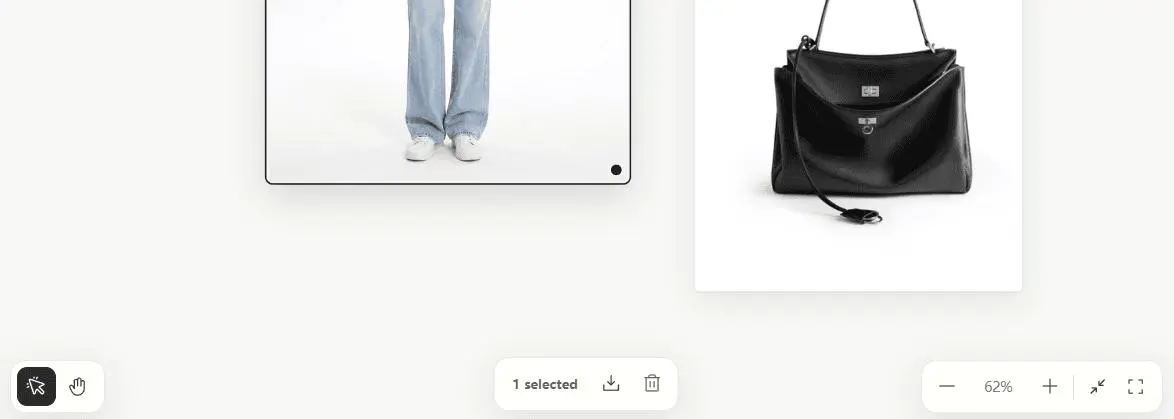
Compare source and result side by side. Check identity, hair, face, pose, hands, proportion, composition, and product fidelity. The result returns as IMAGE · RESULT, so you do not need to import it manually with Add.
Step 7: Download the Result or Continue Editing
After selecting the result, you can download, delete duplicate versions, zoom in, fit all content, or reset the view. The download button appears only when one media item with a URL is selected.
Step 8: Refine the Full-Body Image if Needed
Right-click the result to use Local edit, Upscale, Reverse prompt, and View full size.
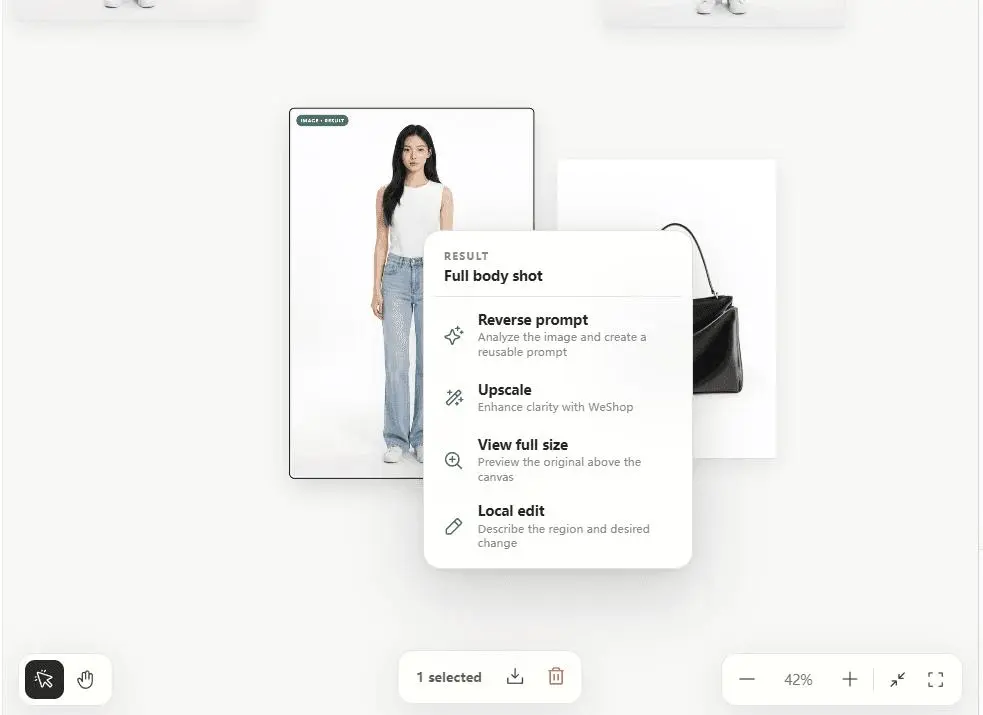
Preserve the person’s identity, pose, and clothing. Change only the background to an early-morning city street with soft natural light.
Combine the Full-Body Image and Bag Into a Final Product Still
Step 9: Add the Bag and Select Both References
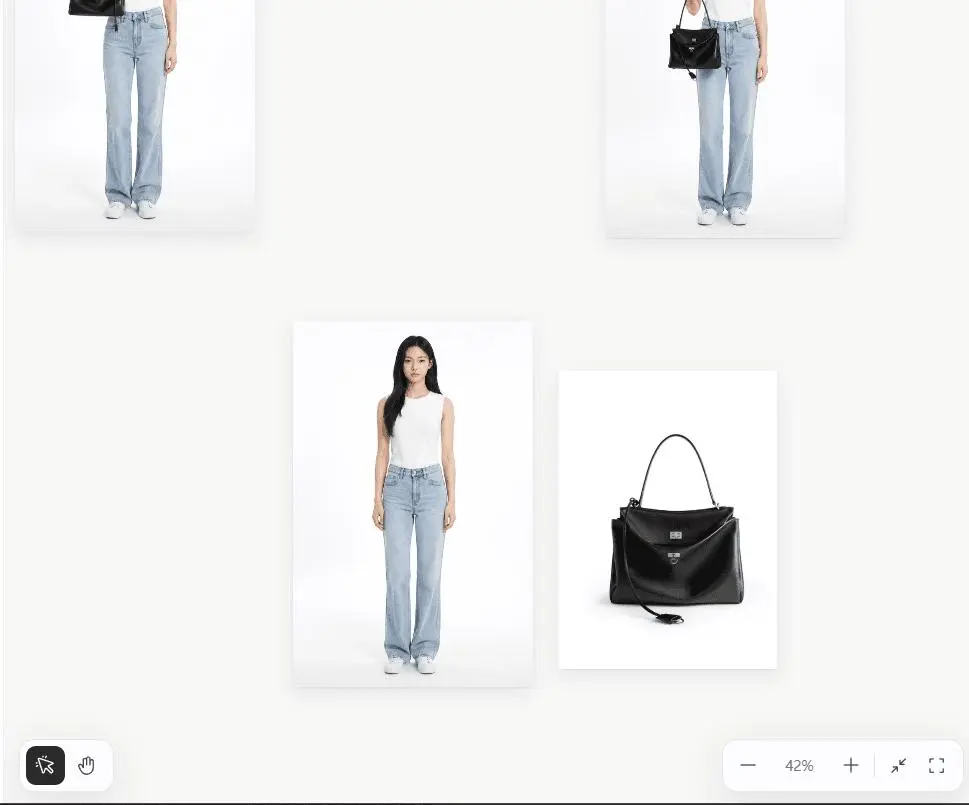
Upload the bag product image, then select both the full-body image and the bag image. Two green @ tags confirm both references are included in the next generation context.
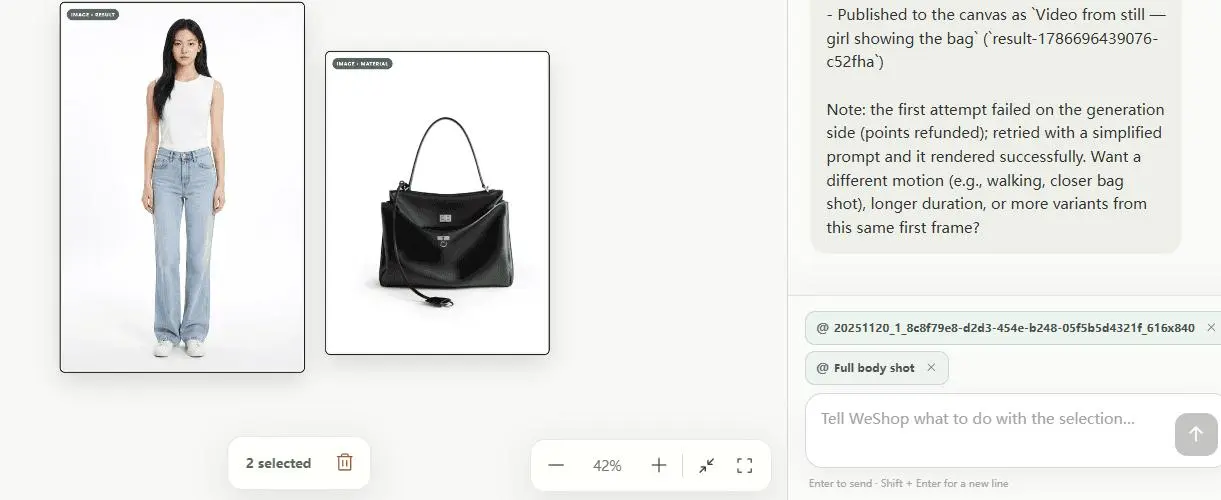
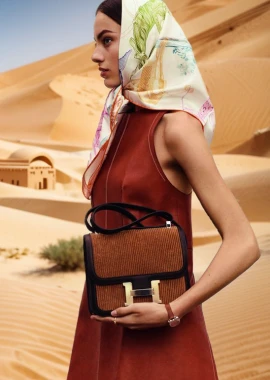
Image 1 is a full-body image of the girl. Image 2 is the product image of the bag. Make the girl in Image 1 hold and naturally present the bag from Image 2 toward the camera. Preserve the girl’s identity, face, hairstyle, clothing, and full-body composition. Accurately preserve the bag’s shape, color, material, hardware, and logo. First generate a clean full-body presentation still.
Step 10: Generate the Girl-and-Bag Composite
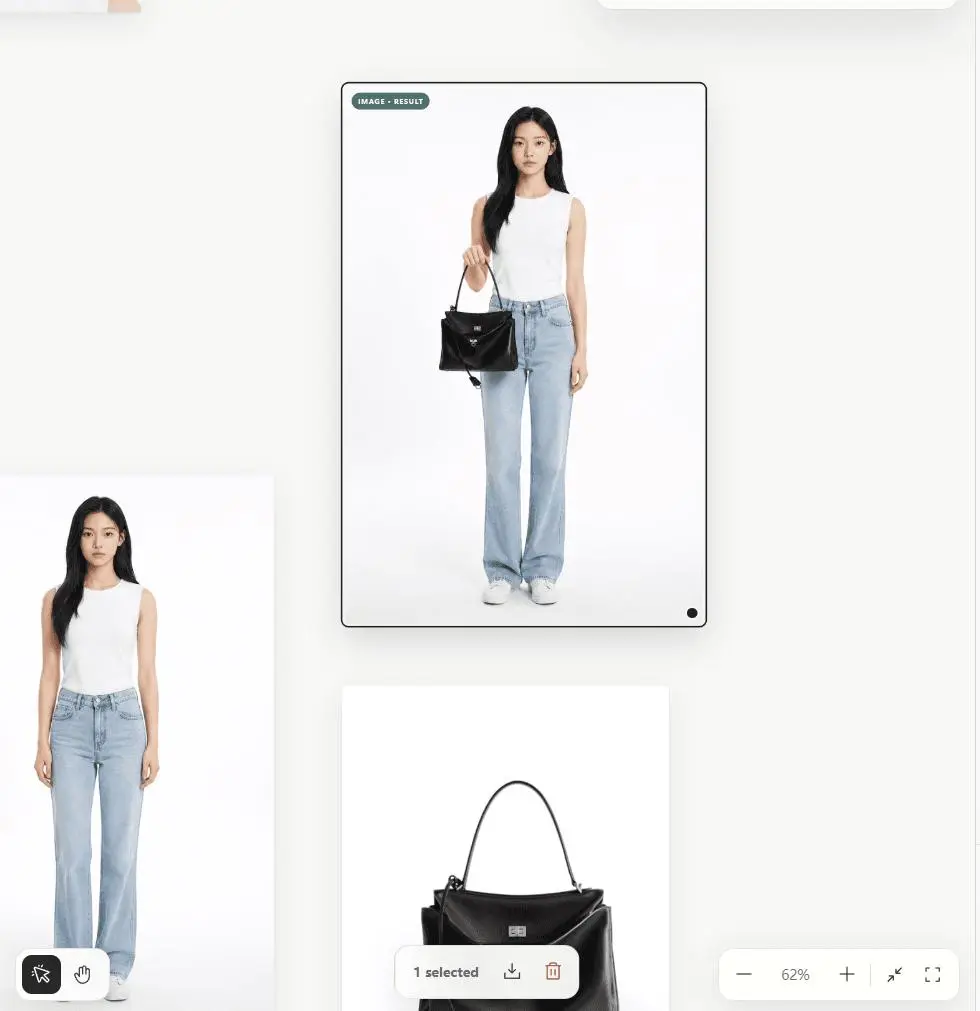
The agent reads the two selected materials, generates a final product still where the girl naturally holds and presents the bag, and posts it as a new result on the canvas.
Step 11: Review and Deliver the Final Still
Check the person identity, face, hairstyle, clothing, hand action, bag silhouette, color, material, hardware, logo, scale, and visibility. If only a small area is wrong, use Local edit directly on the final image.
Portrait Material
  -> Full-Body Image Result
  + Bag Product Material
  -> Girl Holding the Bag Result
  -> Review / Local Edit / Download
Two other common workflows in WeShop Canvas
Use Case 1: Turn One Product Photo Into Multiple Sales Scenarios
Upload a product image and ask the agent to preserve shape, color, material, package text, and logo while changing the background, lighting, and advertising style for multiple sales scenarios.
Use Case 2: Create a Virtual Try-On With Clothing and Model Images
Place the clothing image, model image, and optional background reference on the same canvas, select them, and explain the role of each image so the agent preserves identity and garment details.
How to Make AI Image Results More Predictable
Predictable prompts describe the input, the action, what to preserve, what to change, and output requirements.
What to use + What to do + What to preserve + What to change + Output specifications
Keyboard Shortcuts
V Select, H Hand/Pan, 0 Fit all content, Ctrl/Command + Z Undo.
Current limitations before using WeShop
WeShop for DeepSeek Harness focuses on ecommerce visual generation and canvas iteration. It is not a full design platform: it does not include a brand asset system, professional vector editing, a layer panel, hand-drawn masking, PSD/SVG/PPTX source export, or automatic sync across computers.
Troubleshooting
Insufficient Balance/QUOTA: the model account has insufficient balance; recharge or switch models.- API key missing: click Configure API Key in the top bar or set
WESHOP_API_KEY. - Result appears late: wait for the publishing queue to finish and avoid duplicate submissions.
- Right-click task has no response: check whether the right panel is waiting for more information, authorization, a model response, or an OpenAPI result.
- Canvas missing after closing: click the WeShop icon in the lower-left corner of Harness to reopen it.