






New AI Video Trick! Bring Your Static Photos to Life with One Click – Kling Motion Control Ultimate Beginner's Tutorial
Learn to create stunning AI dance videos from a single photo with Kling Motion Control. Step-by-step tutorial covers asset upload, prompt tips, common pitfalls, and advanced motion-capture ideas.
Are you often envious of the viral AI videos that others create when scrolling through short-video feeds? Watching your favorite anime characters dance a girl group routine, or having classic movie characters perform hilarious actions—doesn't it feel magical?
Actually, there's no need for complex post-production techniques. All it takes is "one image" + "one footage clip" to easily recreate cinematic-level motion!
Today, I'll teach you how to use the Kling Motion Control feature to make your character accurately perform specific actions, even capturing micro-expressions! Save this post first, then follow along.
💡 Core Principle: How Does It Work?
It's simple: AI perfectly "transfers" the motion video footage you provide onto the static character image you upload. Not only is the body movement highly consistent, but even the micro-expressions and demeanor on the face can match the real person exactly!
|
🛠️ Step-by-Step Tutorial: Hands-On with the Dedicated Weshop AI Page
The operation is very beginner-friendly. You can now generate it directly with one click on the dedicated tool page:
Step 1: Access the Dedicated Generation Tool
Open this tool link in your browser to go straight to the generation workbench: 👉 https://www.weshop.ai/tools/kling-motion-control
Step 2: Upload Your Assets (⚠️ The Most Critical Step)
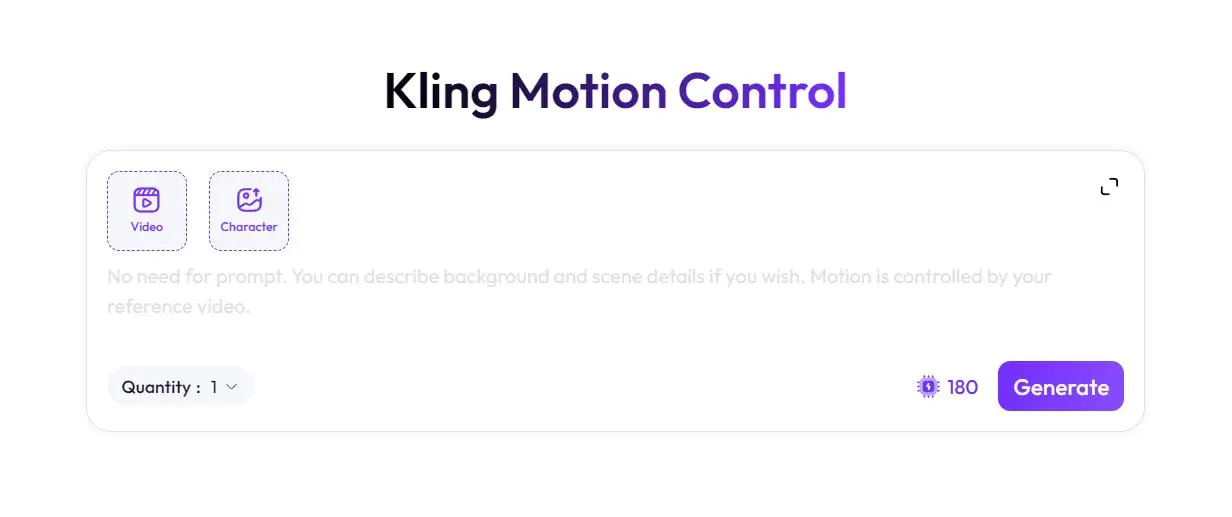
After entering the page, you'll see a very clean control panel. Here, you need to upload the following:
- The [Video] box: Upload the motion footage (the video of the actions you want the character to perform).
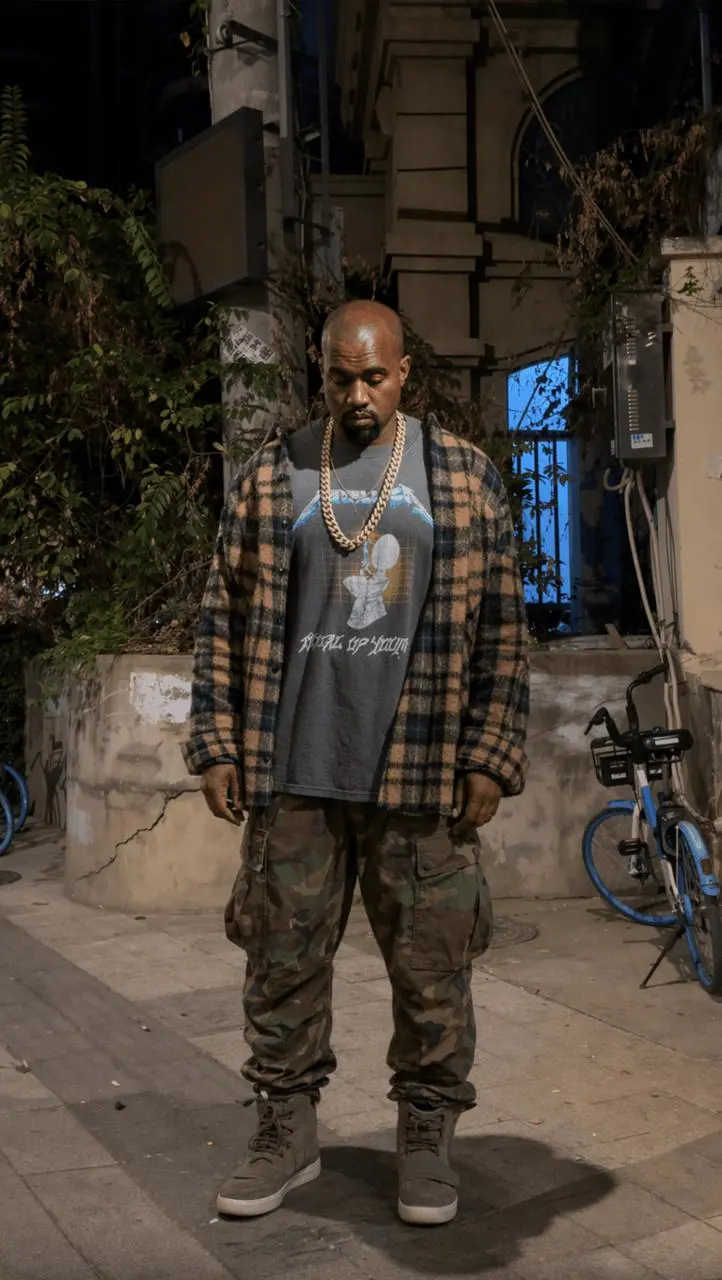
- The [Character] box: Upload the character asset (a static image of who you want to perform the action).
🚨 Core Pitfall Guide: How to Avoid Generation Failures or Broken Frames?
Here is a very important, make-or-break note that you must follow when preparing your image and video assets:
- Consistent Perspective and Aspect Ratio: The perspective and proportion of the character asset should ideally match the motion video. (For example, if the video footage is a full-body shot, the uploaded image must also be a full-body shot; avoid mixing a top-down view with a straight-on view.)
- Leave Space Around the Subject: Ideally, the character should not touch the frame edges. Leave enough space around them; otherwise, when the movements are large, parts of the character may go out of frame.
Step 3: Enter a Prompt and Generate
Observant readers will notice an English hint below the interface: "No need for prompt. You can describe background and scene details if you wish..." (No prompt needed. The motion is controlled by your reference video, but you can describe background and scene details as needed.)
Although you can generate it with an empty prompt, to get better image quality and physical logic, a basic prompt is strongly recommended!
🎁 Bonus: A Universal English Prompt (Copy and paste it into the input box):
Realistic and smooth motion, natural expressions, normal hands, logical physical dynamics, background remains unchanged.(Chinese meaning: Realistic, smooth, and clear motion; natural expressions; normal hands; logical physical dynamics; unchanged background.)
Set the generation quantity (Quantity: 1), click 【Generate】 in the bottom-right corner (costs 180 compute points), wait a moment, and your custom motion-controlled video is ready!
⏱️ Tips on Duration Limits
Currently, motion control supports videos of up to 30 seconds. If you have a long dance or martial arts clip longer than 30 seconds, remember to split it into segments (each under 30 seconds) in an editing app (such as CapCut), generate each segment separately, and then stitch them together.
🚀 Advanced Play: Think It Can Only Dance? Think Again!
Now that you've mastered the basics, let's look at cinematic use cases to spark your creativity:
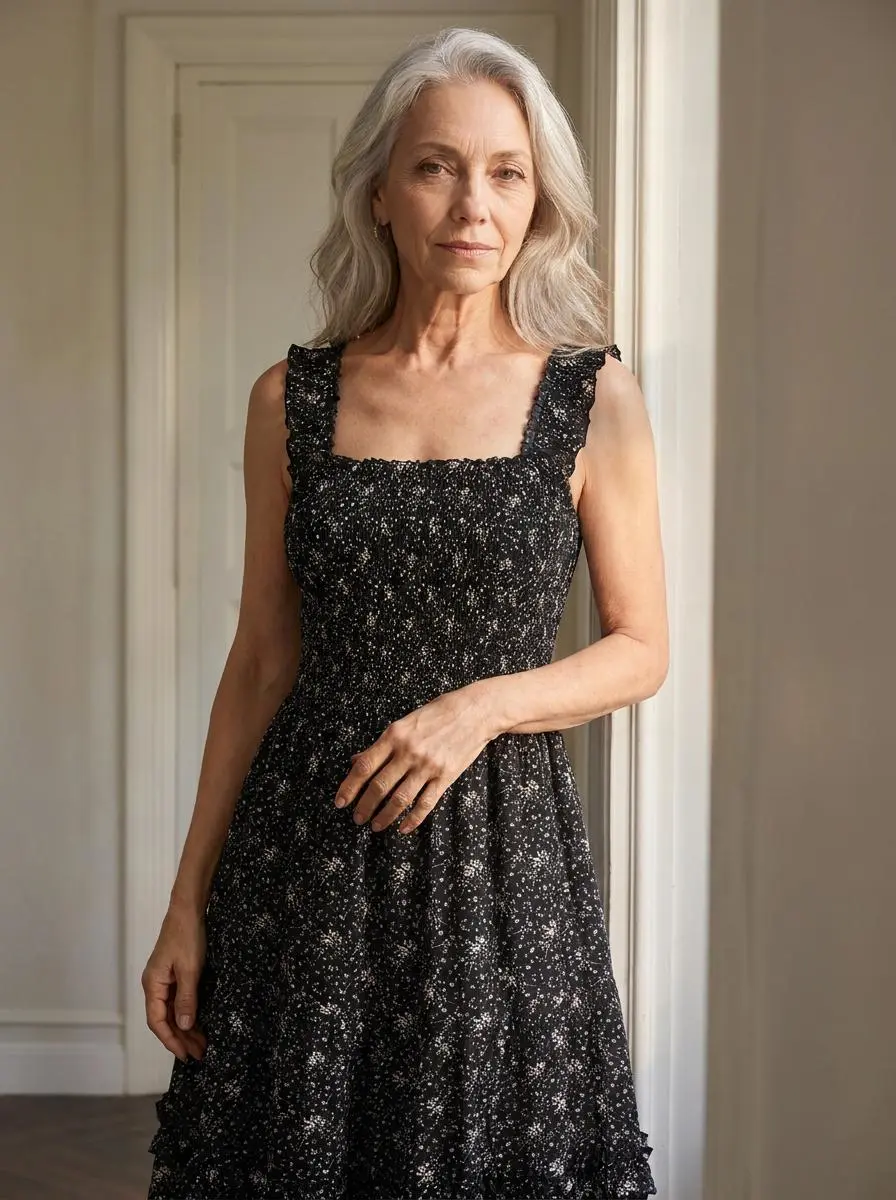
1. Reproduce Professional Martial Arts Moves
Not just simple dances—even professional-level kung fu moves can be perfectly applied to any character by AI, as long as a martial arts choreographer records the footage. The actions are clean and crisp.
|
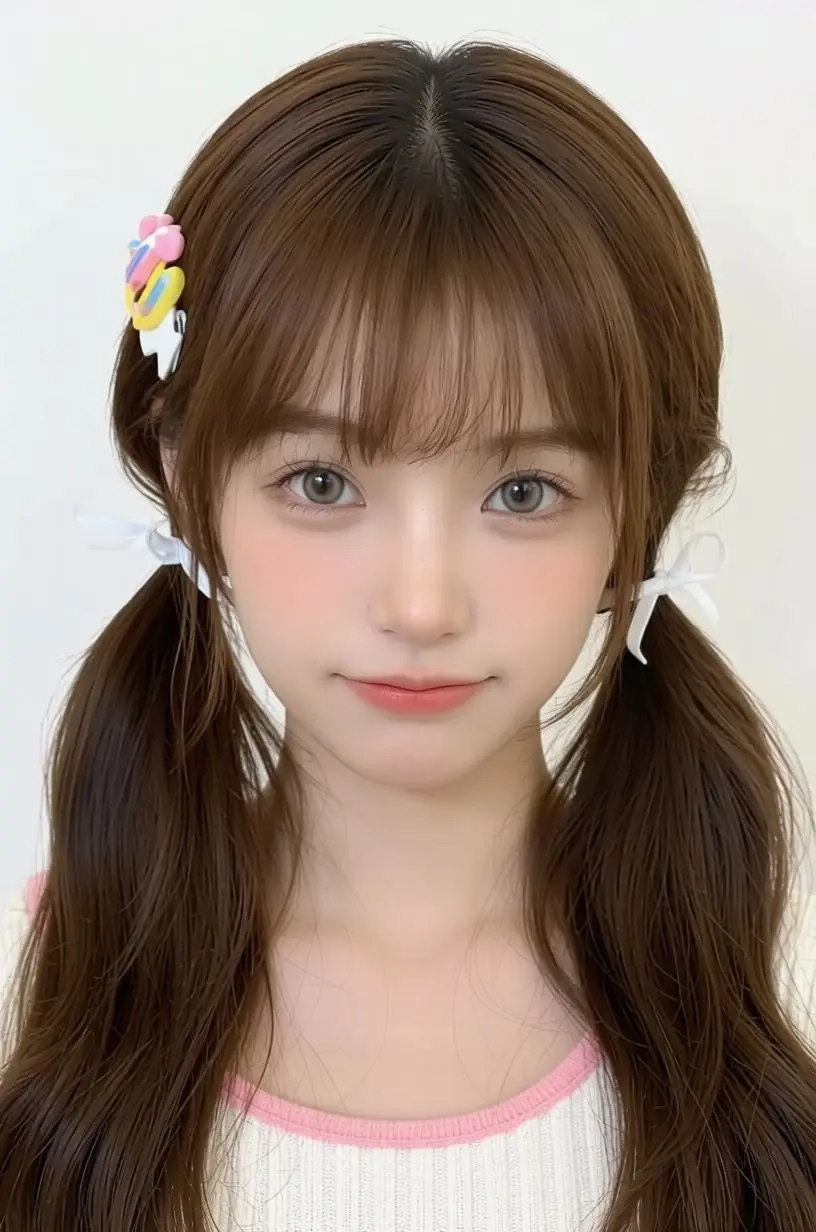
2. Delicate Facial Expression and Demeanor Capture
Actors can first record expressive footage in the studio, then use AI effects in post-production. Even for complex facial structures like those in Avatar, micro-expressions and demeanor can be perfectly recreated in a 1:1 ratio.
|
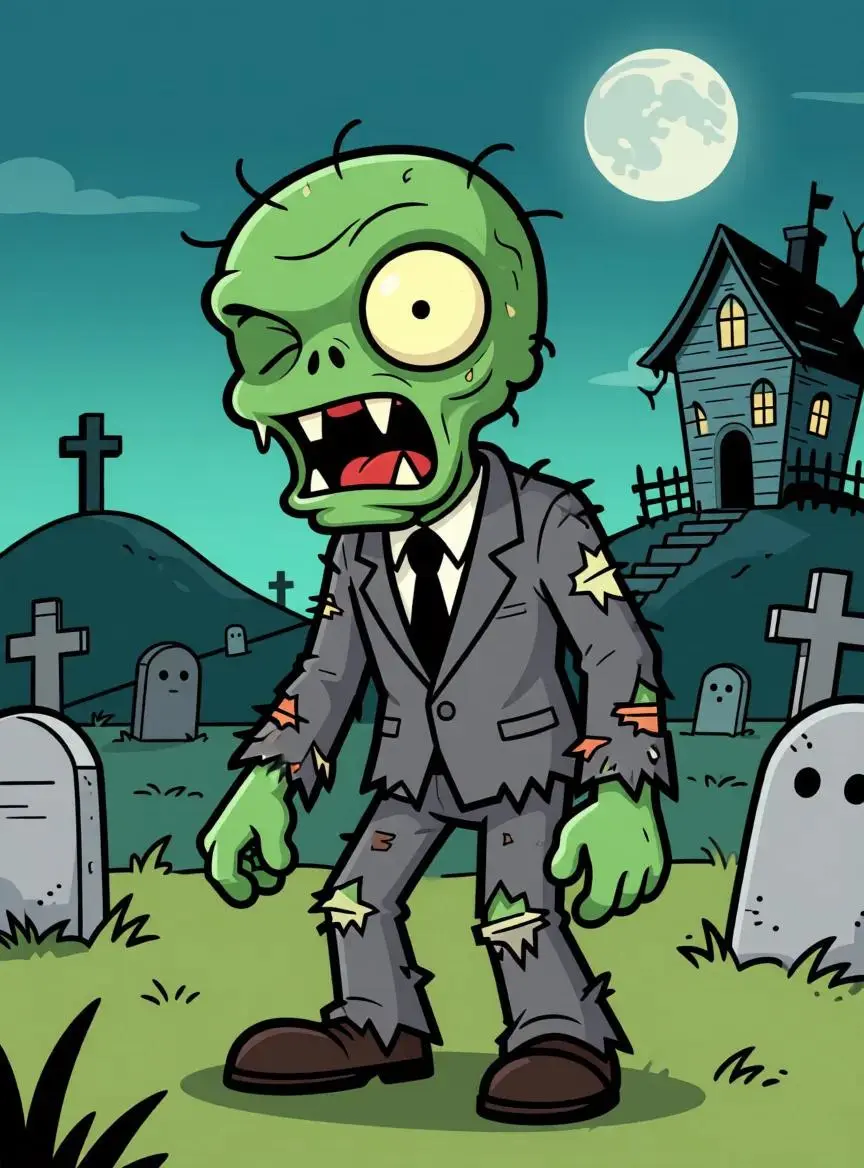
3. Camera Tracking and Scene Interaction
You can control not only the character but also the scene! The camera follows the character, and the background changes naturally with fine detail.
|
🎉 Conclusion
Congratulations! By now, you've fully mastered the core techniques of AI motion control. From selecting the right assets and avoiding pitfalls to universal prompts and advanced micro-control, you now have the ability to create viral AI videos.
Knowledge gained from reading is ultimately shallow—put it into practice! Open the Weshop AI Tool Page and try it yourself! We can't wait to see your amazing work!
See you in the next tutorial! 👋