Editor’s note: This guide was updated in August 2026 to match the current WeShop Braces Filter workflow. The filter is for visual preview only.
A Braces Filter gives you a quick way to see how braces may look on your own smile. You upload a clear photo, generate a preview, and compare it with the original.
The useful part is not just seeing the effect. It is checking whether the brackets sit naturally on the teeth and whether the rest of the face stays unchanged.
This guide shows how to use the WeShop AI Braces Filter. It also covers photo choice, result checks, and common fixes.
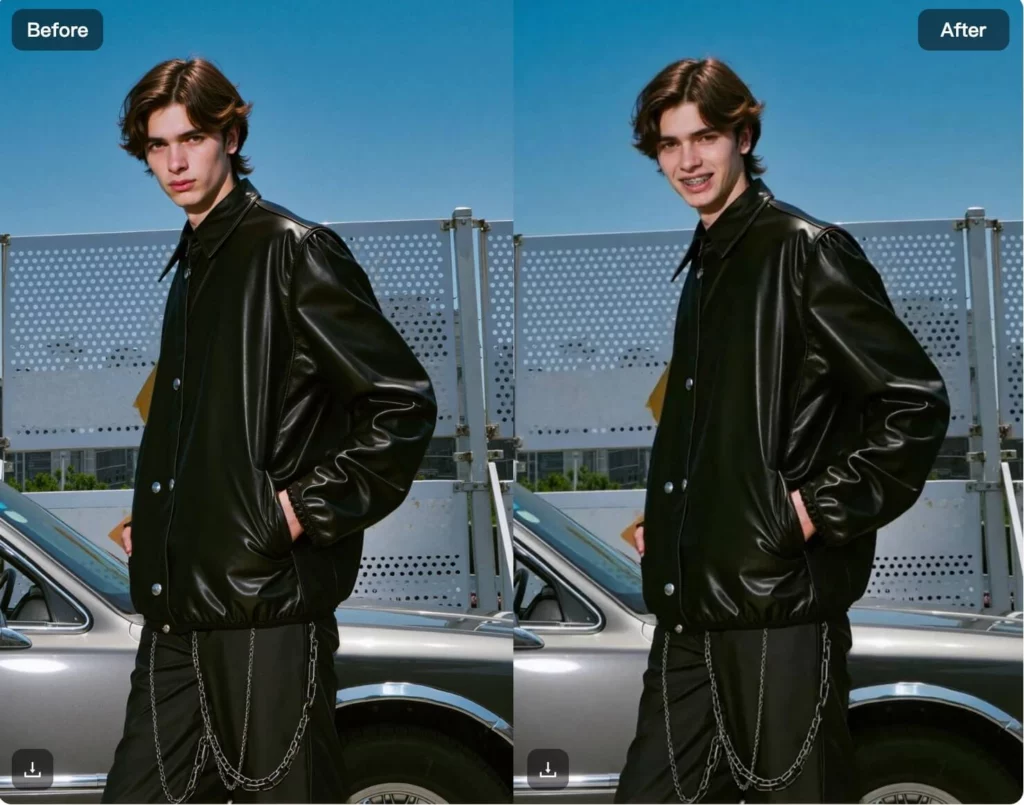
What Does a Braces Filter Do?
A Braces Filter adds a virtual braces look to the visible teeth in a photo.
It works well for a before-and-after comparison, a profile picture experiment, or simply satisfying curiosity about a new look.
However, it is only a visual edit.
It cannot tell you whether you need braces or which appliance is right for you. It also cannot predict tooth movement or your final orthodontic result.
That distinction matters.
Use the preview to explore appearance. Use a qualified orthodontic professional for treatment questions.
What a Braces Filter Can and Cannot Show
A Braces Filter can help you picture a braces-style smile. For example, you can create a before-and-after comparison or casual social content.
However, the image cannot show how your teeth will move. It cannot tell you which braces type is right for you. In addition, it cannot estimate treatment time or predict your final bite.
Therefore, use the result as a visual preview only. If you are considering real treatment, speak with a qualified dental professional or orthodontist.

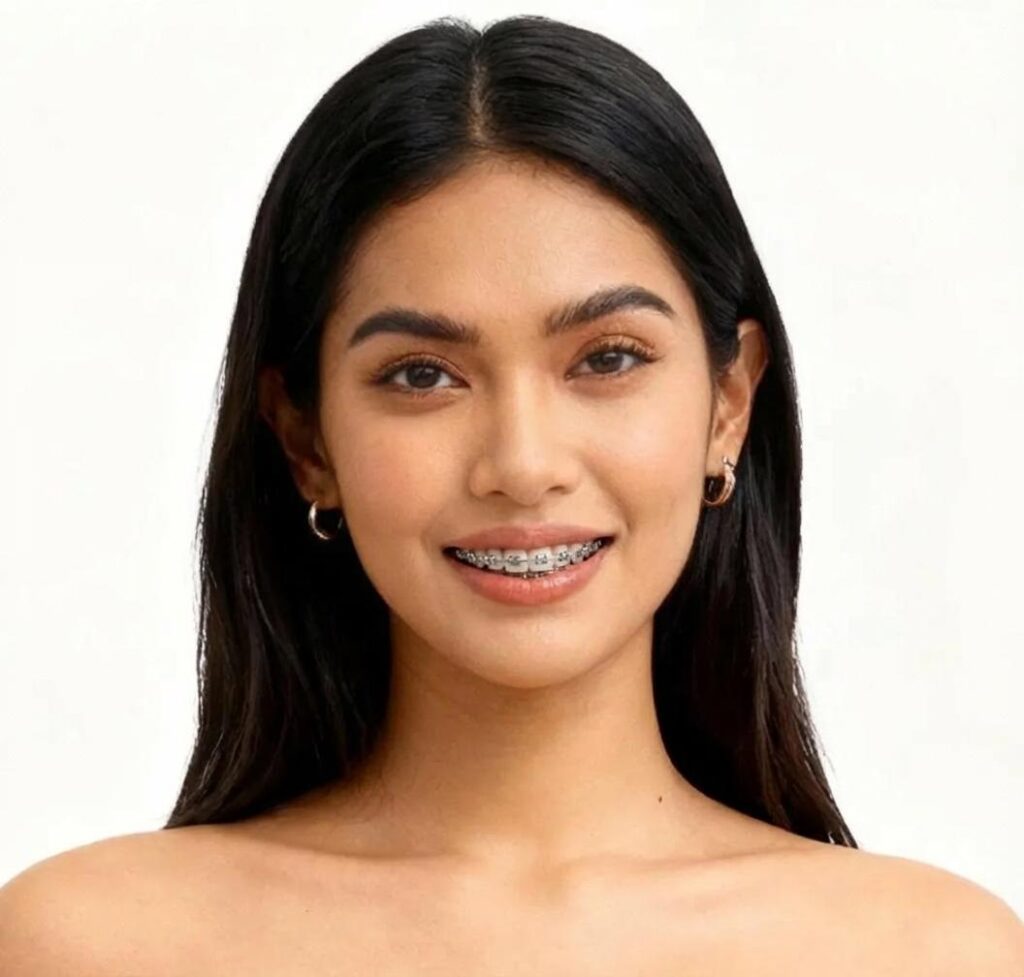
How to Use the Braces Filter in WeShop AI
While the process takes just a few clicks, your choice of photo makes all the difference.
Braces Filter Step 1: Upload a Clear Smile Photo
Open the WeShop AI tool and upload the photo you want to preview.
Before generating, look at the mouth area once more.
Make sure the teeth are visible. Also, check that the image is sharp enough to inspect later.
If you are testing several photos, start with the cleanest one. That gives you a better baseline.
Step 2: Generate the Braces Preview
Run the filter and wait for the preview.
The Braces Filter workflow does not depend on a long text prompt. The source photo does most of the work.
So, spend more time choosing the image than trying to describe the braces in a paragraph.
When the result appears, compare it with the original rather than judging it on its own.
Step 3: Check the Mouth Area
First, look at the bracket placement.
The braces should sit on the visible teeth rather than on the lips or gums.
Next, check the wire. It should follow the tooth row without sharp jumps or obvious breaks.
Then, look at the lips, teeth, jawline, and nearby skin.
If those areas change too much, try another generation or switch to a clearer photo.

How to Check a Braces Filter Result
A good Braces Filter result should look believable at normal size and at close zoom.
First, check bracket position. The virtual brackets should sit on the teeth, not on the lips or gums. Next, look at the wire. It should follow the smile in a consistent direction.
Then, review the rest of the face. Check whether the lips changed shape. Also, look for duplicated teeth, strange edges, or altered facial details.
Finally, compare the source and result side by side. If the braces look fine but the face changes, regenerate the image.
Common Problems and Simple Fixes
Most weak Braces Filter results come from the source photo rather than a complicated setting.
- Braces look crooked: Try a more front-facing smile with clearer teeth.
- Brackets touch the lips: Use a photo with a more open smile and less shadow around the mouth.
- Teeth look blurred: Start with a sharper image instead of enlarging a small photo.
- The face changes too much: Regenerate from the original. If it happens again, change the source.
- The braces look pasted on: Try a photo with more even light across the mouth.
Do not keep retrying a poor input just because the first result failed.
After two or three similar errors, change the image.
That is more useful than random regeneration.
What a Braces Filter Can and Cannot Tell You
A Braces Filter is good at one job: showing a braces-style appearance on a photo.
It can help you compare a smile with and without virtual braces. It can also be useful for casual content or a conversation about how braces may look.
However, appearance is only one part of orthodontic care.
A photo filter cannot examine tooth roots, jaw position, bite, bone structure, or dental health. It also cannot predict treatment time or the exact position of your teeth after treatment.
So, do not treat the preview as a treatment simulation.
If you are actually considering braces, use the image as a visual reference only. A professional examination is what answers treatment questions.
Who Is This Useful For?
The Braces Filter is most useful when the goal is simple and visual.
Teens and students can preview a braces look before school photos or daily life. The result may make the appearance feel less unfamiliar.
Parents and families can use the preview to start a relaxed conversation. However, the image should not be used to choose a treatment plan.
Creators can make before-and-after posts, reaction content, or playful profile images.
Curious users can simply see what braces may look like without doing manual photo editing.

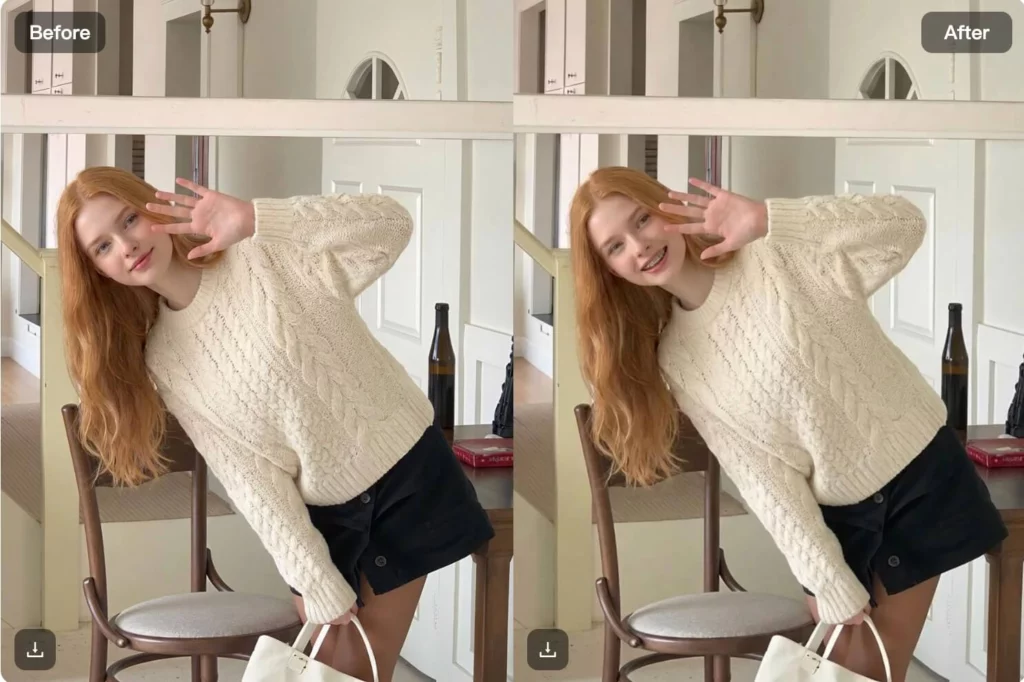
Braces Filter or Manual Photo Editing?
Manual editing gives you more control.
You can move individual brackets, change wire shape, and adjust shadows by hand.
However, that takes more time and editing skill.
The Braces Filter is better suited to a quick preview. You upload a photo, generate the effect, and check the result.
So, choose manual editing when exact art direction matters.
Choose the filter when you want a fast visual comparison.
Neither method should be confused with an orthodontic treatment simulation.
FAQ: Braces Preview Questions
Does the Braces Filter Need a Prompt?
No long prompt is needed for the standard workflow.
A clear smile photo is the important input.
What Photo Should I Use First?
Start with a sharp, well-lit image where the teeth are clearly visible.
A front-facing smile is a practical first choice.
Why Do My Braces Look Misaligned?
The photo may have an extreme angle, blur, or too little visible tooth detail.
Try a clearer image before generating more versions.
Can the Preview Show My Real Treatment Result?
No.
It shows a visual braces effect on the current photo. It does not model tooth movement or predict an orthodontic outcome.
Final Takeaway
A Braces Filter is most useful when you treat it as a photo preview, not a medical simulator.
Start with a clear smile.
Then, generate one version and inspect the brackets, wire, teeth, and lips.
If the placement keeps failing, change the source photo instead of repeating the same input.
The best result is not the most dramatic one. It is the one that adds the braces effect while leaving the rest of the face looking like the original.
For appearance questions, that is enough.
For treatment questions, speak with an orthodontic professional.