







AI Virtual Try-on for Better Shopify Product Images
Learn how Shopify store owners can use AI Virtual Try-on to turn garment photos into consistent on-model PDP images, collection visuals, and campaign-ready assets.
AI Virtual Try-on for Better Shopify Product Images
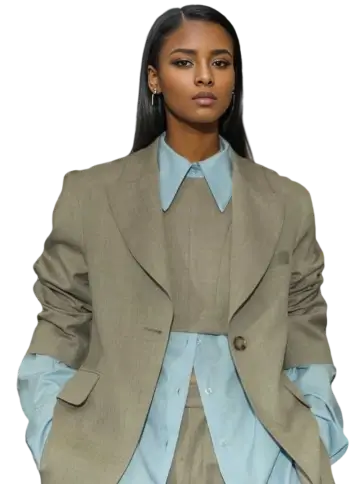
AI Virtual Try-on helps Shopify store owners turn garment photos into on-model product visuals for product pages, collections, ads, and lookbooks. The goal is not to replace every photoshoot. It is to build a faster workflow while keeping each garment accurate and the storefront consistent.
Why Shopify Apparel Images Become a Bottleneck
Shoppers often want to see how a garment sits on a body and works in a complete look. Yet on-model photography adds casting, styling, scheduling, and retouching work. A growing catalog makes that process difficult to repeat.
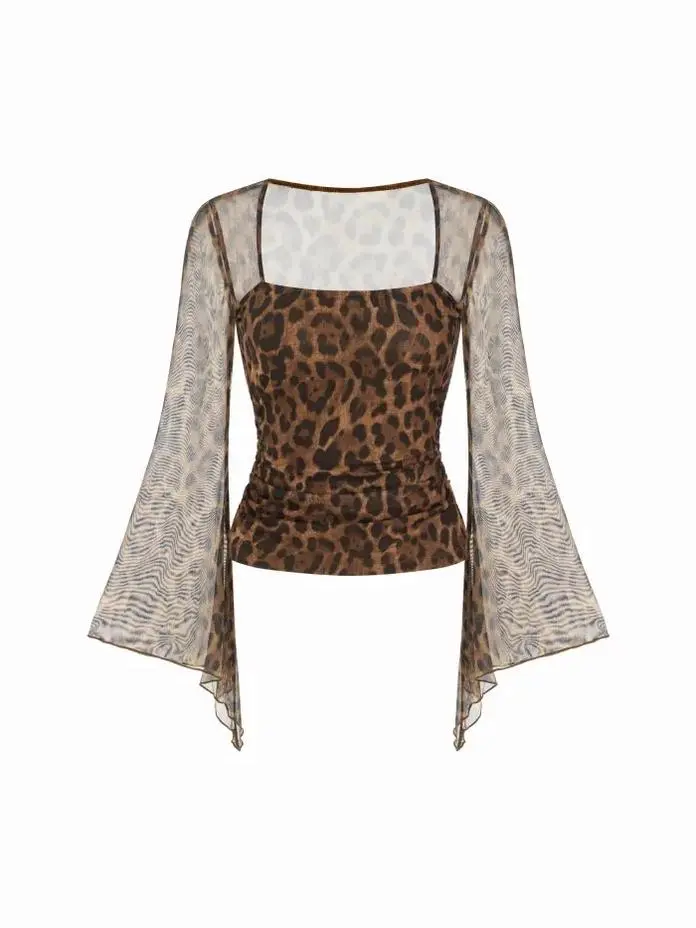
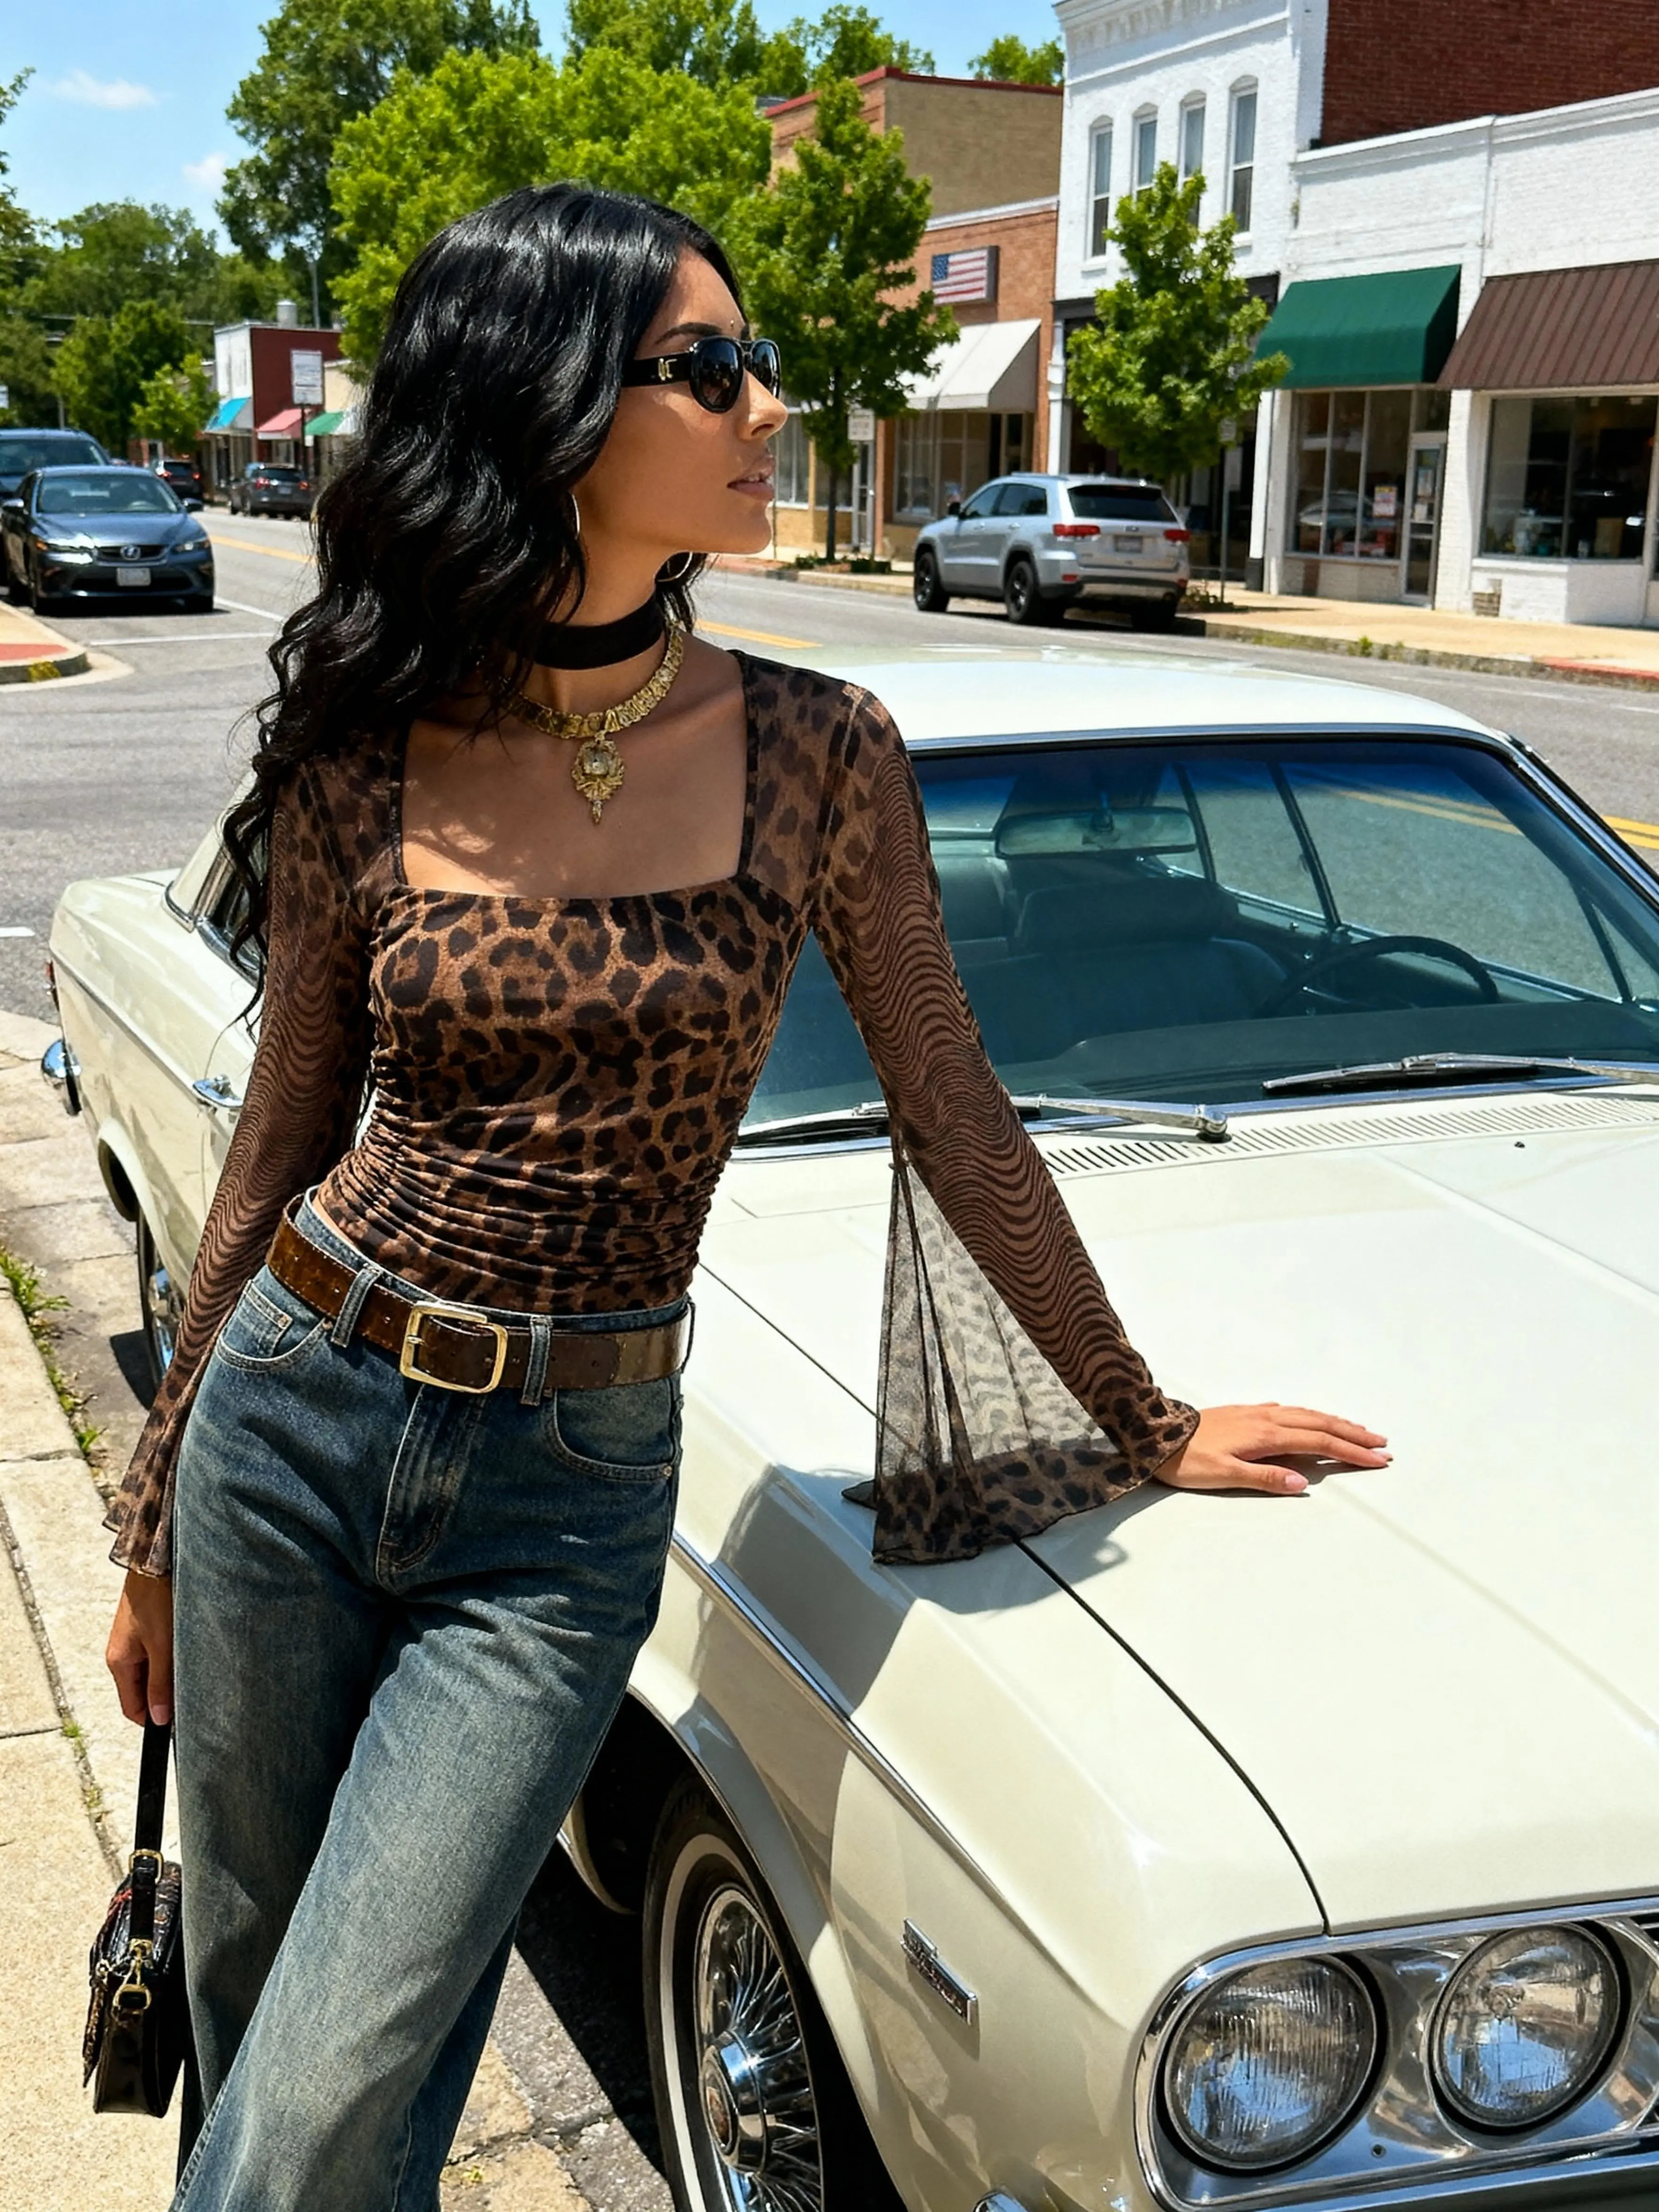
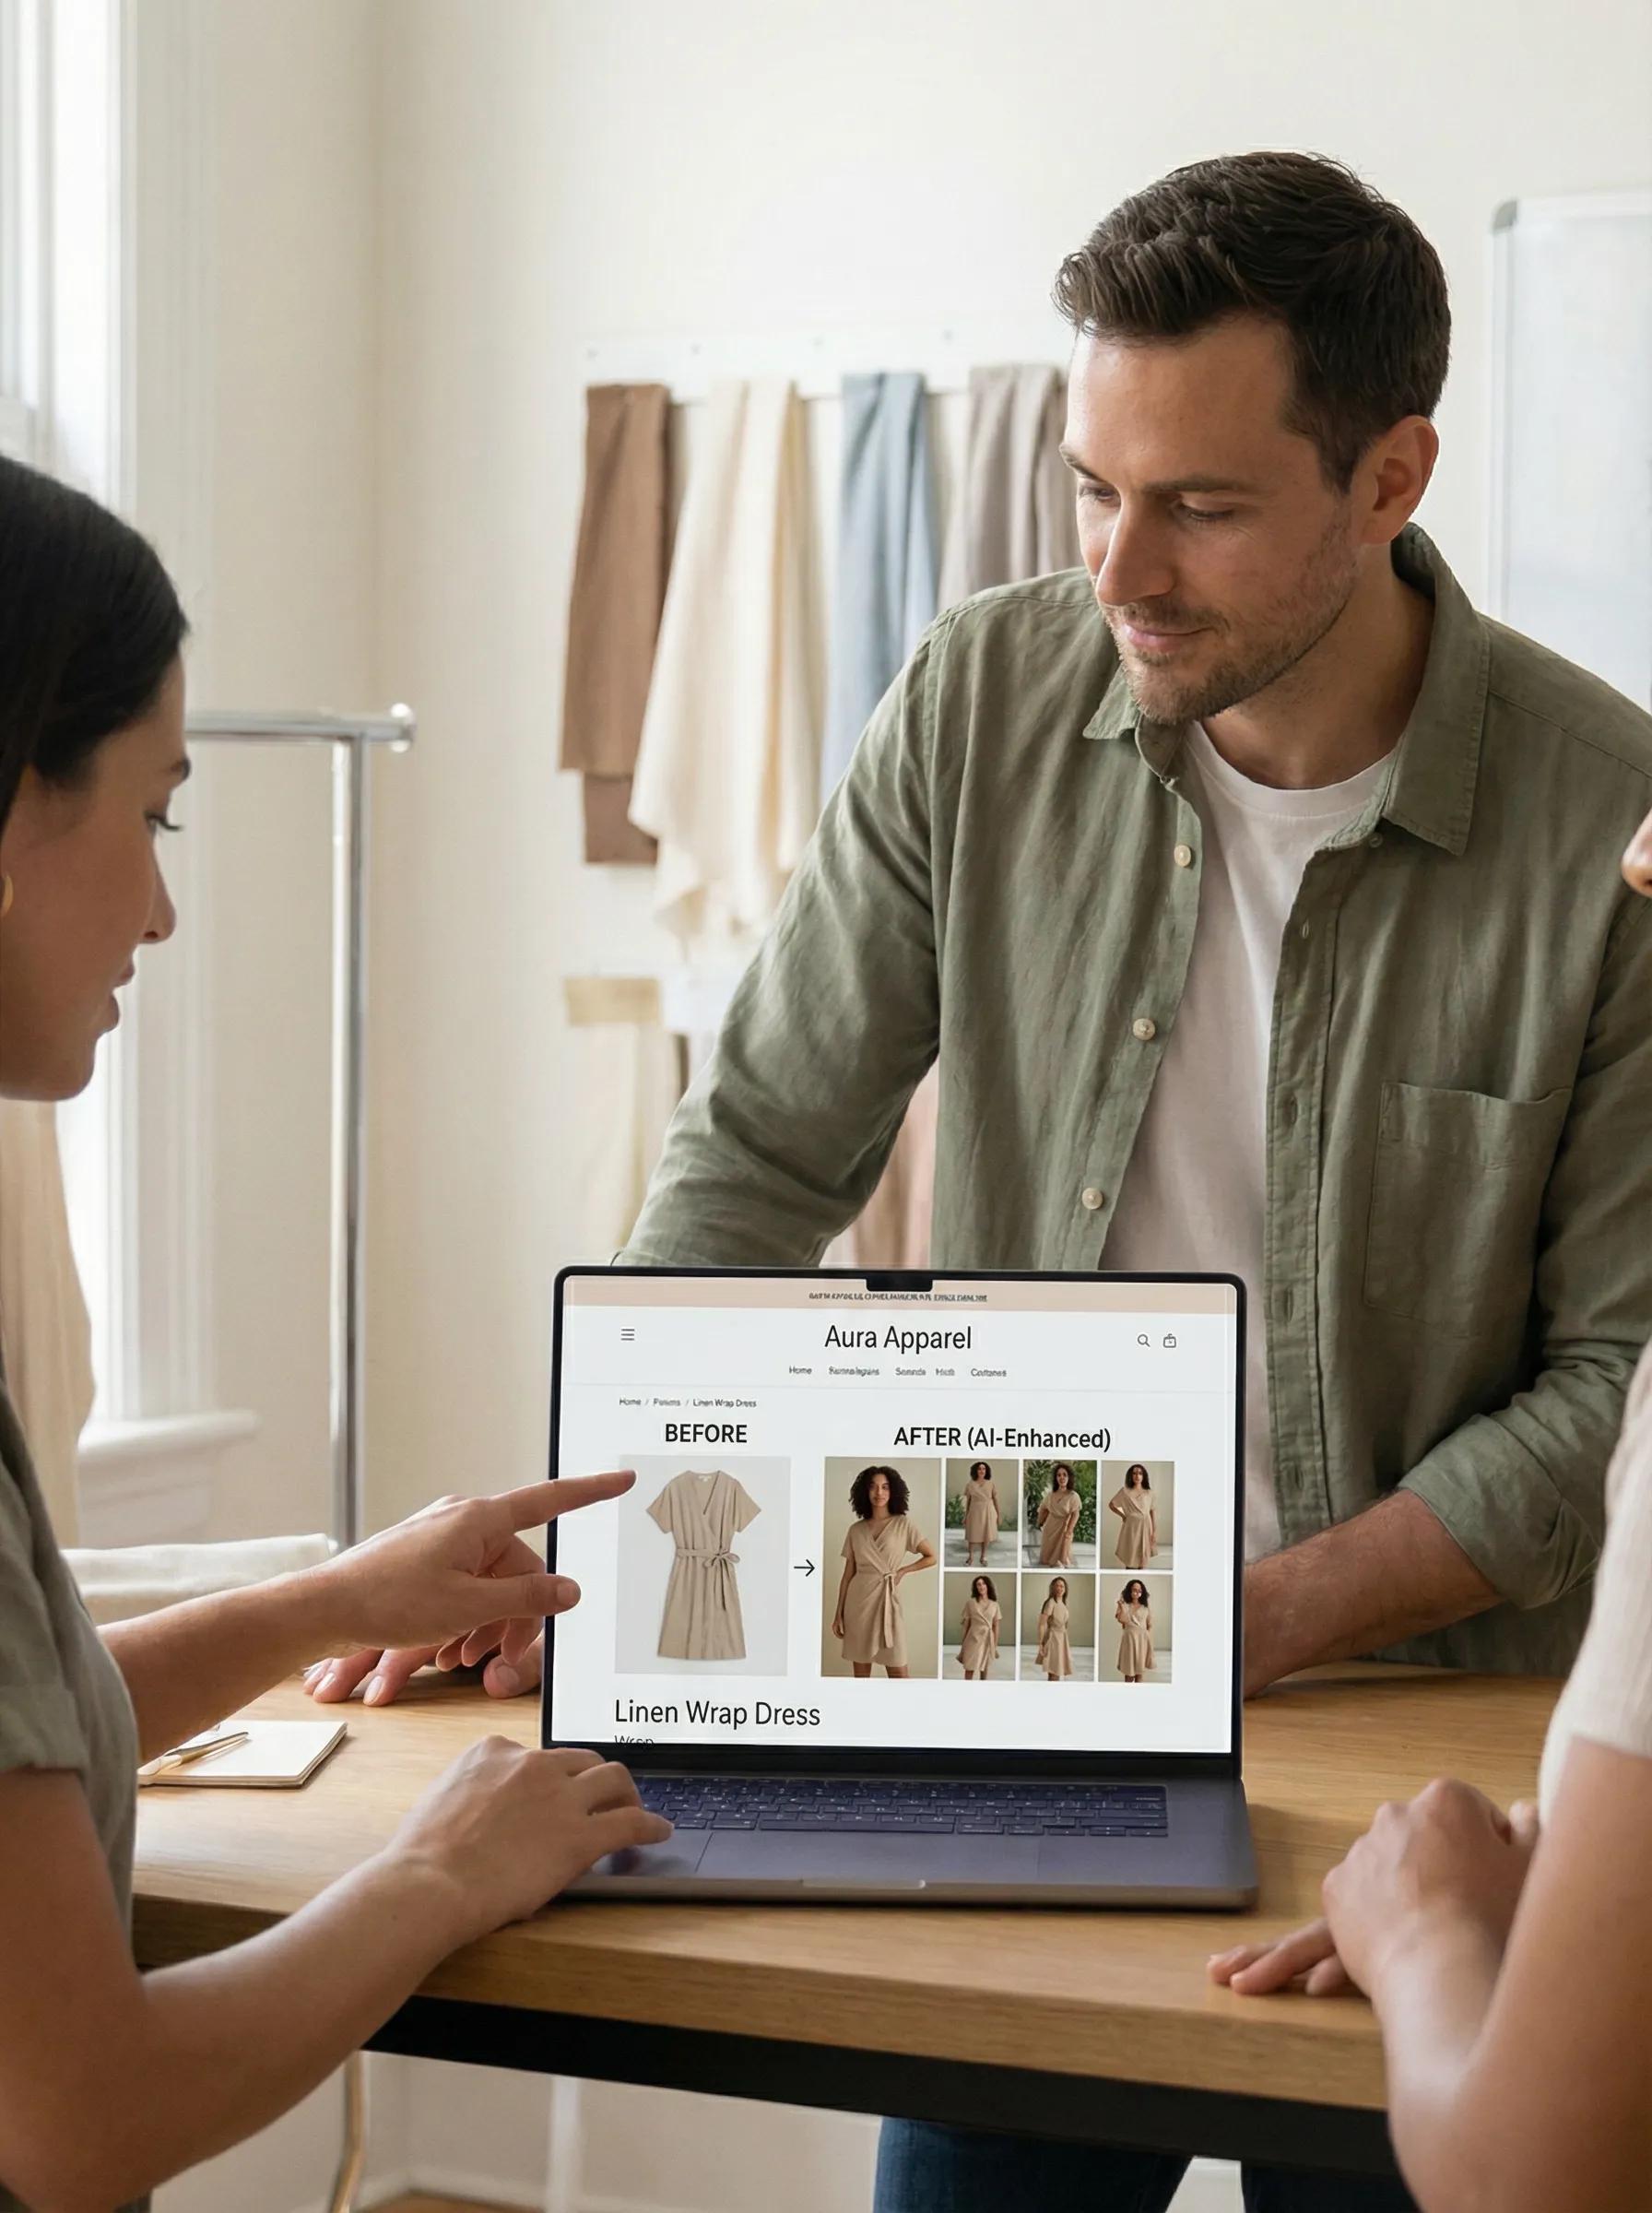
AI Virtual Try-on changes the starting point. A flat-lay or clear product photo can become an on-model visual. Therefore, a small team can explore a model direction before a full campaign or add context to an under-photographed product.
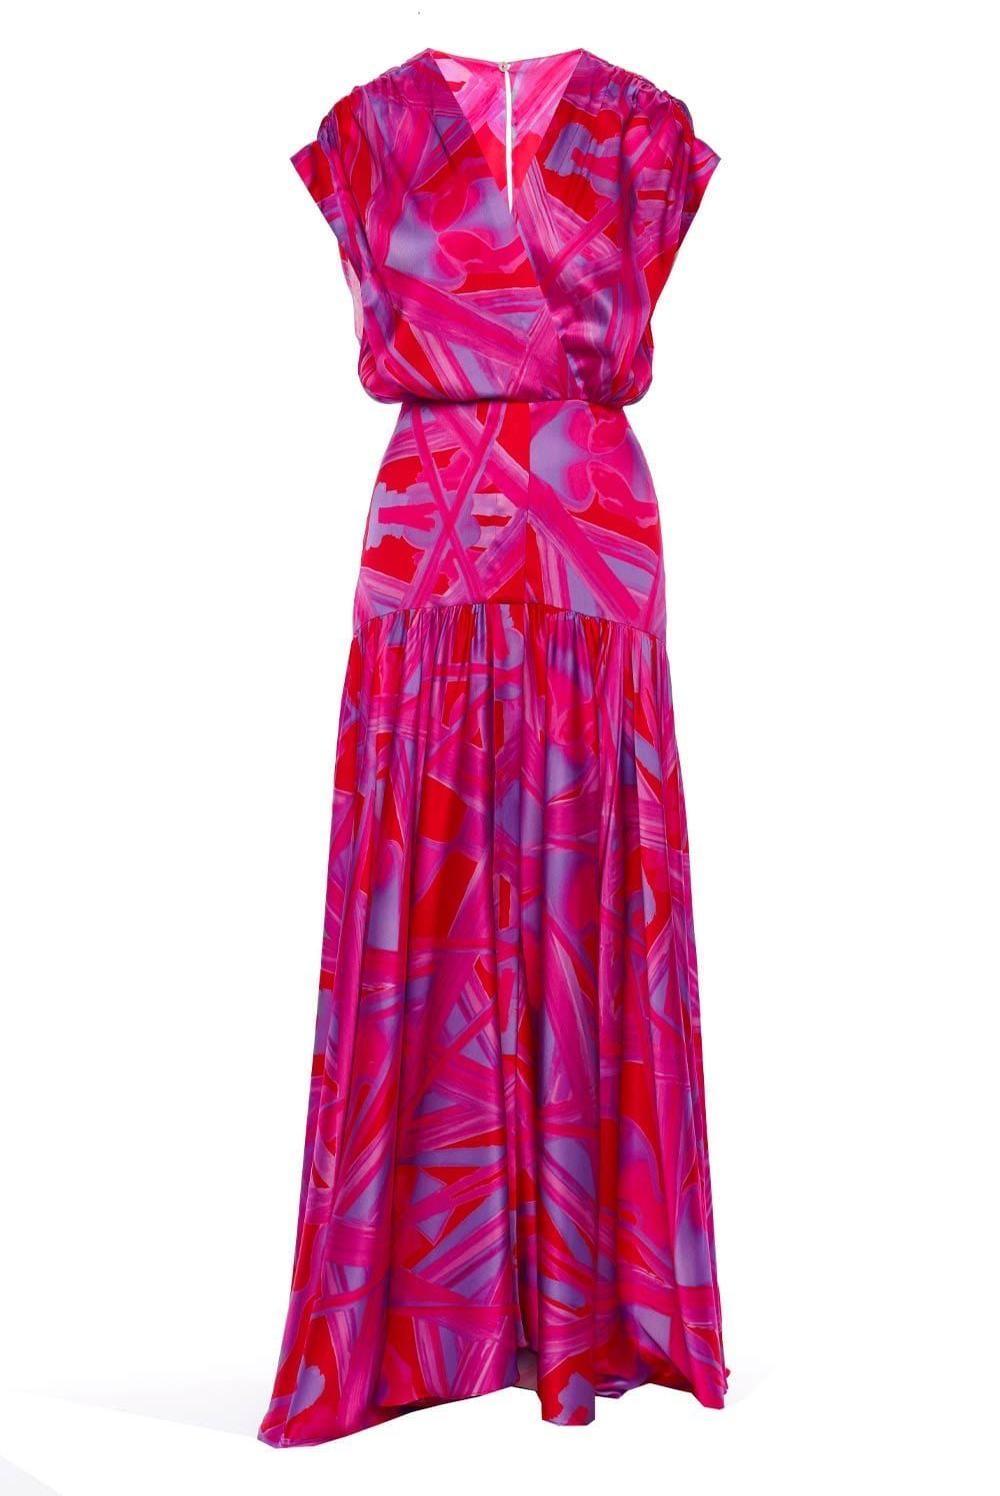
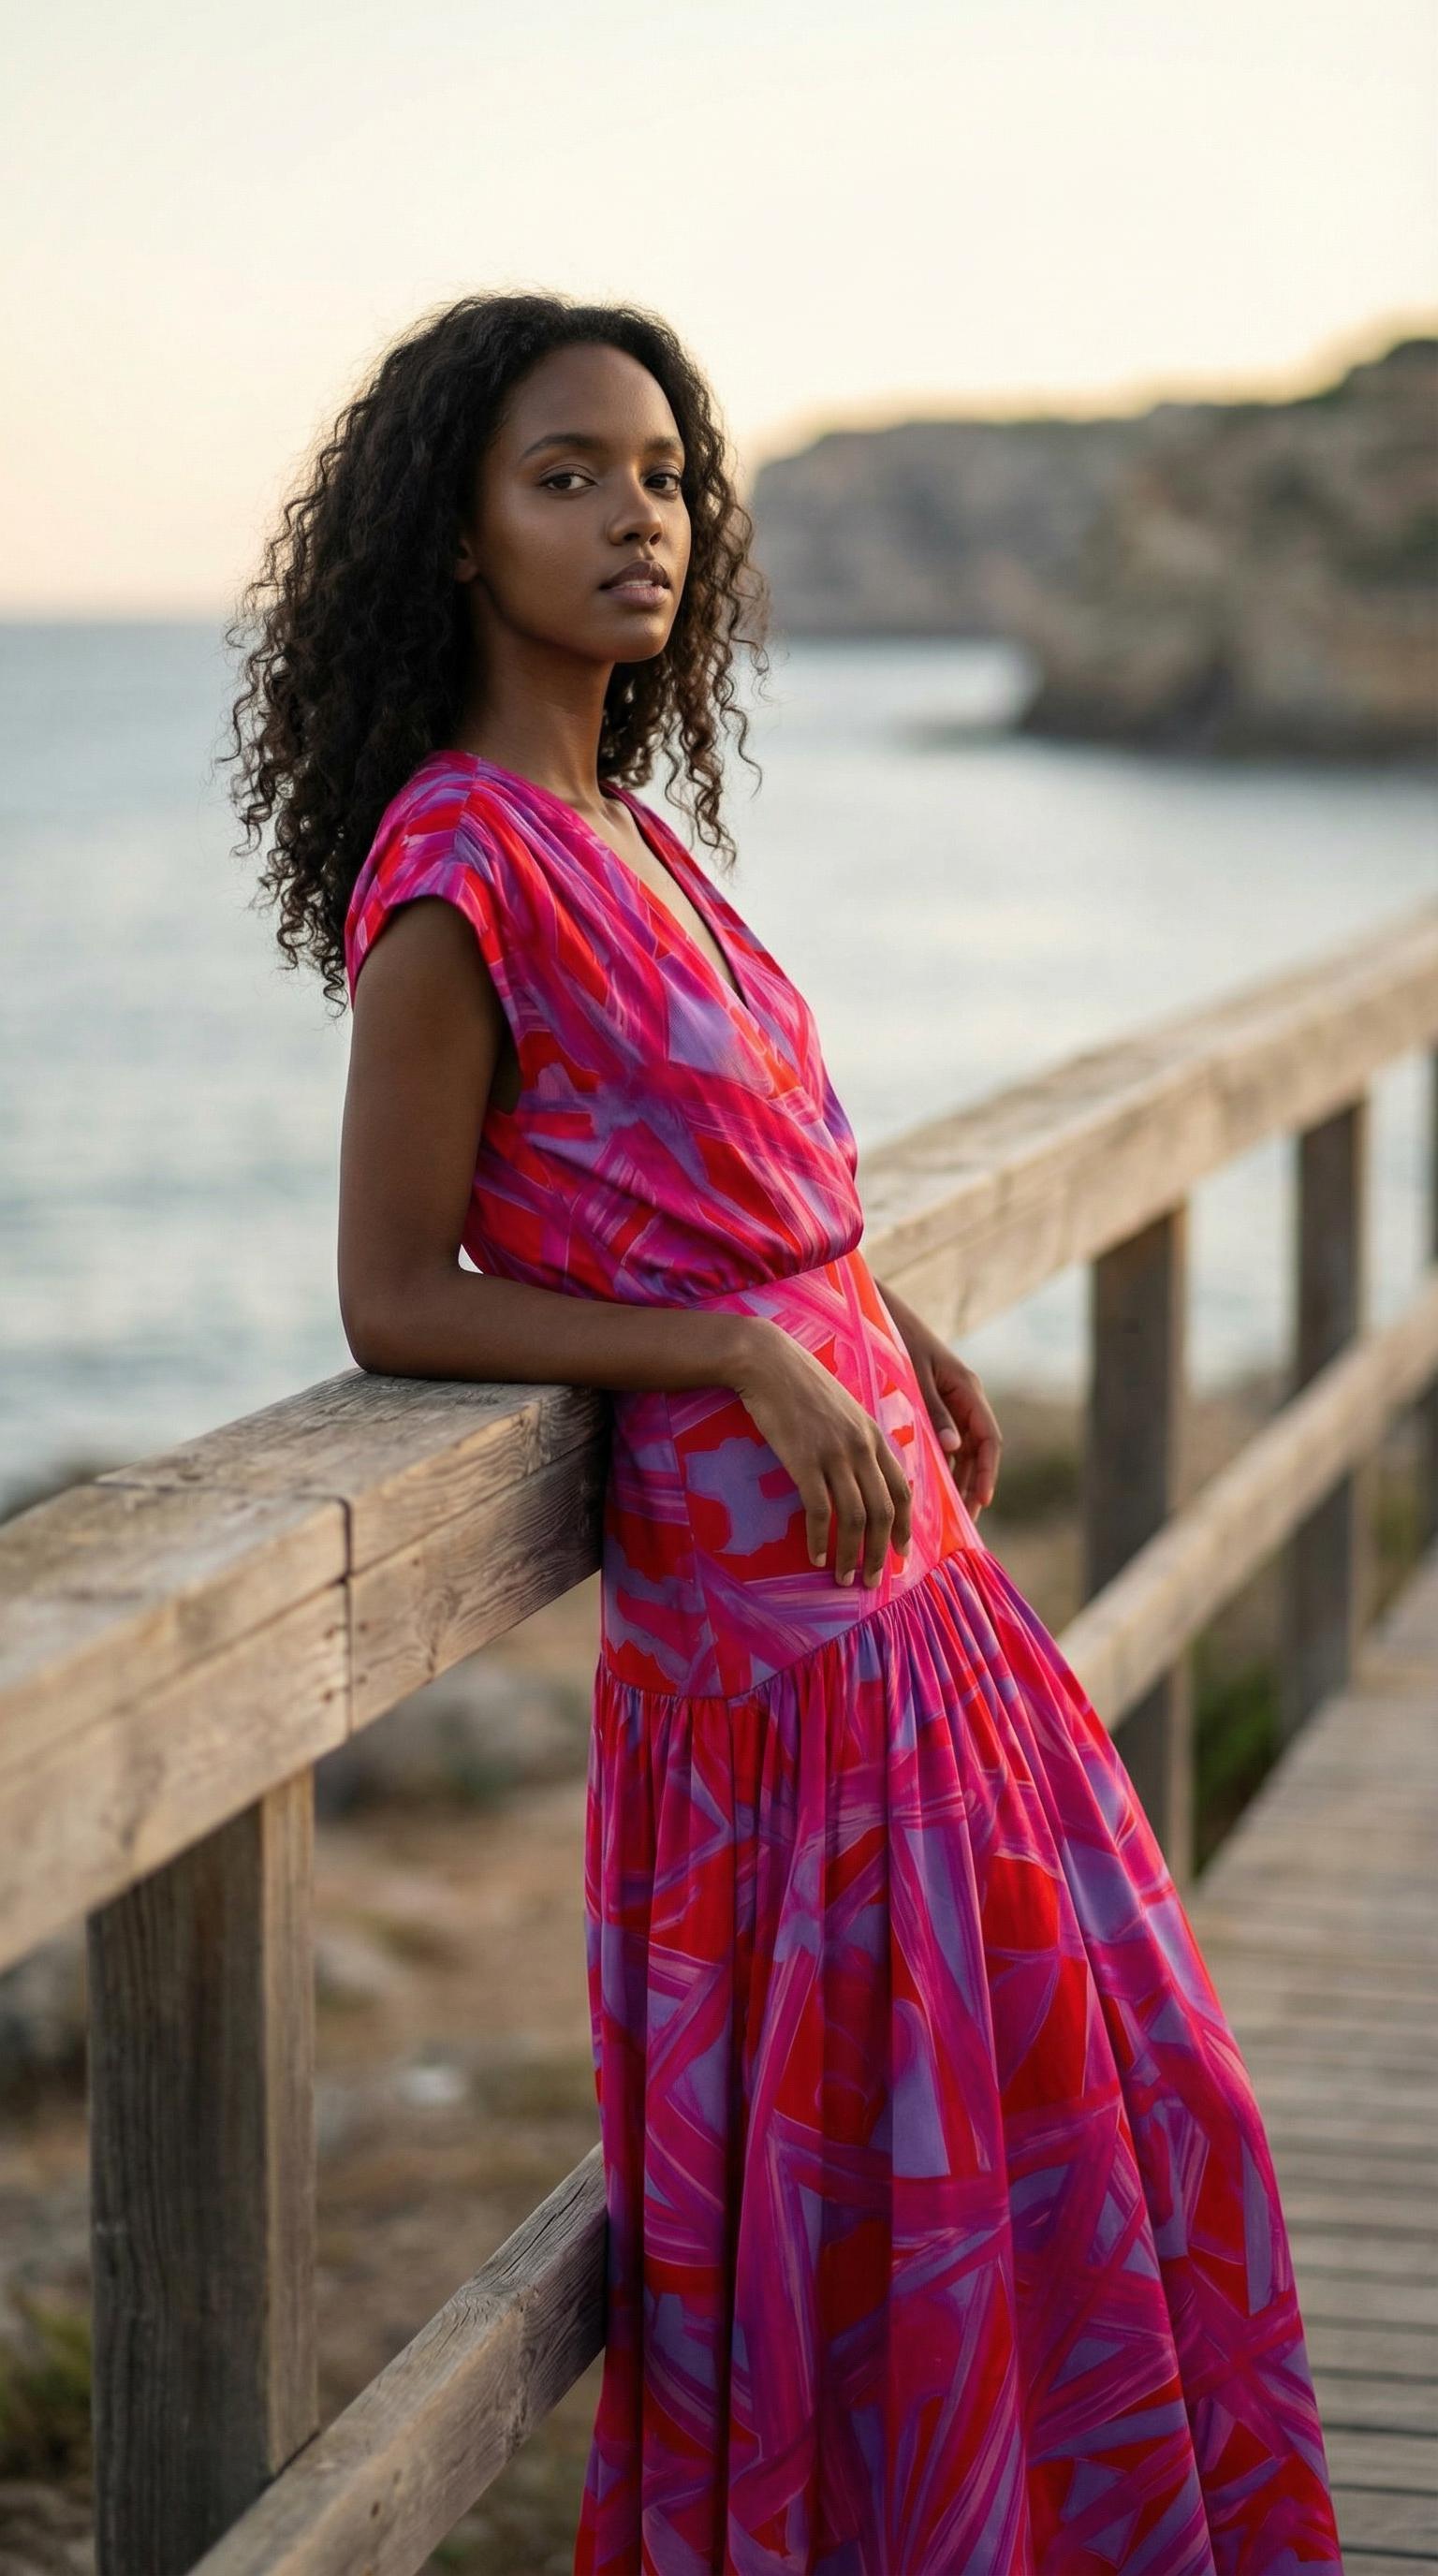
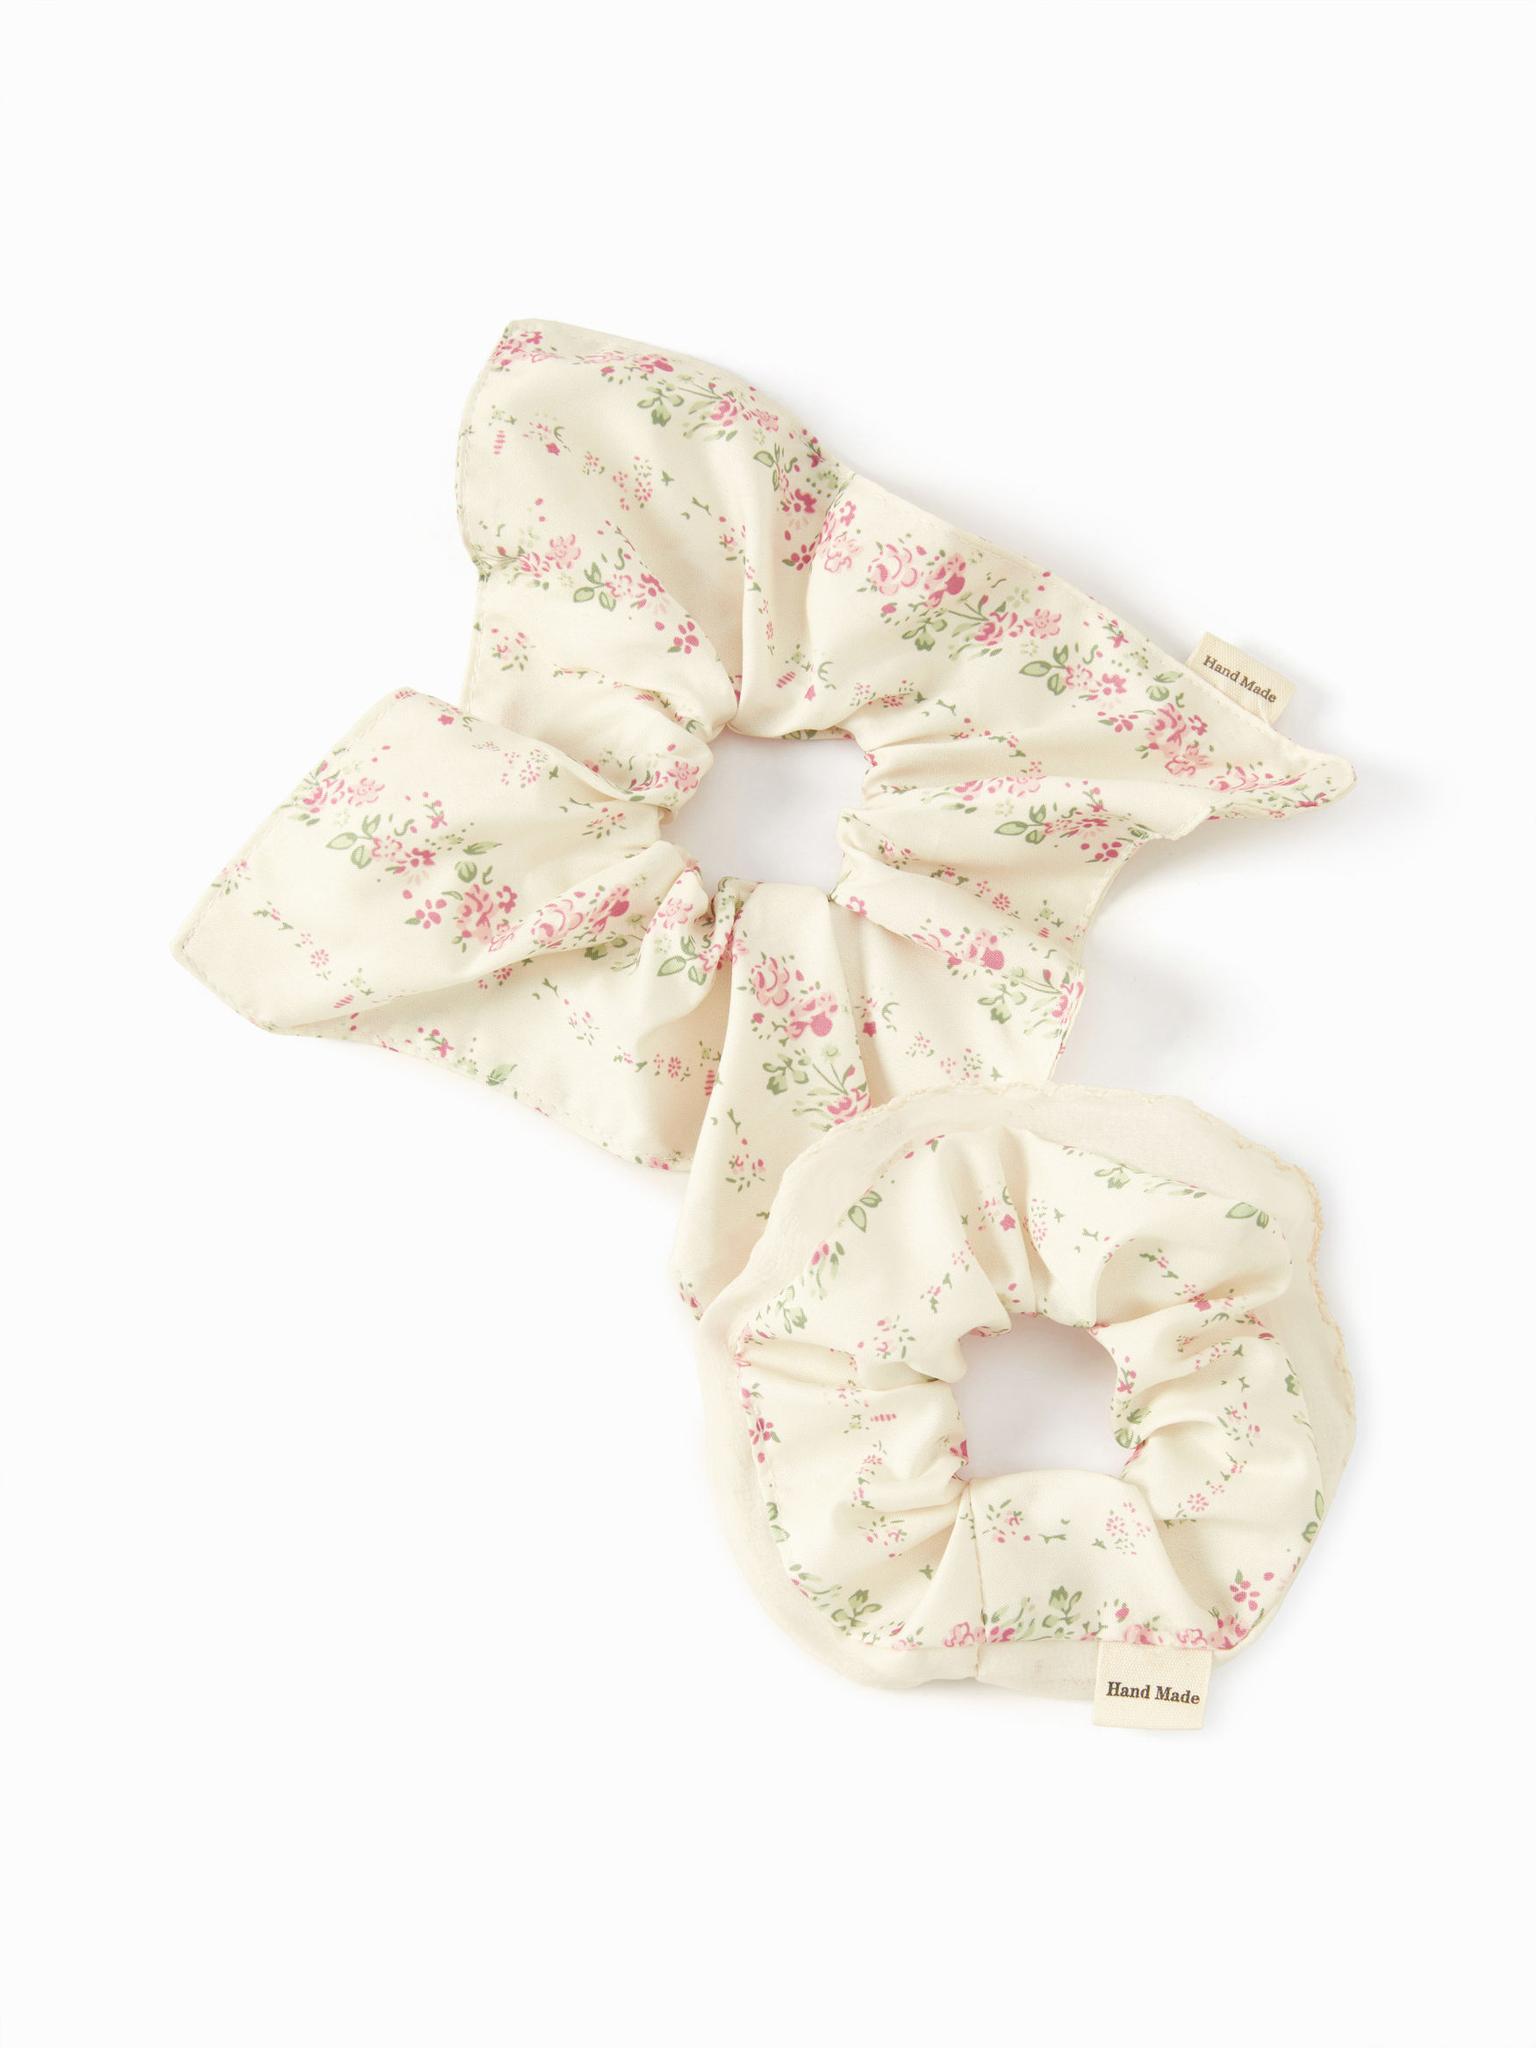
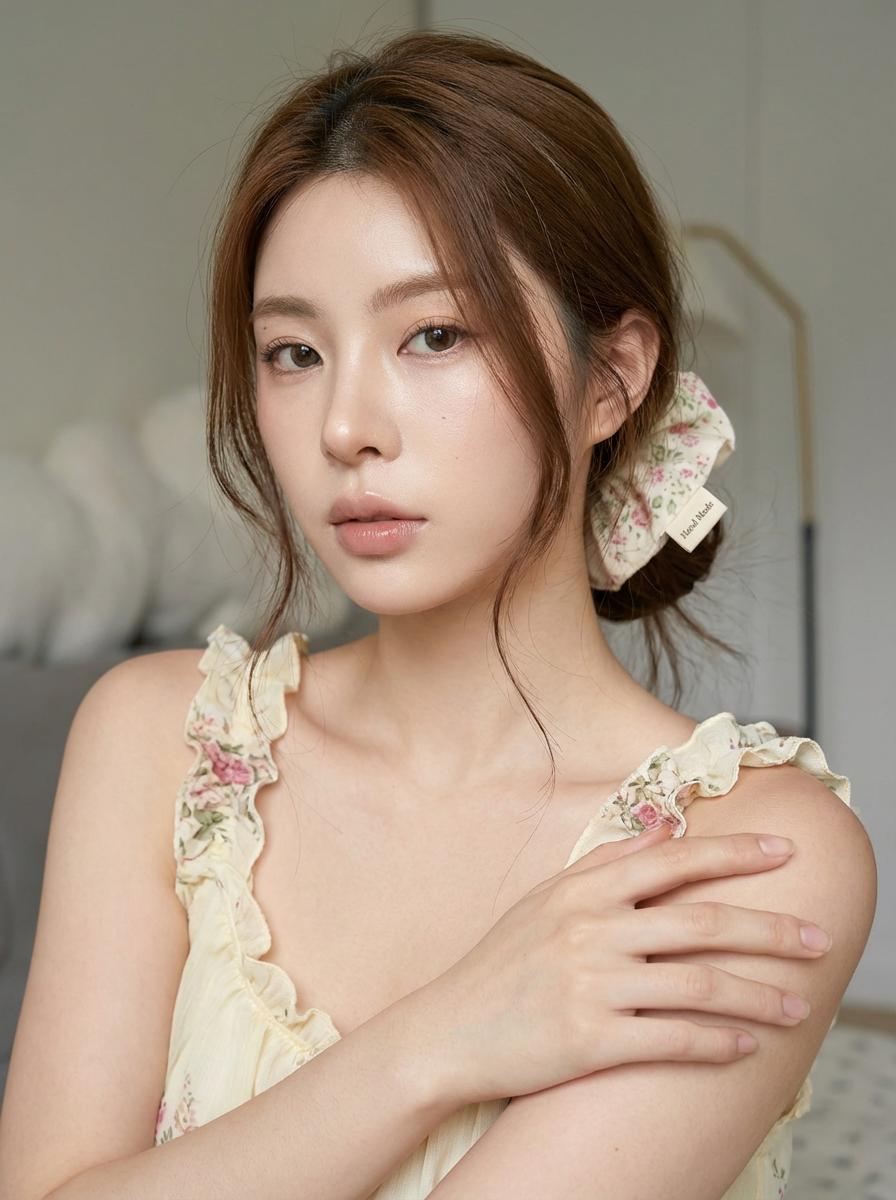
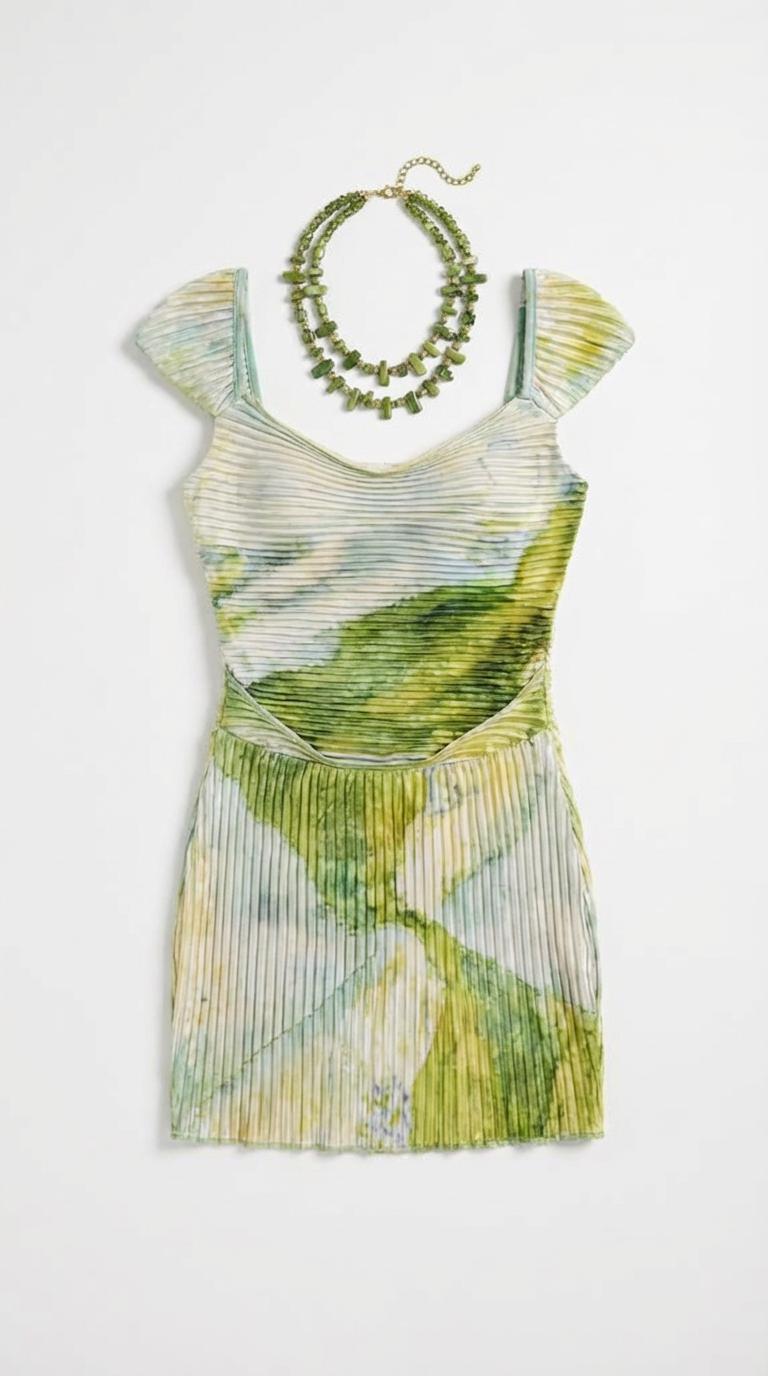
This generic Shopify case starts with one clear garment image and ends with coordinated on-model assets. The workflow focuses on product fidelity and publishable storefront visuals.
|
|
|
|
|
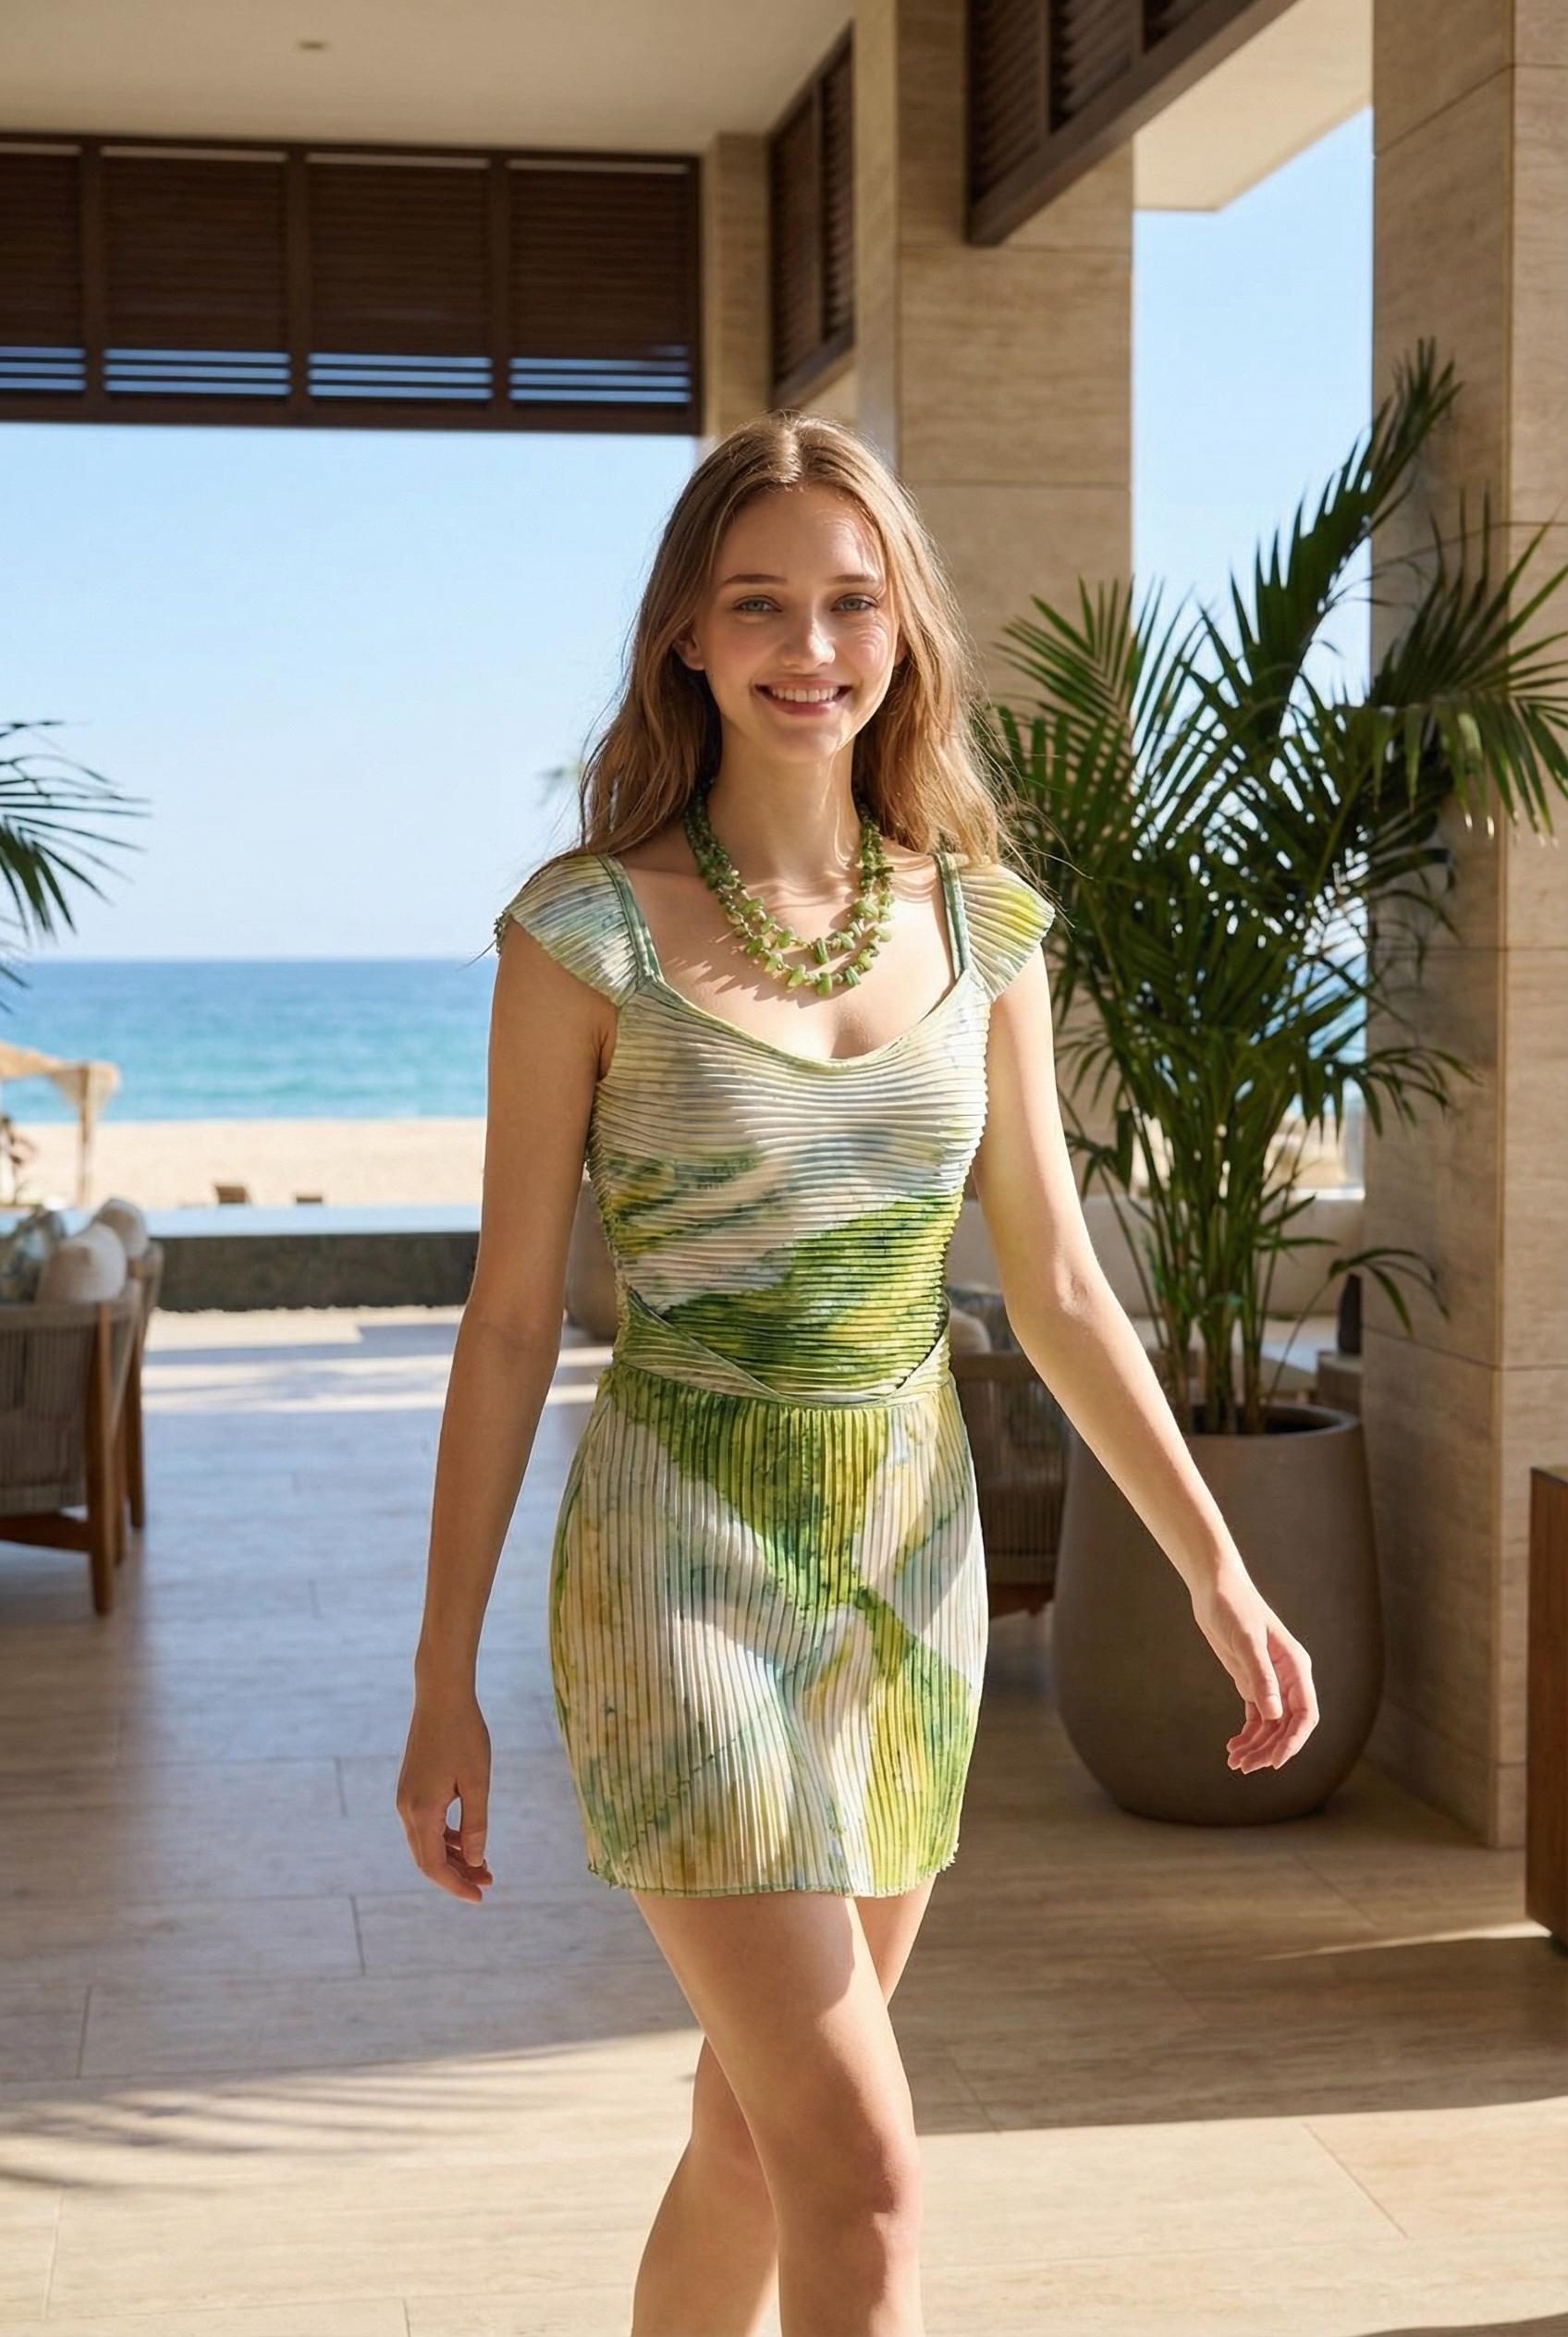
|
What AI Virtual Try-on Can Create for Shopify
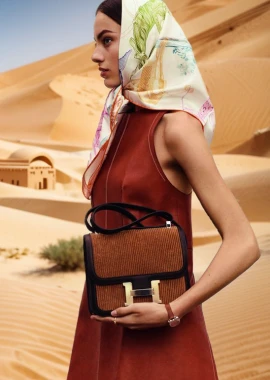
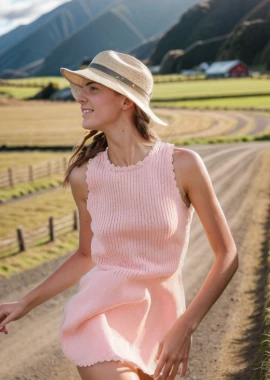
AI Virtual Try-on can support a primary PDP image, gallery views, collection thumbnails, campaign visuals, and social ad crops.
Keep the model, lighting, palette, crop, and background consistent across related products. As a result, customers can compare items without visual noise.
Where Virtual Try-On Fits in the Product Gallery
Keep accurate front, back, detail, and material photos where they help shoppers evaluate the item. Then add AI Virtual Try-on images to show styling and proportion.
Choose a calm hero pose and a repeatable collection crop. Ads can test more expressive settings, but the product must remain the focus.
How to Build Shopify Images with WeShop AI
WeShop AI Virtual Try-On applies a garment image to a selected AI model. Prepare the input, generate the image, review it, and export only approved variants.
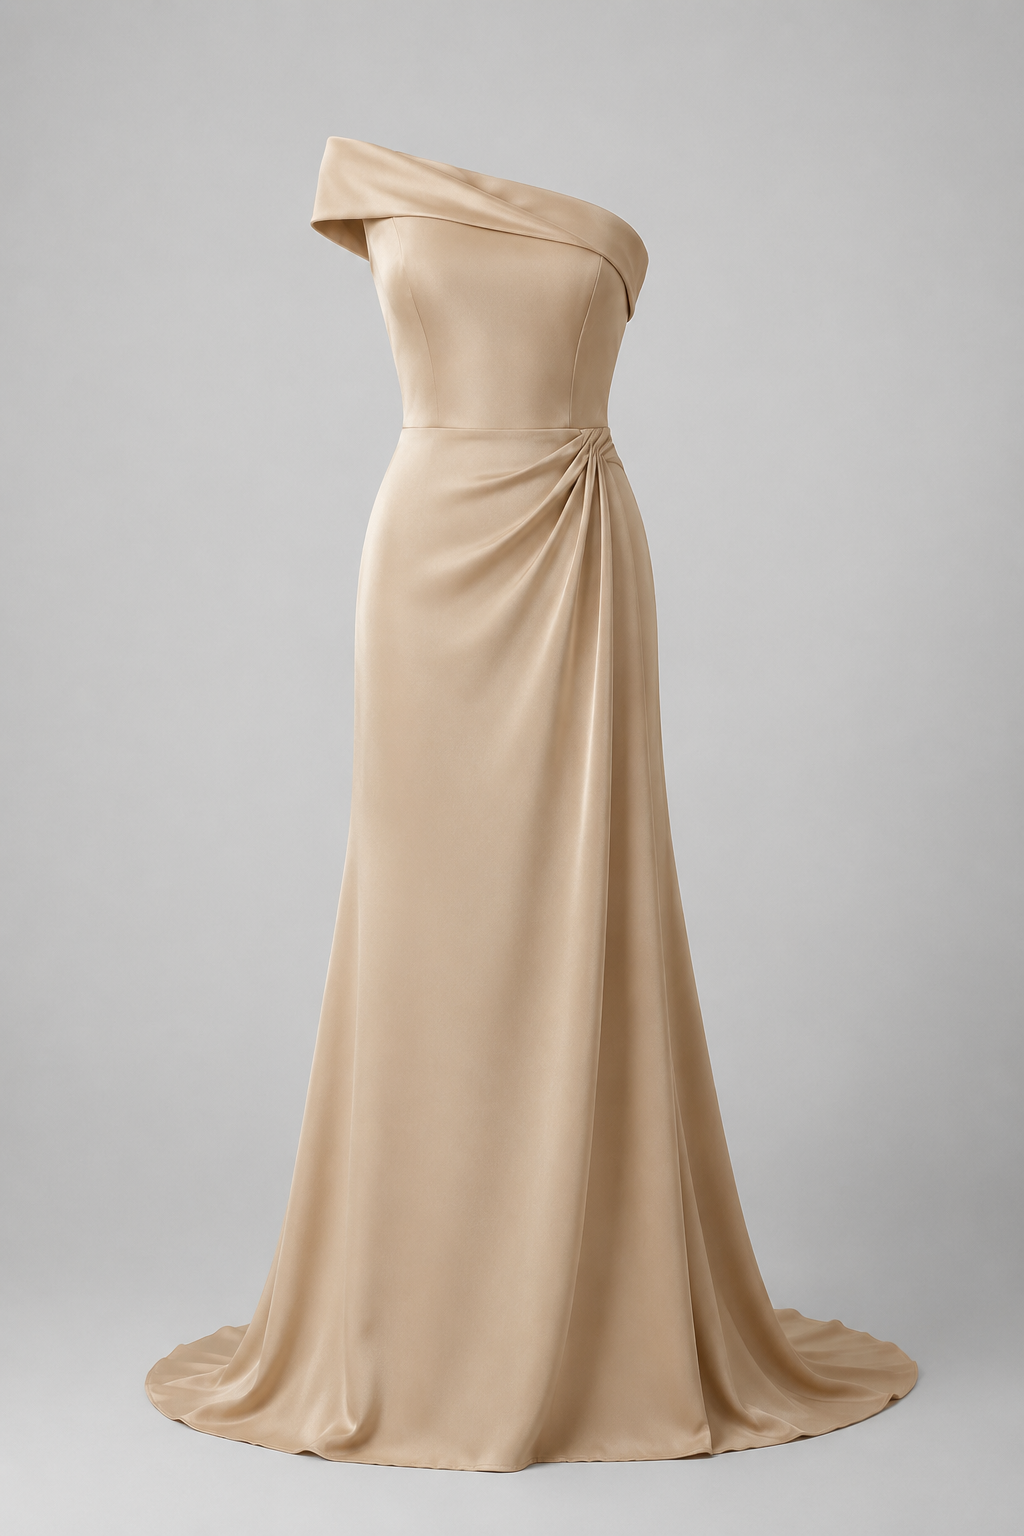
- Prepare the garment image. Use a clean, sufficiently large source with the full product visible. If the background interferes with the edges, isolate the garment first with Remove Background.
-
Upload it to Virtual Try-On. Choose the garment image as the product input. Avoid a compressed screenshot when a cleaner catalog image is available.
-
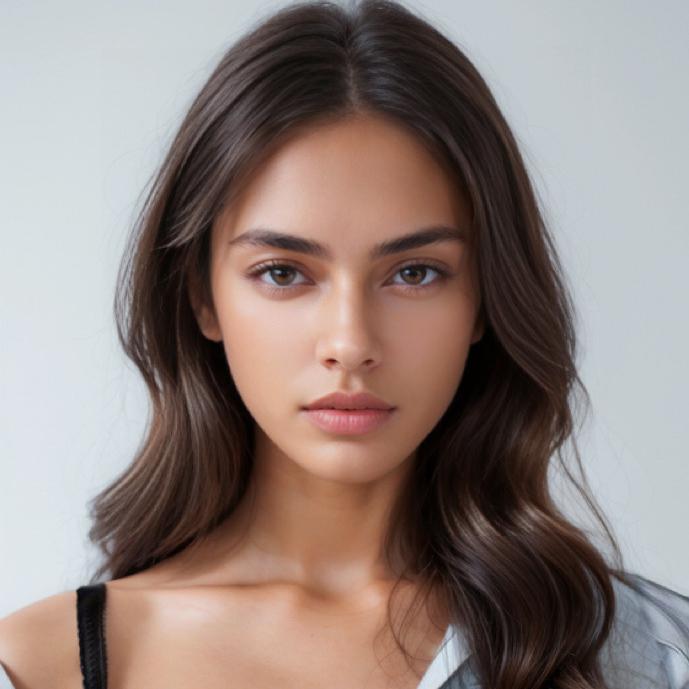
Choose an AI model. Select a body type, appearance, and pose that fit your customer and campaign. Keep the direction stable across a product series unless diversity is part of the plan.
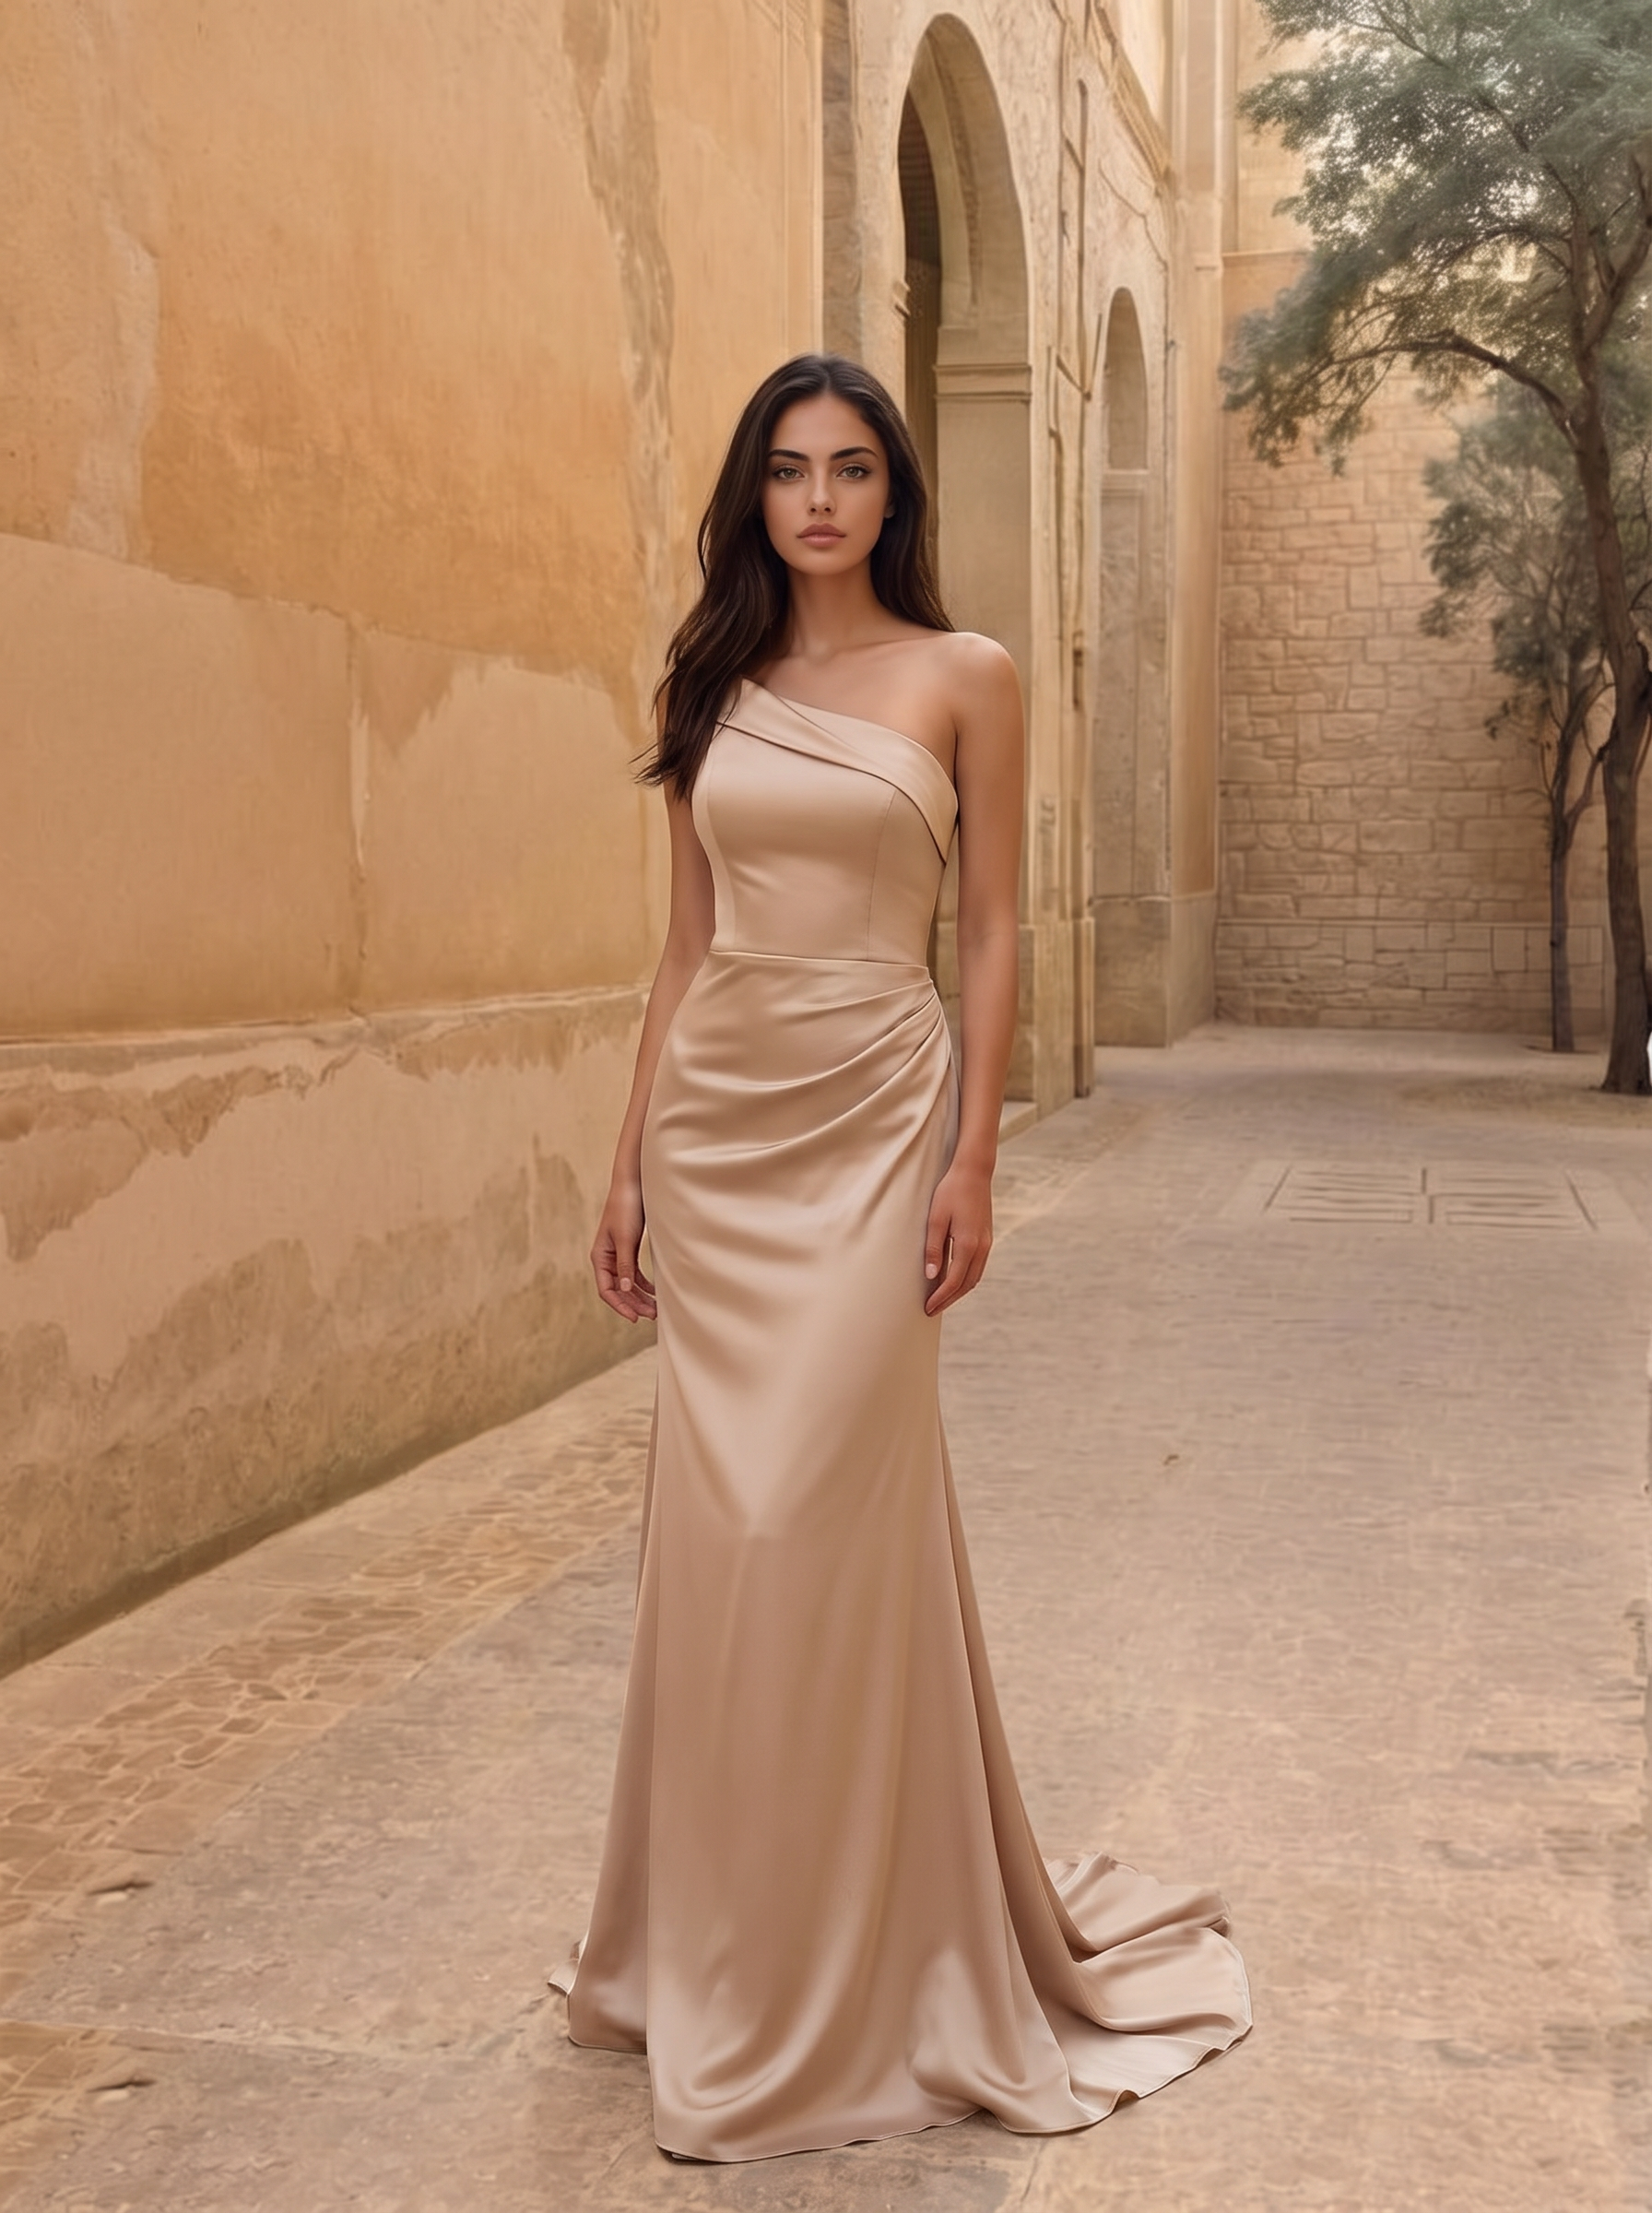
- Generate the result. Assess the first version before making alternatives. Check whether the silhouette, neckline, sleeves, hem, and closure match the source.
-
Refine only when needed. Use Magic Eraser for a distracting object or AI Photo Enhancer for overall clarity, but only after the garment passes review.
-
Prepare the Shopify placement. Choose a crop and ratio that fit your theme, keep the subject inside safe areas, and export a controlled set.
Review Every AI Virtual Try-on Result Before Publishing
Treat AI Virtual Try-on like any commercial production step. Compare source and result side by side. Confirm that color, print, logos, texture, proportions, and construction details remain faithful.
Check the face, hands, feet, hair overlap, shadows, and contact points. Look for warped fabric, broken anatomy, or floating details. Make sure the pose does not hide a key product feature.
Finally, test the image inside your Shopify theme. Check desktop and mobile crops, safe areas, and neighboring products.
Quality Rules for a Consistent Shopify Catalog
Make the first approved image a reference. Record the model direction, background, lighting, crop, and pose range. This makes future AI Virtual Try-on results easier to compare.
Product fidelity comes first. Do not approve an attractive image if it changes a distinctive print, length, material, or logo. First approve the garment. Then approve the model and scene. Only after that should you create controlled alternatives.
Use each AI Virtual Try-on variation for a clear test. Change one meaningful factor at a time, such as the model profile, background, or crop.
Name files by SKU, view, model direction, and channel. Keep the source beside the approved result, and record which image is live, testing, or rejected.
Practical Uses Across a Shopify Store
For a launch, AI Virtual Try-on can create a consistent on-model image for each garment. For older listings, it can add context to flat-lay photography. On collection pages, a stable crop helps shoppers scan items.
Marketing teams can adapt approved PDP visuals into square ads, vertical stories, or lookbook layouts. Merchandisers can compare styling ideas. Smaller stores can also use AI Virtual Try-on to cover image gaps before a reshoot is practical.
However, label AI-generated imagery when required by your policies, sales channels, or local rules. Most importantly, do not let a generated image create false expectations. It should support the real garment, not redesign it.
Start Your Next AI Virtual Try-on Workflow
Begin with a clean source, create one credible on-model result, review product fidelity, and adapt that approved image for the channels that need it. AI Virtual Try-on makes this process repeatable across Shopify PDPs, collections, lookbooks, and campaigns.
Use WeShop AI Virtual Try-On for your next garment image. Choose a model direction that fits your audience, generate the first version, and check every product detail before publishing. Once the base image is approved, build only the variants your Shopify store can use.