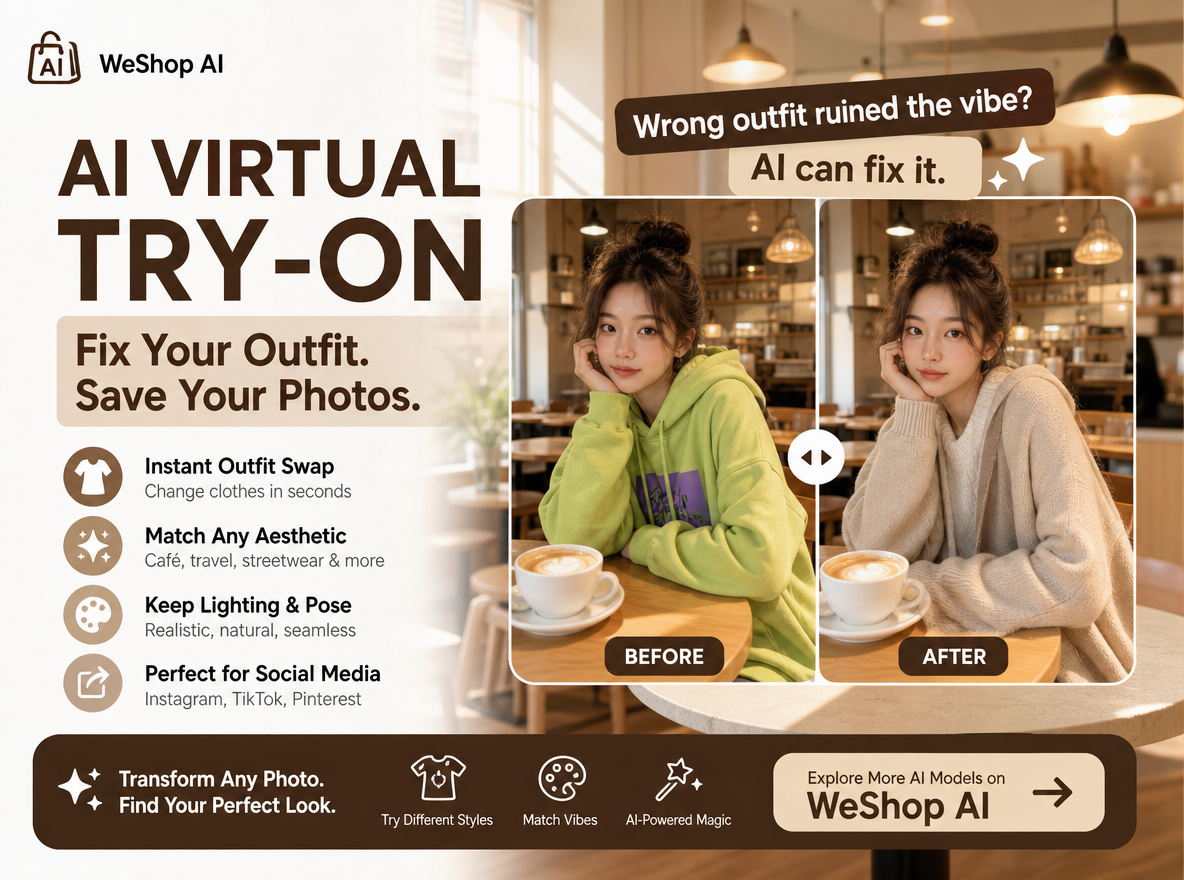
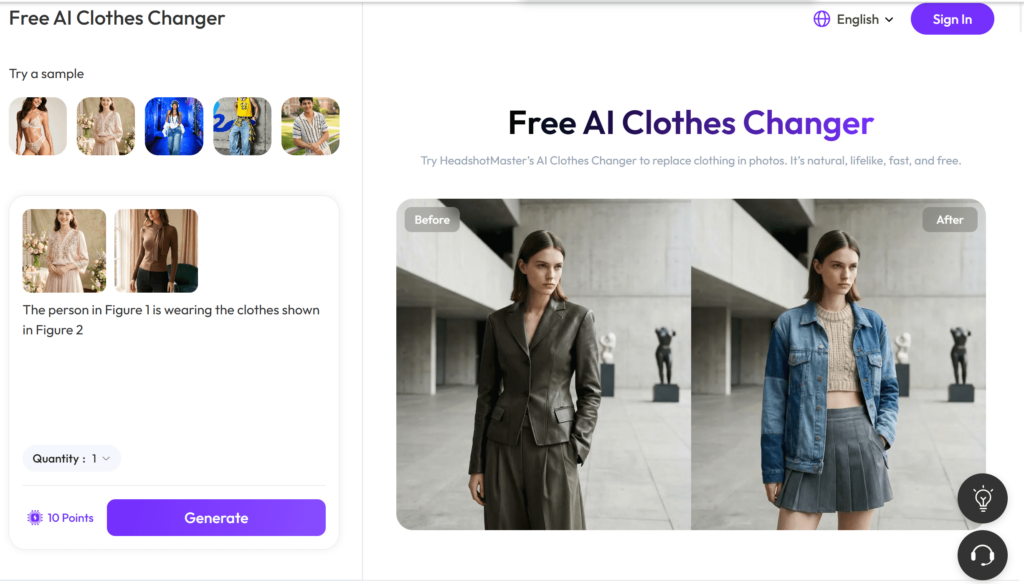
An AI Clothes Changer can replace an outfit in a photo without asking you to rebuild the whole image from scratch. However, the useful part is not the button itself. The real work starts with two decisions. What should the generation keep? What should it replace? The new garment also needs to look natural on the person.
For fashion teams, creators, and ecommerce sellers, that makes the input images especially important. A clean model photo can still fail if the garment reference is unclear. Likewise, a good garment image can still produce a weak swap. This often happens when the model’s pose hides part of the clothing area.
So this guide focuses on the generation itself: source-photo choice, garment reference quality, silhouette, fabric behavior, lighting, failure patterns, and final review.
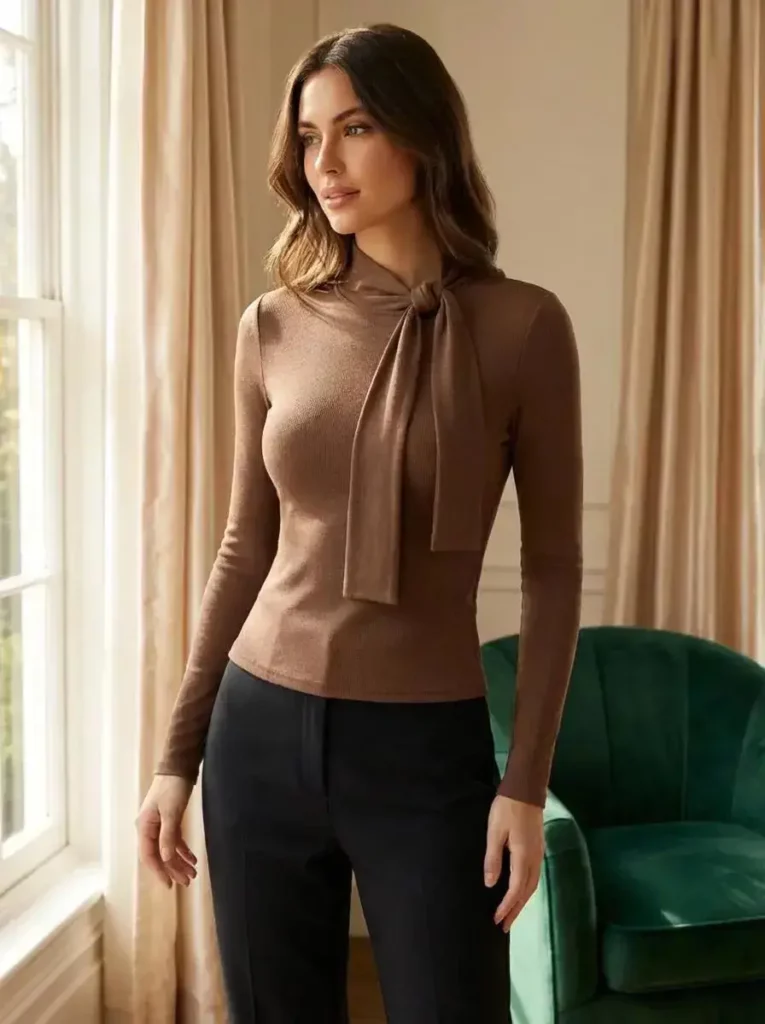
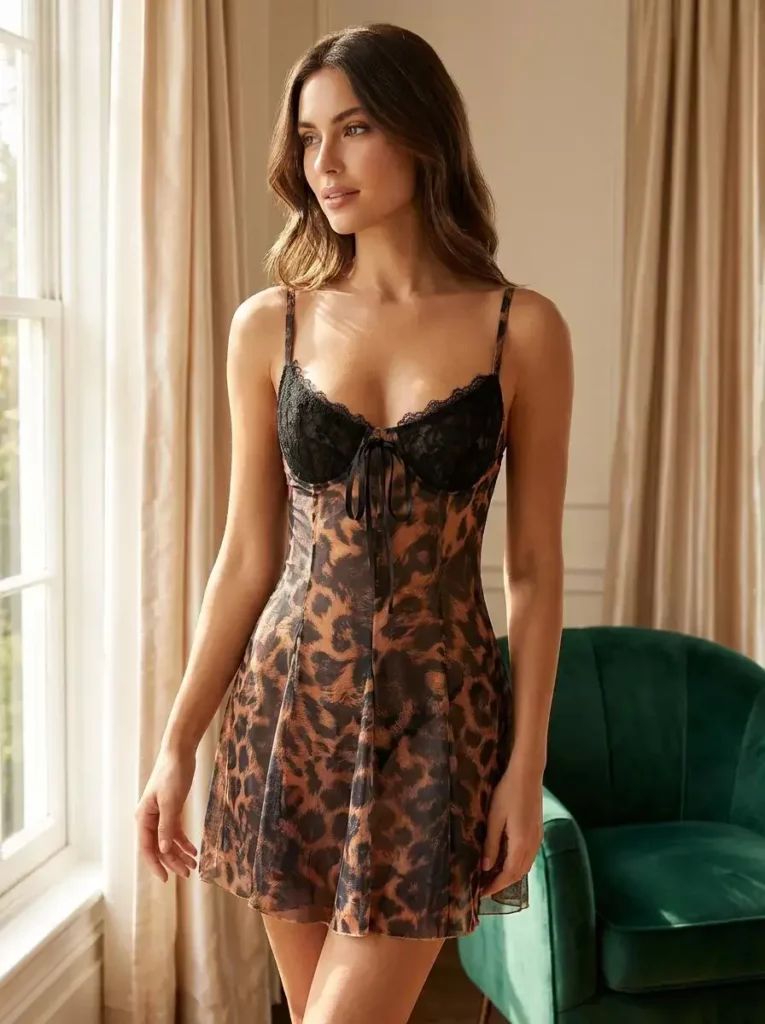
The AI Clothes Changer Is Solving Three Things at Once
A clothing swap looks simple because the final image shows one person wearing one outfit. During generation, however, several relationships have to stay consistent.
| Generation problem | What needs to stay believable | Common failure |
|---|---|---|
| Body and pose | shoulders, waist, arms, legs, posture | garment bends around the body incorrectly |
| Garment structure | neckline, sleeves, hem, print, material | design changes or details disappear |
| Scene and light | shadows, highlights, color temperature | clothing looks pasted onto the photo |
The goal is to replace the outfit without making the rest of the photo feel disconnected. So several details still matter. Body shape, garment alignment, folds, shadows, and fabric texture all affect the final generation.
The goal is not simply to make the new outfit visible.
It should look as if it belongs to the body, pose, and lighting already in the image.
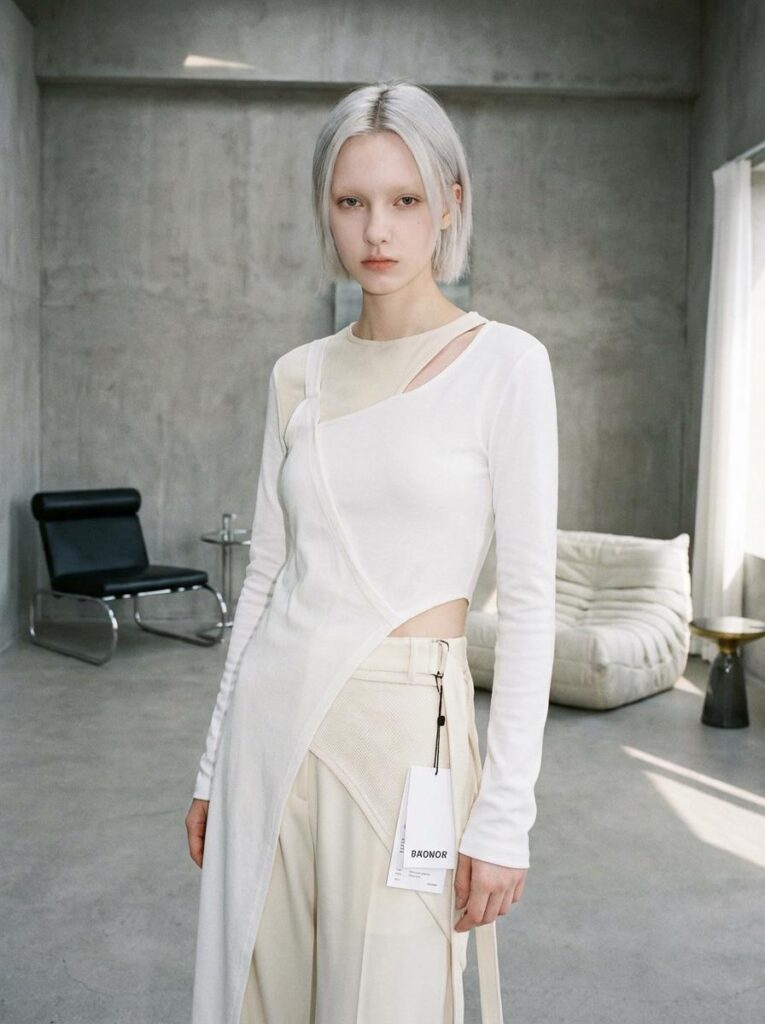
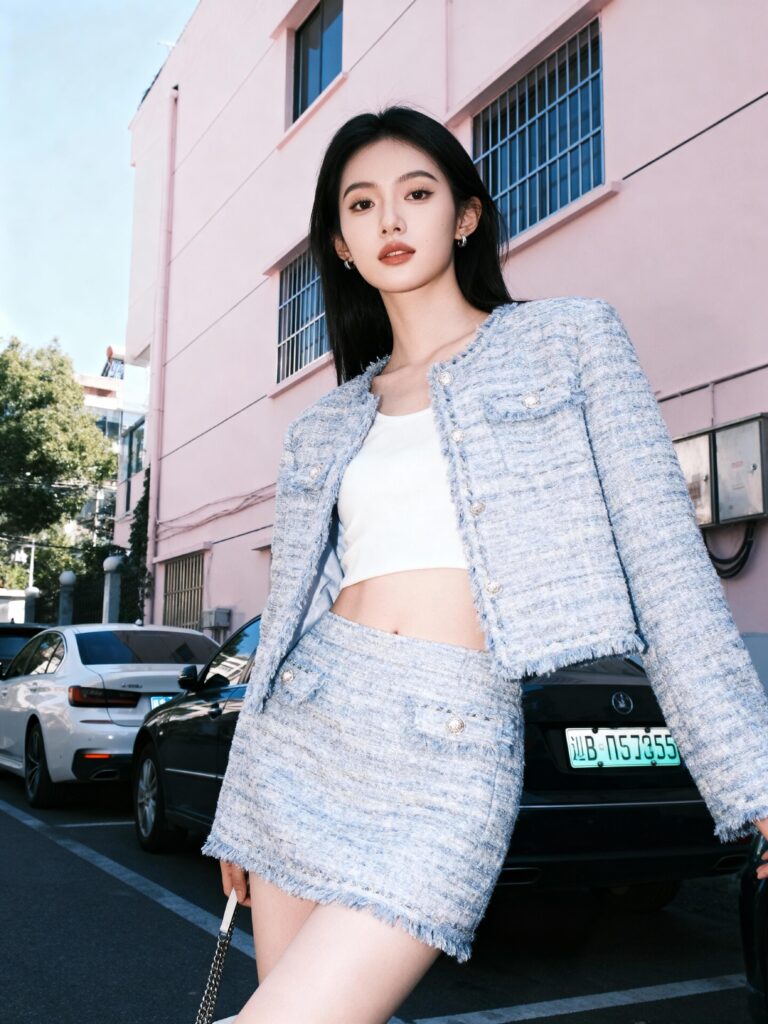
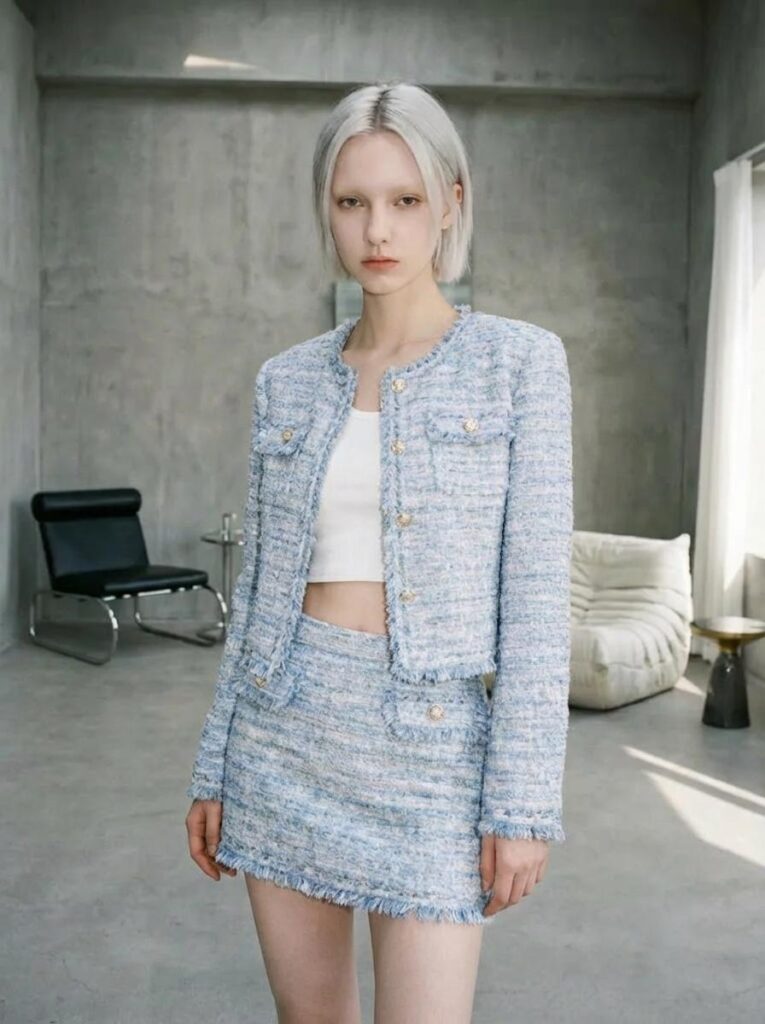
Start With Two Inputs That Agree With Each Other
The fastest way to improve an AI Clothes Changer result is often to change the source material before generating again.
AI Clothes Changer Input 1: Make the Body Easy to Read
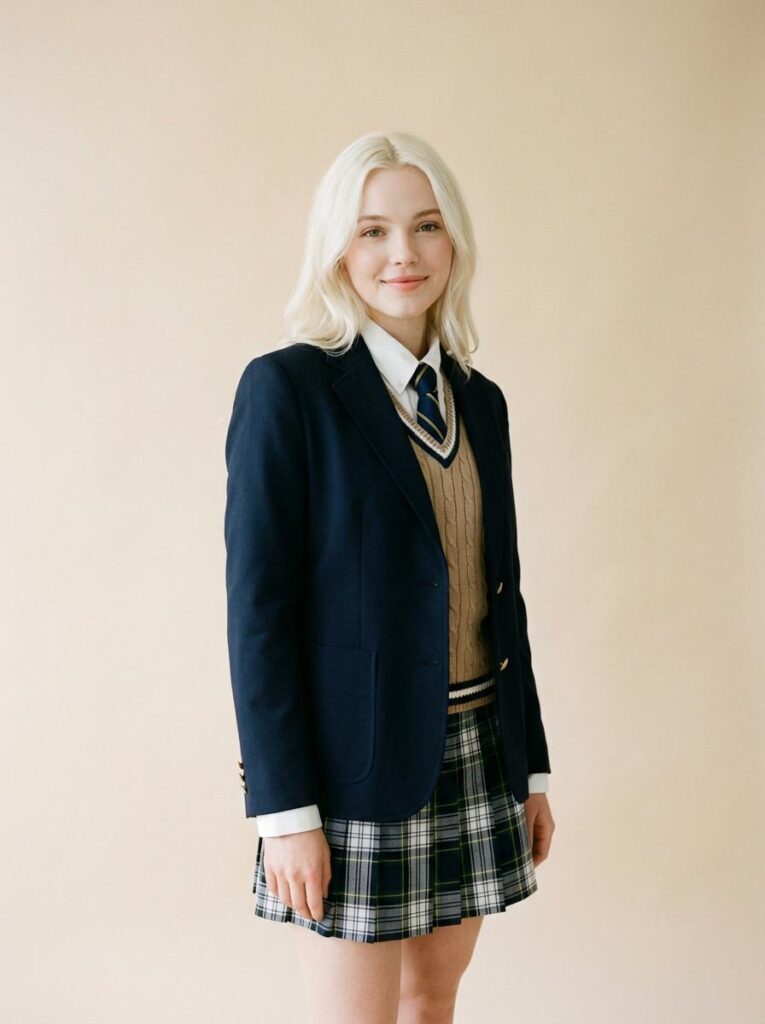
A useful model photo does not need studio lighting. Still, the torso and clothing area should be visible.
For a shirt, jacket, or dress swap, look for:
- a clear front or three-quarter body angle
- visible shoulders and waist
- arms that do not hide most of the garment area
- enough space around the body
- even enough light to see the body outline
Some source photos are harder than others. A bag may cover the waist. Crossed arms can hide the sleeves. Long hair may cover the collar.
In these cases, the generator has to guess what is hidden.
Garment Reference: Show the Design, Not Just the Category
The clothing image matters just as much.
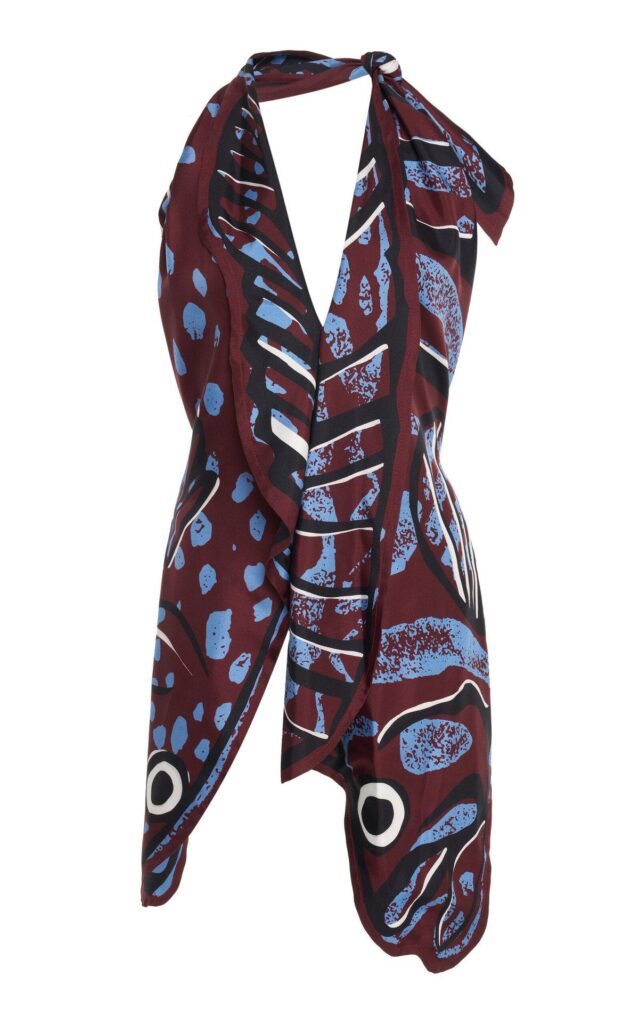
If you want a specific jacket, the reference should make the jacket easy to understand. Collar shape, sleeve length, closure, hem, print, and material cues should be visible where possible.
For example, a clean flat-lay usually gives the generator more useful detail. A clear product image works well too. A small garment inside a busy lifestyle photo is much harder to read.
However, do not expect the generation to reproduce every tiny stitch perfectly. Treat the output as a generated fashion visual. Then review product-critical details before publishing it commercially.
What the AI Clothes Changer Actually Has to Generate
Changing clothes is not the same as recoloring a shirt.
The AI Clothes Changer may need to rebuild several visible areas around the outfit so the new garment fits the pose naturally.
That can include folds around the waist, sleeve shape near the elbows, the edge where a jacket meets the neck, and shadows where fabric overlaps the body.
This is why a long coat creates a different generation problem from a fitted T-shirt.
A long coat changes more of the silhouette. It may cover the hips and upper legs.
Meanwhile, a T-shirt affects a smaller area. However, its sleeve openings and neckline become easier to notice when they are wrong.
Think about garments in four groups.
Structured pieces — blazers, denim jackets, tailored coats
Watch shoulder width, lapels, seams, and straight edges.
Soft pieces — knitwear, loose shirts, relaxed dresses
Watch drape, folds, sleeve volume, and fabric weight.
Patterned pieces — checks, stripes, logos, graphic tops
Watch whether the pattern bends naturally and remains recognizable.
Layered looks — shirt under jacket, cardigan over top, scarf with coat
Watch overlap order. A collar should not cut through a jacket. Likewise, an inner layer should not suddenly appear on top of the outer garment.
Therefore, “realistic” is not one setting.
It depends on whether the generated garment behaves like the type of garment you supplied.
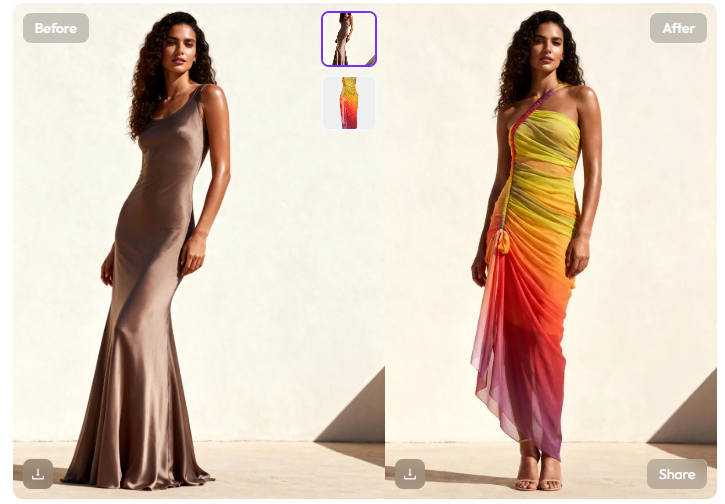
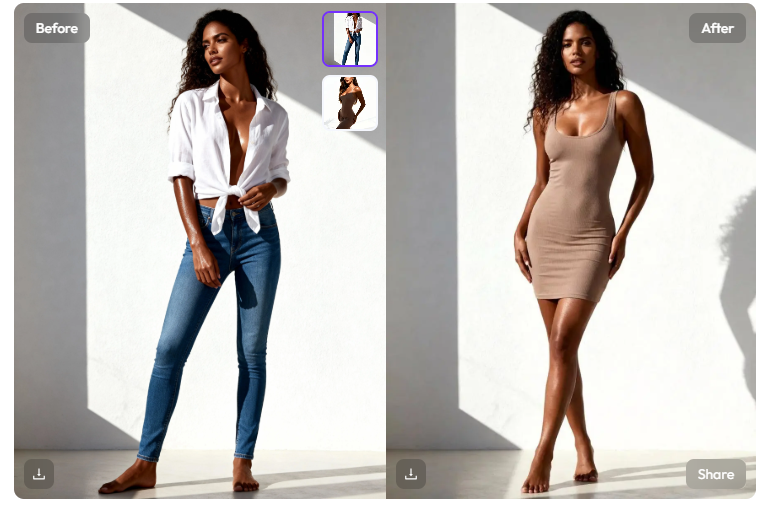
Run a Controlled AI Clothes Changer Outfit Test
If the first result is only “okay,” do not immediately change the model, garment, pose, and scene together.
Instead, run a small controlled test.
Generation A — Keep the Simplest Combination
Use one clear model photo and one clear garment reference.
The first generation does not need to become the final campaign image. Instead, use it to answer three questions:
- Is the garment positioned correctly on the body?
- Does the overall silhouette still make sense?
- How closely does the generated clothing match the reference?
If the answer is no, stop here and fix the inputs.
Generation B — Change the Garment, Keep the Model
Next, keep the same model image and try a garment with a noticeably different structure.
For example, move from a simple shirt to a blazer.
Now compare the shoulder line, sleeves, waist, and hem.
Now you can see how the AI Clothes Changer handles a bigger outfit change. The model and pose stay the same, so the comparison is much clearer.
Generation C — Keep the Garment, Change the Model Photo
Then do the opposite.
Use the same garment reference on another photo with a different body angle or arm position.
This reveals whether a problem comes from the garment itself or from the model pose.
That is much more useful than making three unrelated generations and choosing the prettiest one.
AI Clothes Changer Garment Fidelity: Check What Matters
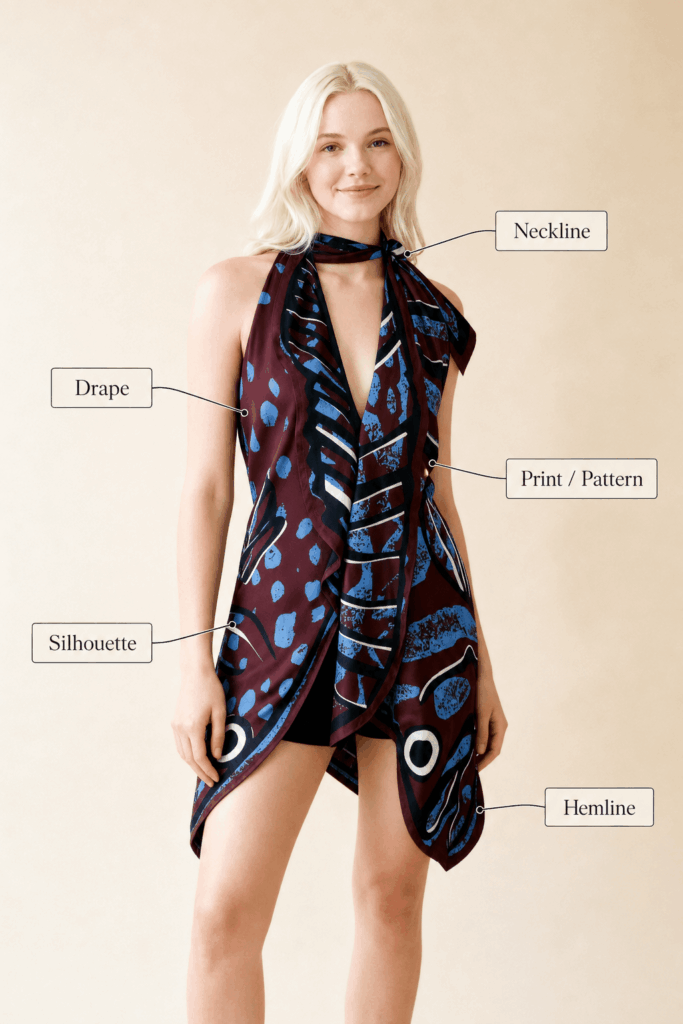
A polished AI Clothes Changer result can still miss important clothing details. Before keeping it, zoom in and compare it with the garment reference.
Check:
- neckline and collar shape
- sleeve length and cuffs
- prints, logos, and patterns
- waist, hem, and overall silhouette
- fabric texture and drape
- areas covered by hands, hair, or accessories
For casual content, small differences may be acceptable. However, product and campaign images need a stricter review.
If an important garment detail changes, fix the input or try another generation before using the image..
When an AI Clothes Changer Result Looks Wrong
Repeatedly pressing Generate is not a correction strategy.
Instead, identify what failed.
| What you see | Likely cause | Better next move |
|---|---|---|
| sleeve melts into the arm | arm position hides the sleeve area | use a clearer pose or less obstructed source photo |
| jacket shape looks weak | garment reference does not show structure clearly | use a cleaner product or flat-lay image |
| print changes | pattern is small or difficult to preserve | use a larger, sharper garment reference and review closely |
| hem becomes too long or short | body framing or garment boundary is unclear | choose a source with more of the torso and lower garment area visible |
| outfit looks pasted on | lighting feels inconsistent | start from a photo with clearer, more even lighting |
| hands overlap clothing badly | pose creates difficult occlusion | try a pose with hands away from key garment details |
| body shape changes too much | source body outline is hard to read | use a cleaner model image with visible proportions |
After two or three similar failures, change one input.
For example, if every blazer generation loses the lapel, use a better blazer reference.
If sleeves keep breaking around crossed arms, choose a model photo with a simpler arm position.
The important point is to change the cause, not add more random variation.
The Same Model Can Become a Useful Mini Collection
Once one generation passes review, then it makes sense to create variations.
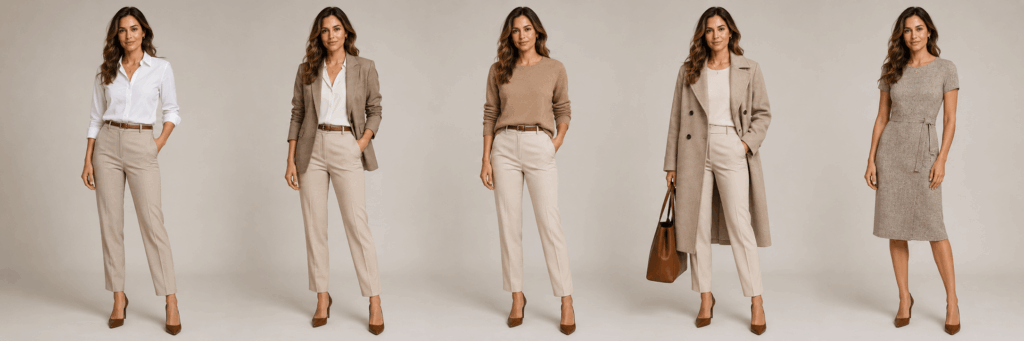
Keep the model photo stable. Then change one clothing category at a time.
For example:
- casual shirt
- tailored blazer
- knit sweater
- long coat
- simple day dress
Now the comparison has value because the person, framing, and scene stay familiar.
For a seller, this can become a quick visual reference for a collection.
For a creator, it can become a consistent outfit series.
Meanwhile, a design team can compare different outfit shapes. Then, the team can decide which ideas are worth developing further.
However, consistency still needs review.
Check whether the face, hands, body proportions, background, and lighting stay stable enough from image to image.
Also check whether each garment remains faithful to its own design.
The AI Clothes Changer is more useful when each new generation answers a specific styling question.
When to Use AI Clothes Changer, Virtual Try-On, or Outfit Generator
These tools can sound similar, but the job is different.
Choose AI Clothes Changer when you already have a person or model photo and want to replace the outfit while keeping the overall image context.
Virtual Try-On works better when the main task is placing a specific garment or product image onto a model for fashion presentation.
For broader styling exploration, Outfit Generator is a better starting point, especially when you begin with a model photo, garment, or general style direction.
Choosing the right starting point keeps the generation simpler. Adding more tools does not automatically improve the result. Since this article focuses on outfit replacement, AI Clothes Changer should remain the main workflow unless the task itself changes.
Build the Final Image for Its Actual Destination
Do not judge every generation by the same standard.
A social post can tolerate more styling variation.
A product page needs stricter garment fidelity.
A campaign concept can push silhouette and mood further. However, the product should still remain recognizable if the image represents a real item.
Use this simple rule:
| Destination | Prioritize | Review most closely |
|---|---|---|
| Product page | garment accuracy | color, shape, print, hem, details |
| Lookbook | consistency | model, styling, framing, garment silhouette |
| Social content | visual variety | face, hands, outfit believability |
| Campaign concept | direction and mood | product identity, proportions, brand fit |
| Internal design review | comparison | silhouette, layering, styling options |
This makes generation more deliberate.
Instead of asking whether an image “looks good,” ask whether it is good enough for the place where it will be used.
Stop Generating When the Outfit Passes the Check
Before keeping the final AI Clothes Changer image, check it at normal size and then zoom in once.
Ask:
- Does the outfit still match the garment reference?
- Are shoulders, sleeves, waist, and hem believable?
- Do hands and hair overlap the clothing correctly?
- Is the fabric character plausible?
- Are important prints, logos, and colors still accurate enough for the intended use?
- Does the new outfit belong to the lighting and pose of the original photo?
If the answer is yes, stop🛑.
The best generation is not always the most dramatic one.
Usually, the best result is the one that does not call attention to the edit. You see the outfit first.
That is where an AI Clothes Changer becomes useful. You can test outfits, compare results, and build new fashion visuals from a photo you already have.
Go to WeShop AI For Exploration: