

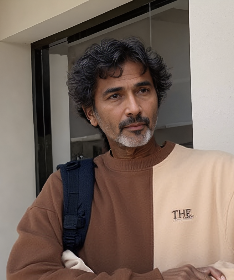
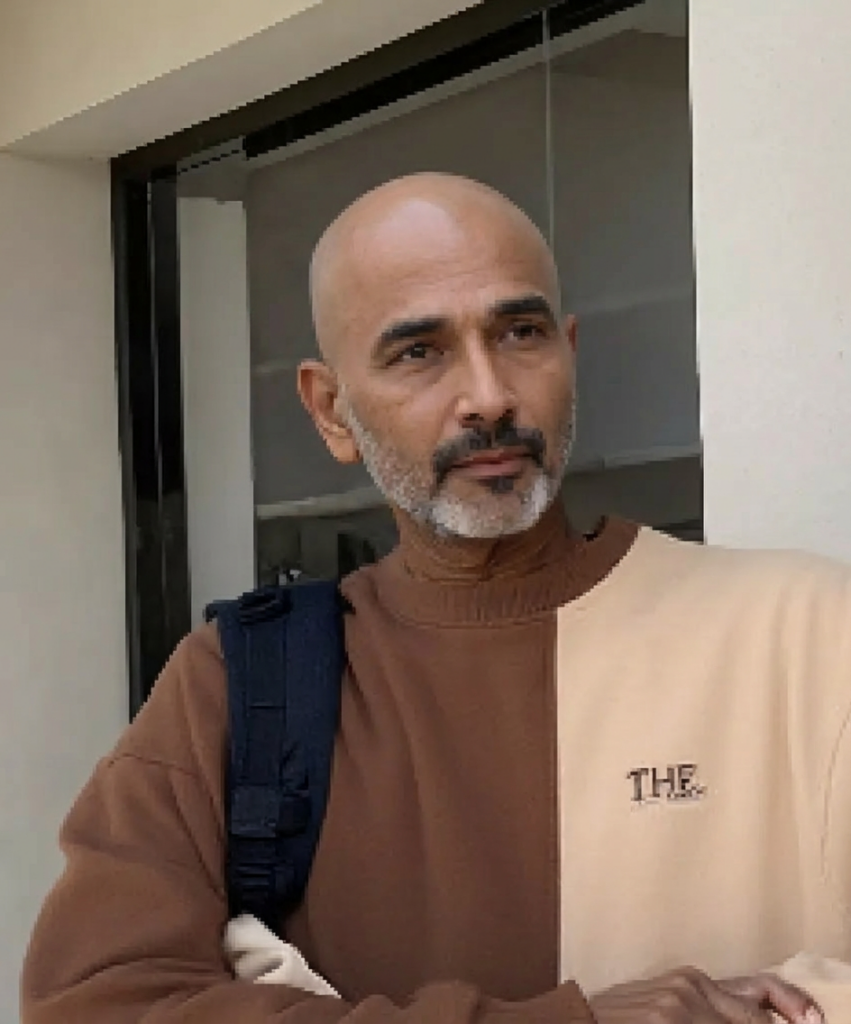
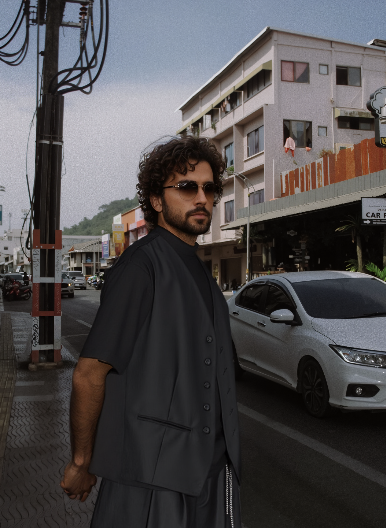
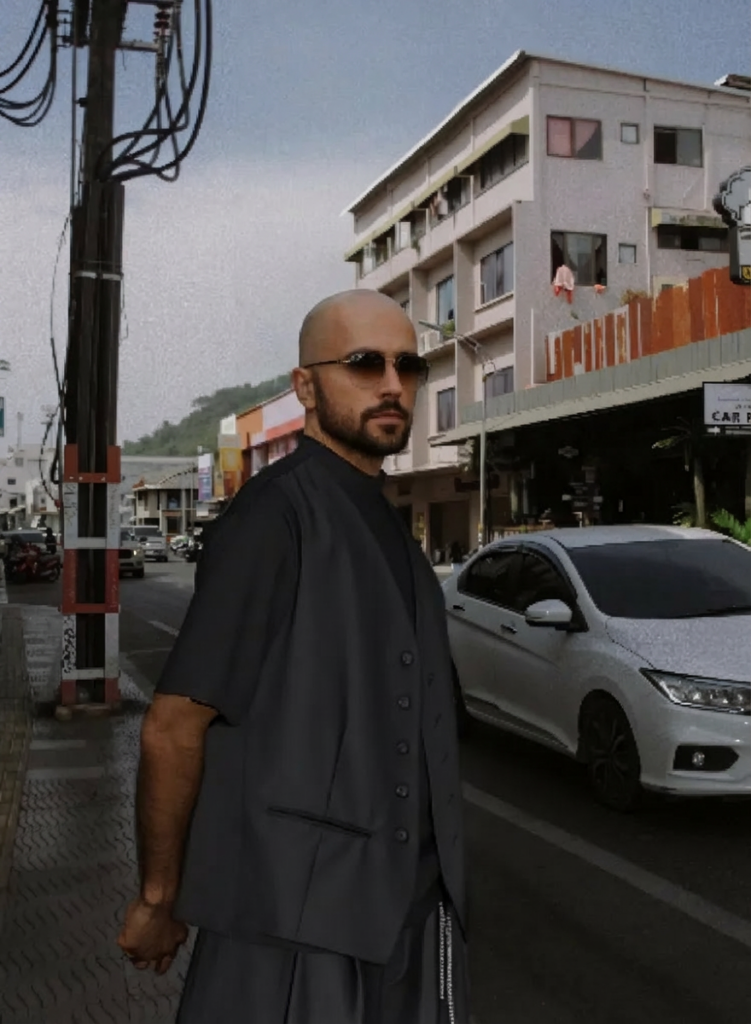
An AI Bald Filter can show one possible version of a shaved or bald appearance from a portrait. However, a convincing result is not just a photo with the hair removed. The generation also has to rebuild the scalp area, connect it to the forehead, preserve the ears, and keep the original lighting believable.
That is why some results look natural at first glance while others feel slightly wrong. The difference often appears around the hairline, temples, head contour, skin tone, or background edges.
This guide focuses on those details. It also shows how to choose a better source photo, review the generated scalp, test one change at a time, and know when a new input will help more than another generation.
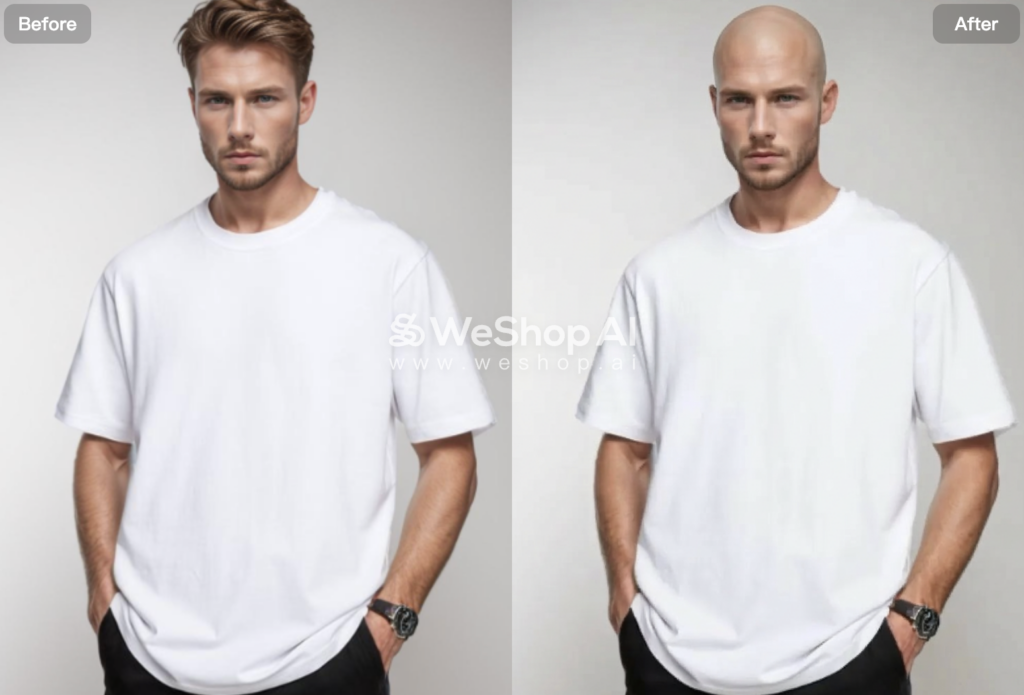
A Bald Preview Is a Reconstruction, Not a Hair Eraser
Hair changes the visible shape of the head. Once it disappears, the generation needs to fill in information that the original photo did not show clearly.
The most important areas are easy to miss:
| Generation area | What to check |
|---|---|
| Hairline | no dark fringe or leftover hair around the forehead |
| Temples | clean transition without blurred side hair |
| Scalp shape | rounded head contour that fits the face and pose |
| Ears | edges remain complete after nearby hair is removed |
| Skin tone | scalp does not become much lighter or darker than the forehead |
| Lighting | highlights and shadows continue naturally across the head |
| Background edge | the area behind removed hair stays clean and stable |
A result can keep the face perfectly recognizable and still fail around the scalp. So, do not judge only by the eyes, nose, and mouth.
Instead, look at the full head shape.

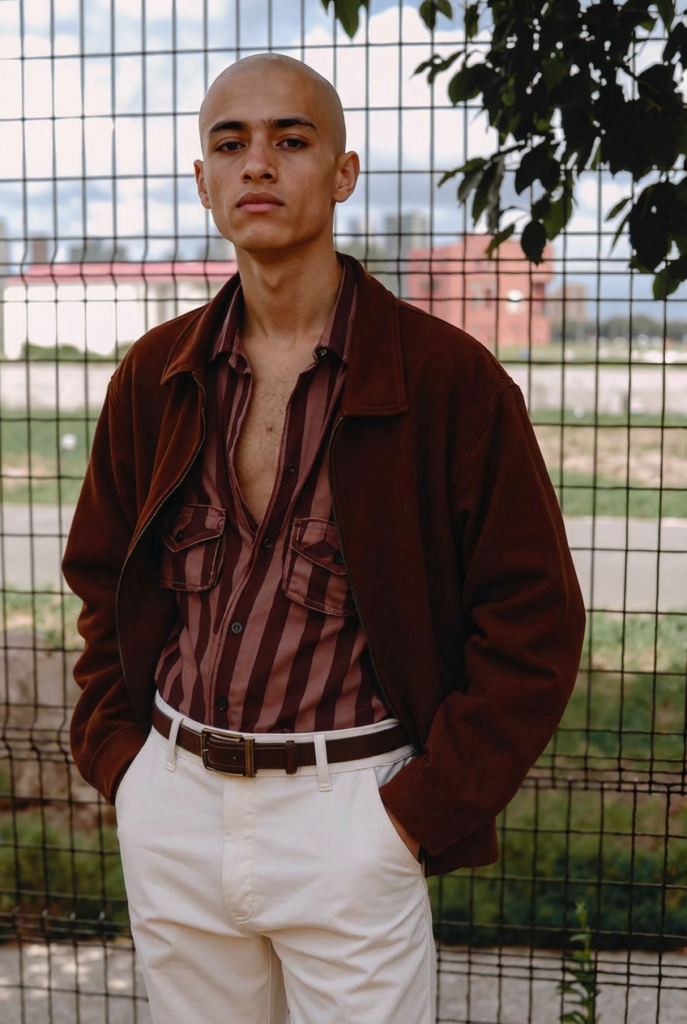
Choose a Better Source Photo for AI Bald Filter
The source image decides how much the generation has to guess.
A front-facing or slight three-quarter portrait is usually easier to review because the forehead, ears, and head shape are more visible. Good lighting also helps you judge whether the scalp matches the original face.
More difficult images often hide the exact areas that need to be rebuilt.
For example:
- a tight crop can cut off the top of the head
- thick bangs can hide the original hairline
- long hair can cover the ears and temples
- a hat can hide most of the scalp shape
- strong backlight can make the hair and background blend together
- an extreme side view can hide one side of the head
None of these conditions guarantees a bad image. However, they make the result harder to judge and give the generation less visible structure to work with.
What Makes an AI Bald Filter Input Easier to Read
Before generating, check four things.
Whole head visible
Leave some space above the hair. Do not crop directly through the top of the head.
Hairline readable
A visible forehead makes the transition easier to inspect later.
Ear edges visible
If both ears are hidden by hair, the generated edges may need more rebuilding.
Simple light
Soft daylight or even indoor light makes scalp color and shadow easier to compare with the face.
Read the Hairline Before You Generate
The hairline is useful even though it will disappear.
It shows where the forehead ends and where the original hairstyle begins. That gives you a reference when you inspect the final scalp transition.
Look at three areas before generating:
- the center of the forehead
- both temples
- the space around the ears
Then compare the same areas after generation.
If the result leaves a dark band where the hairline used to be, the removal is incomplete. If the forehead suddenly becomes much taller, the reconstructed scalp may have changed the apparent proportions of the head.
This comparison is more useful than asking whether the person simply “looks bald.”
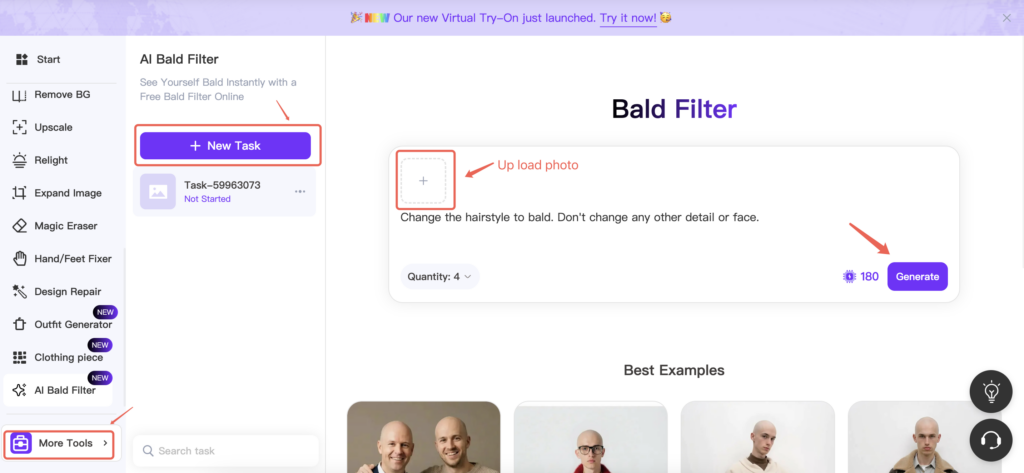
Run One Controlled AI Bald Filter Test
When the creation interface lets you influence the generation direction, change one visual variable at a time.
This makes it easier to see why one result looks more believable than another.
Generation A — Neutral Scalp
Start with a simple shaved-head direction. Keep the face, pose, background, and lighting stable.
The goal is to establish the basic head contour and forehead transition.
Generation B — Softer Forehead Transition
Keep the same source photo. Change only the transition around the former hairline and temples.
Now compare whether the scalp feels more connected to the forehead.
Generation C — Lighting Test
Keep the preferred head shape. Then change only the scalp highlight or light response.
A bright studio image may need a clearer highlight on the top of the head. A soft indoor portrait may need much less reflection.
The useful part of this test is not making three different bald styles. It is learning which generation variable caused the improvement.
AI Bald Filter Quality Check
Do not review the result only at thumbnail size.
Zoom in once and check:
- scalp contour
- forehead transition
- temples
- ears
- scalp skin tone
- highlights and shadows
- background around the removed hair
The scalp should feel connected to the same person and the same scene. It should not look like a smooth shape pasted on top of the portrait.
Also check whether the face stayed stable. Small changes around the eyebrows, ears, or jaw can make the image feel less like the original person.
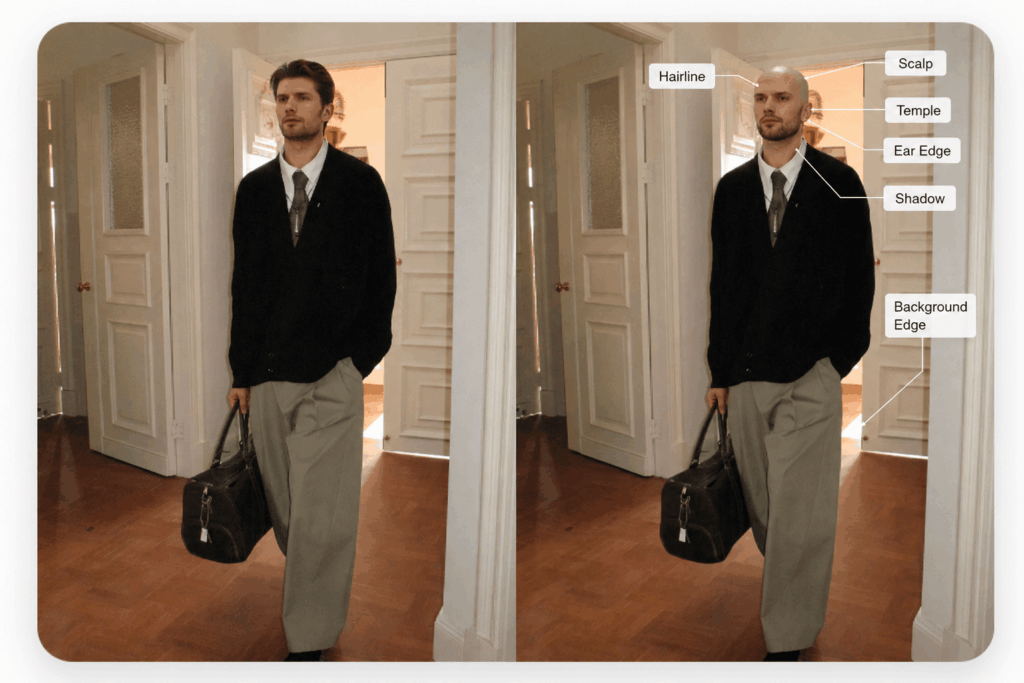
What Usually Makes an AI Bald Filter Result Look Fake
When something looks wrong, identify the area before generating again.
| What you see | Likely issue | Better next move |
|---|---|---|
| head looks too round or too tall | original hairstyle hid the true contour | use a source photo with more visible head shape |
| dark halo around the scalp | hair removal or edge transition is incomplete | try a clearer hair-background separation |
| scalp looks much lighter than the face | skin tone or light response changed | use a more evenly lit source or reduce strong highlight direction |
| ears look partly erased | hair covered the ear edges in the source | use a portrait where the ears are easier to see |
| temples look blurred | fine side hair blended into the background | choose a cleaner background or higher-contrast source |
| background bends around the head | the hair-background boundary was difficult to rebuild | switch to a simpler portrait |
| forehead looks unusually large | scalp reconstruction changed the apparent hairline transition | compare with the original forehead and try a clearer source |
If the same error appears two or three times, stop repeating the same setup.
A new source photo can help more than another generation when the system is missing the same visual information each time.
When to Change the Source Photo Instead of Regenerating
Some errors come from the input, not from a lack of attempts.
Change the source image when:
- the top of the head is cropped
- a hat covers the scalp
- the ears are hidden on both sides
- the background and hair are almost the same color
- the face is too small in the frame
- heavy filters remove natural skin detail
However, keep the source when the overall head shape is good and only a small edge or lighting issue changes between results.
That distinction saves time. More generations are useful only when the input already contains enough information.
A Bald Preview Is Not a Hair-Loss Prediction
An AI Bald Filter is a visual appearance preview. It shows one possible interpretation of a shaved or bald look based on your photo.
However, the result cannot predict future hair loss. It also does not evaluate scalp health, hair density, or the cause of thinning. Medical decisions should be based on professional advice rather than an AI-generated preview.
So, use the result for appearance exploration, creative concepts, or personal curiosity. Do not treat it as a medical forecast.
This distinction also changes how you review the image. The question is not:
“Will I look exactly like this in the future?”
A better question is:
“Does this generated image give me a useful visual idea of a shaved-head look?”
Where the Result Is Actually Useful
A bald preview does not need a long list of use cases.
Three are enough.
Appearance exploration
Compare your current hairstyle with a shaved-head concept before making a style decision.
Creative character work
Use the image as a visual reference for a character, costume, campaign concept, or portrait experiment.
Before-and-after content
Show the original portrait beside the generated version when the transformation itself is the point of the post.
For social content, avoid presenting a synthetic transformation as a real event when that could mislead viewers.

Before You Keep an AI Bald Filter Result
A useful AI Bald Filter result should survive one final check.
Ask:
- Is the face still recognizable?
- Is the full scalp shape believable?
- Are both ears intact?
- Does the scalp tone match the forehead?
- Do the highlights and shadows fit the original light?
- Is the background clean around the removed hair?
- Does the result look like the same person in the same photo?
If the answer is yes, stop generating.
The strongest result is not the smoothest or most dramatic version. It is the one where the scalp, face, lighting, and background still belong together.
That is the practical way to use an AI Bald Filter. Start with a readable portrait. Inspect the reconstructed areas. Change one variable at a time. Then switch the source photo when the same error keeps returning.
Go to WeShop AI For Exploration:


